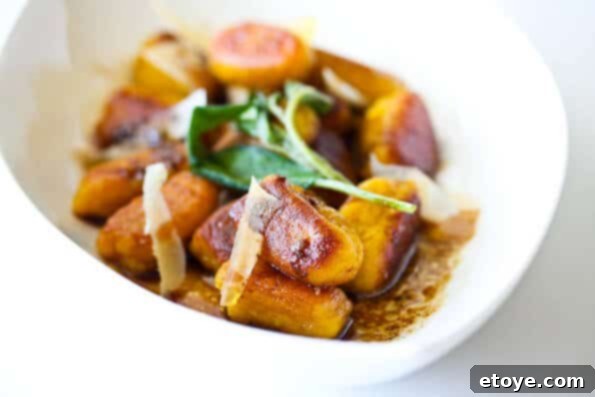
Mastering Pan-Fried Pumpkin Gnocchi: Your Ultimate Fall & Thanksgiving Delight
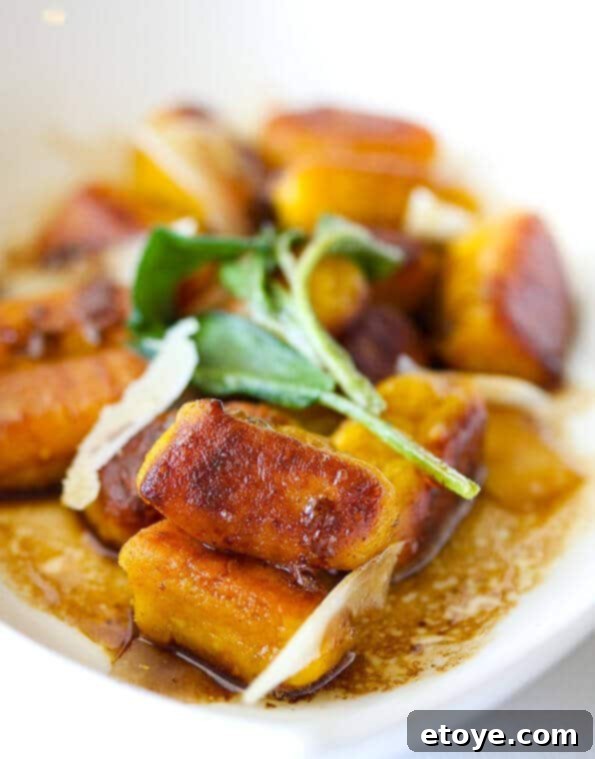
As the crisp autumn air arrives and leaves begin to change their hues, there’s nothing quite like a comforting dish to warm the soul. This Pan-Fried Pumpkin Gnocchi recipe is not just a meal; it’s an experience, embodying the very essence of the fall and winter seasons. It’s an absolute must-make for your Thanksgiving feast, a cozy weeknight dinner, or any occasion that calls for a touch of rustic elegance. Forget what you think you know about homemade gnocchi; this recipe proves it’s much simpler than you might imagine. In fact, many are intimidated by the name “gnocchi” itself – don’t let those unique letters scare you! This guide will walk you through every step, ensuring you achieve light, airy, and incredibly flavorful pumpkin gnocchi, even if you’re a complete beginner.
The beauty of this particular gnocchi lies in its delightful texture and the ease of preparation. Unlike traditional gnocchi that often demands delicate handling and a precise boiling method, our pan-fried approach offers a forgiving and exceptionally delicious alternative. Frying the gnocchi gives it a gorgeous golden crust and a tender interior, adding a depth of flavor that boiling alone can’t achieve. Paired with a luscious brown butter sage sauce, it transforms into a culinary masterpiece that’s both impressive and surprisingly effortless. This recipe is destined to become a staple in your seasonal cooking repertoire, cherished by all who taste its comforting flavors.
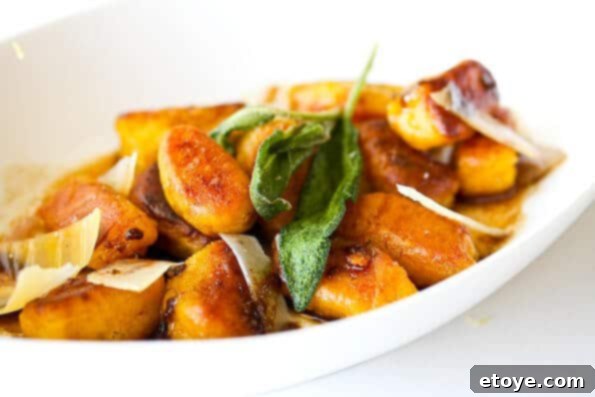
Why This Pan-Fried Pumpkin Gnocchi Recipe Will Become Your New Favorite
If you’ve ever dreamt of making gnocchi from scratch but felt daunted by complex instructions or the fear of a heavy, gummy outcome, this recipe is your golden ticket. We’re going to demystify the entire process and prove that creating delectable homemade gnocchi is not only achievable but also incredibly rewarding. This version takes away the pressure of perfectly shaped, traditional gnocchi by focusing on the rich, seasonal flavors of pumpkin and creamy ricotta, enhanced by the satisfying texture achieved through pan-frying. The result is a dish that’s wonderfully adaptable, serving equally well as a stunning appetizer, a hearty side, or even a light main course when garnished with a fresh green salad.
The combination of fluffy ricotta and sweet pumpkin creates a naturally soft dough that’s a joy to work with. The pan-frying technique adds a layer of complexity and texture that elevates these simple dumplings. Instead of the uniform softness of boiled gnocchi, you get a delightful contrast: a crispy, golden-brown exterior giving way to a tender, melt-in-your-mouth interior. This makes our Pan-Fried Pumpkin Gnocchi stand out, offering a more robust and engaging eating experience, especially when coated in its fragrant brown butter sage sauce.
The Magic of Pumpkin, Ricotta, and Zest
Our homemade pumpkin gnocchi base relies on a harmonious blend of key ingredients. Canned pumpkin puree provides the signature autumnal flavor and a beautiful, inviting color. It also contributes moisture and a natural sweetness. This is perfectly balanced by creamy, light ricotta cheese, which is crucial for a soft, pillowy gnocchi. The ricotta adds moisture and a delicate texture that prevents the gnocchi from becoming dense or rubbery. Freshly grated Parmigiano Reggiano cheese infuses the dough with a salty, umami depth, while a single large egg yolk acts as a binder, ensuring the dough holds together beautifully.
Perhaps the unsung hero of this recipe is the lemon zest. A teaspoon of finely grated lemon zest introduces a bright, citrusy aroma and a subtle tang that beautifully cuts through the richness of the pumpkin and cheese. It’s a small addition that makes a huge difference, brightening the overall flavor profile and preventing the dish from feeling too heavy. Don’t skip it! We also use kosher salt to season the dough properly, ensuring every bite is flavorful from the inside out.
Step-by-Step Guide to Crafting Your Perfect Pan-Fried Pumpkin Gnocchi
Let’s roll up our sleeves and dive into the simple steps for making these delightful pumpkin gnocchi. Remember, the true secret to tender gnocchi is a light hand – avoid overworking the dough at all costs!
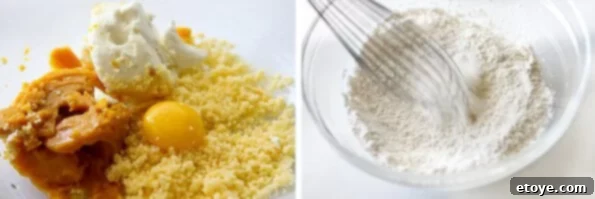
Prepare Your Wet Ingredients & Flour: In a generously sized mixing bowl, combine the canned pumpkin puree, the vibrant fresh lemon zest (use a microplane grater for the finest, most aromatic zest), kosher salt (or table salt if preferred), the creamy skim milk ricotta cheese, and the large egg yolk. Mix these ingredients thoroughly using a spatula or a sturdy spoon until they are well integrated and form a smooth, vibrant orange base. For your flour, measure out one cup of all-purpose flour into a separate, larger bowl. While traditional recipes often recommend “sifted flour” for aeration and clump prevention, I often opt for a clever shortcut for easy gnocchi preparation: instead of sifting, simply use a wire whisk to vigorously whisk through the flour. This method effectively breaks up any potential clumps and incorporates air, achieving a similar light and airy consistency without the need for specialized equipment or an extra step. It’s a fantastic trick that saves time and effort, ensuring your flour is perfectly prepared to be incorporated smoothly into the dough.

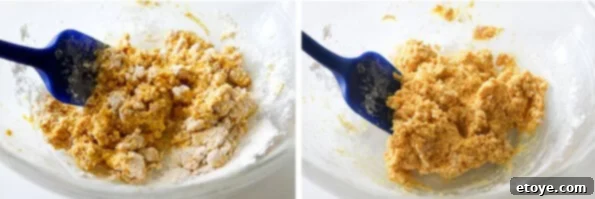
Gradually Incorporate Flour: Now, add approximately half of your prepared flour to the wet pumpkin-ricotta mixture in the bowl. Using a spatula, gently fold and mix the ingredients until the flour is just barely incorporated and visibly disappears into the pumpkin mixture. The critical goal here is to combine the ingredients without overworking them, which means avoiding vigorous or prolonged stirring. This initial, gradual incorporation of flour helps to hydrate it evenly, laying the foundation for a tender gnocchi.

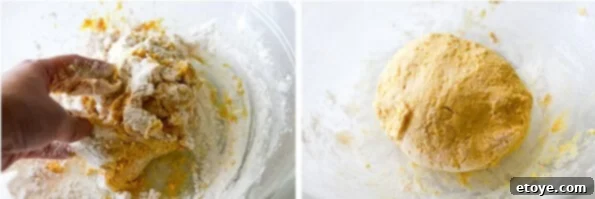
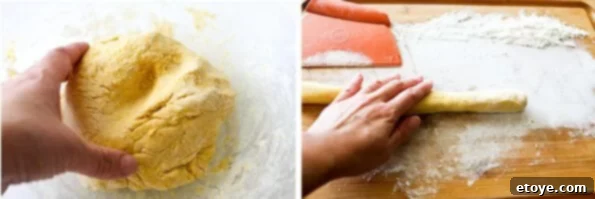
Gentle Kneading for Perfect Texture: Sprinkle the remaining flour over the partially mixed dough. At this crucial stage, put aside your spatula and switch to using your fingertips. Lightly mix and knead the dough for a very brief period – no more than one to two minutes. Your dough will naturally be quite wet and somewhat sticky; this is the desired consistency for light, fluffy gnocchi dough. The idea is just to bring all the ingredients together, ensuring all the flour is incorporated without developing too much gluten. Over-kneading will activate too much gluten, leading to tough, rubbery gnocchi rather than the desirable light and tender texture. If you find the dough excessively sticky and truly unmanageable, you may add a tiny bit more flour, a teaspoon at a time, until it’s just workable.

The “Tacky but Clean” Test & Rolling: To accurately determine if you’ve achieved the ideal flour-to-moisture ratio, gently press your finger into the dough. It should feel slightly tacky to the touch, but crucially, your finger should come away relatively clean, with no significant amount of dough sticking to it. This indicates the perfect balance of moisture and flour needed for tender homemade gnocchi. Once you’ve reached this consistency, gently transfer the dough to a lightly floured countertop. Divide the entire dough ball into four equal sections. Take one section of dough and, with your hands, gently roll it back and forth on the floured surface to form a long “snake” or rope, aiming for an approximate 1-inch diameter. Strive for an even thickness throughout the rope to ensure consistent cooking.

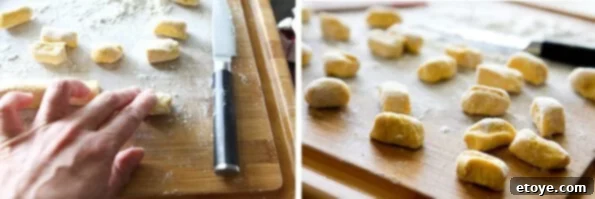
Cutting the Gnocchi Pieces: Using a sharp knife or a bench scraper, cut the dough rope into uniform 1-inch pieces. These will be your individual gnocchi. You can, if you wish, use your fingers to lightly roll and shape each piece slightly, ensuring they are uniformly sized and rounded. However, for pan-fried gnocchi, this extra shaping step is entirely optional and not strictly necessary. The beauty of pan-frying is that the heat of the pan will create a beautiful, textured golden crust, and any traditional “fancy” fork marks or perfect shapes would largely disappear or be less prominent anyway. Focus on maintaining a consistent size for each piece, as this is important for even cooking, but don’t stress about aesthetic perfection.

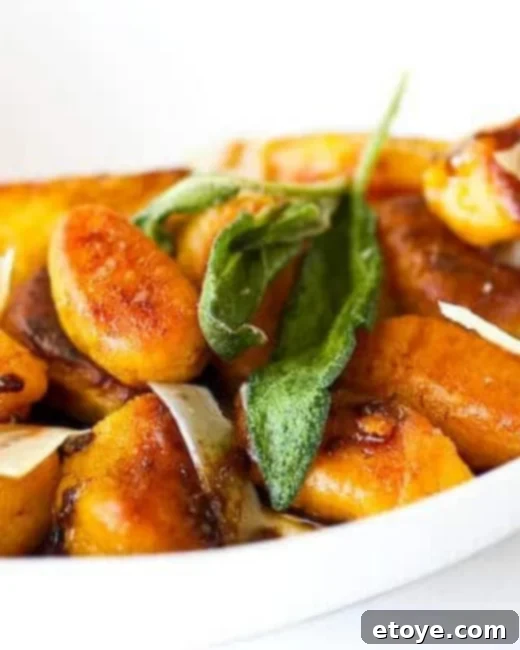
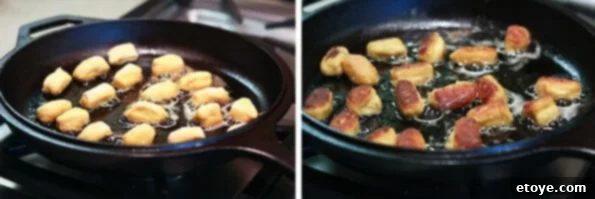
Pan-Frying to Golden Perfection: Heat a large frying pan or sauté pan over medium heat. Add about 1 tablespoon of unsalted butter and 1 tablespoon of extra virgin olive oil to the pan. Once the butter is melted and sizzling gently, and the oil is shimmering, carefully add a single layer of gnocchi pieces to the pan. It’s crucial not to overcrowd the pan; fry them in batches so that each piece has ample space to brown evenly without steaming. Overcrowding can lead to soggy gnocchi instead of crispy ones. Fry each batch for 1-2 minutes per side, until each piece develops a beautiful, crispy, and inviting golden-brown crust. This pan-frying step is what truly sets our pumpkin gnocchi recipe apart, giving it its unique flavor and delightful texture. Remove the finished gnocchi from the pan and place them on a large baking sheet, then transfer to your preheated oven (around 300°F/150°C) to keep them warm while you cook the remaining batches.

Crafting the Irresistible Brown Butter Sage Sauce
Once your perfectly golden pan-fried pumpkin gnocchi are ready, it’s time to create the magical sauce that elevates this dish to new heights: the rich, aromatic brown butter sage and balsamic glaze. This sauce is designed to be incredibly flavorful, providing the perfect tangy counterpoint to the sweet pumpkin and savory gnocchi.
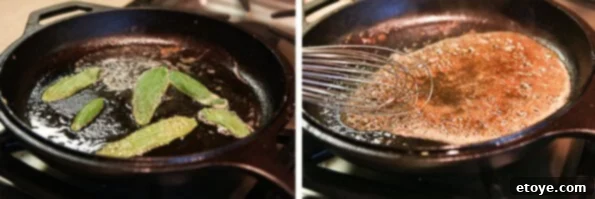
Sauté Sage and Deglaze: After you have finished frying all the gnocchi batches, carefully discard any remaining butter or oil from the frying pan. Wipe the pan clean with a paper towel to remove any burnt bits, ensuring a fresh start for your sauce. Return the clean pan to medium heat and add the remaining 2 tablespoons of unsalted butter and 1 tablespoon of extra virgin olive oil. As the butter melts, it will begin to foam, and then small brown bits will start to form at the bottom of the pan – this is the start of brown butter magic! Once the butter takes on a beautiful nutty aroma and a light golden-brown hue, add the fresh sage sprigs. Let the sage sizzle gently in the browning butter until it becomes wonderfully fragrant and slightly crispy, typically 1-2 minutes. Be vigilant during this step to avoid burning the sage or butter. At this point, you have a choice: you can remove the crispy sage leaves and discard them if you prefer a smoother sauce, or leave them in for added texture – many people find crispy sage to be a delightful, edible garnish! Immediately pour in the good quality balsamic vinegar. The vinegar will rapidly deglaze the pan, incorporating all the flavorful browned bits from the bottom and simmering down into a slightly reduced, tangy glaze. This step is crucial for balancing the inherent richness of the gnocchi and the browned butter.

Serve and Garnish: Generously pour the exquisite brown butter sage and balsamic sauce directly over your warm, pan-fried pumpkin gnocchi. Ensure each piece is lovingly coated in the fragrant glaze. For an extra touch of elegance and an explosion of flavor, use a vegetable peeler to shave a generous amount of fresh Parmigiano Reggiano cheese over the top of the dish. The salty, nutty cheese will melt slightly from the warmth of the gnocchi and sauce, creating a truly irresistible finish. For a beautiful presentation, garnish with an additional fresh sage leaf or two. Serve immediately and prepare for rave reviews as this homemade masterpiece disappears quickly!

And there you have it! Your journey into making delicious homemade gnocchi has culminated in this utterly delightful Pan-Fried Pumpkin Gnocchi. It’s truly a testament to how simple yet profoundly satisfying home cooking can be. You’ve mastered the art, proving that even dishes with seemingly intimidating names can be incredibly approachable, fun, and rewarding to create. Get ready to impress your family and friends with this cozy, flavorful, and unforgettable fall and Thanksgiving side dish!
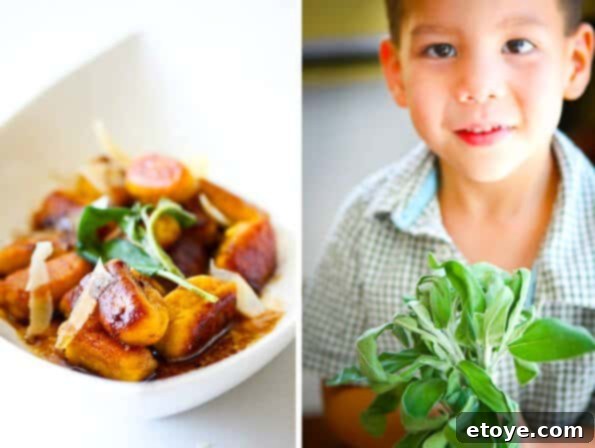
Expert Tips for Perfect Pan-Fried Pumpkin Gnocchi
The cardinal rule for achieving light and tender gnocchi is minimal handling of the dough. Overworking the dough is the most common pitfall and will invariably lead to dense, chewy gnocchi rather than the desirable pillowy texture you’re aiming for. Always use a very light hand – a spatula for initial, gentle mixing, and then only your fingertips to just turn the dough a few times to gently bring the remaining flour into the mixture. If you don’t own a traditional flour sifter, or simply prefer a quicker, more convenient method, a wire whisk is an excellent and effective tool to break up any flour clumps and aerate it sufficiently, ensuring a smooth, lump-free addition to your dough.
Regarding the brown butter sage sauce: it is designed to be a rich, intensely aromatic enhancement to the gnocchi, not a heavy, overwhelming sauce that drowns the delicate dumplings. Therefore, only a small amount of this fragrant mixture is needed to perfectly complement each piece of gnocchi. The balsamic vinegar is a key, non-negotiable component of this sauce. It adds a crucial tangy note that elegantly cuts through the richness of both the pumpkin gnocchi and the browned butter, creating a beautifully balanced flavor profile. For the absolute best and most authentic flavor, always opt for a good quality balsamic vinegar – the difference in taste is truly remarkable.
Pan-Fried Pumpkin Gnocchi with Brown Butter Sage
Ingredients
- ½ cup skim milk ricotta
- ½ cup canned pumpkin puree
- ½ cup freshly grated Parmigiano Reggiano
- 1 large egg yolk
- 1 tsp lemon zest (finely grated with a microplane, plus extra reserved for garnishing)
- 1 tsp kosher salt (or ½ tsp table salt)
- 1 cup all-purpose flour (plus more for dusting; see sifting/whisking tip above)
- 3 tbsp unsalted butter (divided)
- 2 tbsp extra virgin olive oil (divided)
- 2 tbsp balsamic vinegar (ensure it’s a good quality one for best flavor)
- 3 sprigs fresh sage (plus additional leaves for garnish)
- 1 dash shaved Parmigiano Reggiano (for serving, easily made with a vegetable peeler)
Instructions
- Preheat your oven to 300°F (150°C). This will be used to keep the cooked gnocchi warm while you prepare the remaining batches and the sauce, ensuring everything is hot when served.
- In a large bowl, thoroughly combine the ricotta, pumpkin puree, grated Parmigiano Reggiano, egg yolk, lemon zest, and kosher salt. Mix until all ingredients are well combined and the mixture is smooth. Sprinkle about half of the all-purpose flour over this wet mixture. Using a spatula, gently fold and turn the mixture a few times until the flour is just incorporated. You can continue this process in the bowl or transfer the mixture to a clean, lightly floured countertop. Sprinkle the remaining flour on top of the mixture. With clean fingertips, gently knead the dough, only just enough to bring the ingredients together and ensure all the flour is fully incorporated. This crucial step should take no more than one to two minutes. Be mindful not to over-knead, as excessive handling can develop too much gluten and result in tough, rubbery gnocchi instead of tender ones.
- Lightly dust a clean, dry work surface with flour. Divide the prepared dough into four equal parts. Take one part and gently roll it with your hands into a long, uniform log, approximately 1 inch in diameter. Using a sharp knife, cut this log into 1-inch pieces to form your gnocchi. Repeat this process with the remaining dough sections until all gnocchi are shaped.
- Heat a large frying pan or sauté pan over medium heat. Add 1 tablespoon of butter and 1 tablespoon of olive oil. Once the butter is melted and sizzling, and the oil is shimmering, carefully add a single layer of gnocchi to the pan. Ensure you do not overcrowd the pan; cook them in batches if necessary, allowing each piece enough space to brown properly without steaming. Fry for 1-2 minutes until golden brown and crispy on one side, then flip each gnocchi and fry for another 1-2 minutes until golden on the second side. Remove the cooked gnocchi from the pan and place them on a large baking sheet in the preheated oven to keep warm while you cook the rest of the batches.
- Once all the gnocchi are cooked and kept warm, discard any remaining butter or oil from the frying pan and meticulously wipe the pan clean with a paper towel. Return the clean pan to medium heat and add the remaining 2 tablespoons of butter and 1 tablespoon of olive oil. When the butter is hot, foamy, and begins to develop a nutty aroma and light brown color, add the fresh sage sprigs. Allow the sage to sizzle and brown gently for a couple of minutes until it becomes wonderfully fragrant and slightly crispy (be extremely careful not to burn the sage or the butter). You have the option to remove and discard the crispy sage leaves if you prefer a smoother sauce, or leave them in for a delightful textural element. Immediately whisk in the balsamic vinegar to deglaze the pan. Let the sauce simmer on low heat for about 1 minute, allowing it to slightly reduce and for the flavors to meld beautifully. Pour this exquisite brown butter sage and balsamic sauce over the warm gnocchi.
- Serve your Pan-Fried Pumpkin Gnocchi immediately, garnished generously with fresh shavings of Parmigiano Reggiano cheese and, for an added touch of visual appeal, a fresh sage leaf. Enjoy this delightful autumn delicacy!
