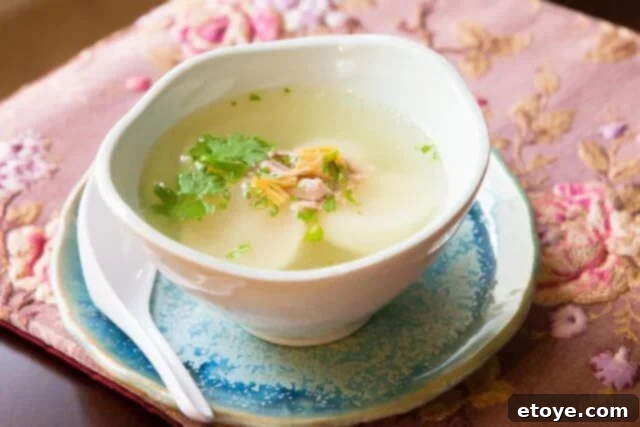
Mastering the Art of Crystal-Clear Broth for Exquisite Homemade Soups
There’s an undeniable satisfaction that comes from a bowl of homemade soup. The rich aromas, the comforting warmth, and the depth of flavor are unparalleled. However, for many home cooks, achieving that picture-perfect, crystal-clear broth can feel like an elusive culinary mystery. Have you ever diligently prepared a meat-based broth, only to find a cloudy liquid topped with an unappetizing layer of foam or murky particles? This common issue, often referred to as “soup scum,” can detract from both the appearance and the overall quality of your delicious creation. But fear not, aspiring soup maestros! This comprehensive guide will unveil the secrets to producing impeccably clear broth every time, elevating your homemade soups to professional standards.
The quest for a pristine broth begins with understanding the culprit: soup scum. This often-dreaded layer is primarily composed of impurities released from the surface of your ingredients. Think of it as a collection of undesirable elements – residual blood, denatured surface proteins, tiny fragments of skin, minuscule dirt particles, and even powdery bone fragments that can result from butchering with a saw. While not necessarily harmful, these components create a cloudy appearance and can impart a less-than-desirable flavor profile, which is why eliminating them is crucial for a truly refined soup.
The Pre-Boil Method: Your First Line of Defense Against Broth Impurities
When you’re preparing a robust, bone-heavy broth – the kind that forms the foundation for rich ramen, hearty pho, or a deeply savory stock – a thorough pre-boil is your best friend. This technique is especially effective for large quantities of bones, ensuring the most significant amount of impurities are removed before the actual simmering process begins. It’s a foundational step that many professional chefs and experienced home cooks swear by for achieving unparalleled clarity and flavor.
Here’s how to execute the pre-boil method with precision:
- Initial Rinse: Begin by giving your bones (and any accompanying meat) a quick rinse under cold running water to remove any obvious loose debris.
- The Boil: Place your bones in a large stockpot and cover them with cold water. Bring this mixture to a rapid, rolling boil. As the water heats up, you’ll notice a significant amount of greyish-brown foam, or scum, rising to the surface. This is exactly what you want to see – it signifies the impurities being drawn out.
- Aggressive Skimming: Allow the bones to hard boil for approximately 5-10 minutes, actively skimming off all the foam that accumulates on top. Use a fine-mesh skimmer or a large spoon for this step, removing as much of the undesirable matter as possible.
- Drain and Discard: Carefully drain the murky water and all the scum. It’s important to completely discard this dirty water, as it’s laden with the very impurities you’re trying to eliminate.
- Thorough Rinse: Return the bones to the pot and rinse them thoroughly under cold running water. You can even rub them gently to remove any clinging scum or residue. Ensure the pot itself is also clean before proceeding.
- Start Fresh: Now, with clean bones and a clean pot, refill with fresh, cold water. At this point, you can add your aromatics (onions, carrots, celery, herbs) and begin the long, gentle simmer for your clear, flavorful broth.
The vigorous boiling action during the pre-boil effectively denatures surface proteins and dislodges impurities from the bones and meat, allowing them to float to the surface. By discarding this initial liquid, you prevent these undesirable elements from becoming reabsorbed into your final broth, ensuring a clean, clear, and delicious result with minimal scum formation during the main cooking process.
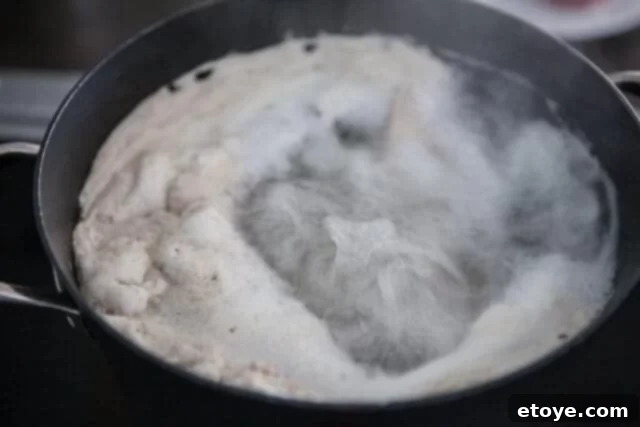
My Mom’s Secret: The Quick Blanch for Lighter Broths
While the pre-boil method is ideal for heavy bone stocks, what if you’re making a lighter broth, perhaps with just a small amount of meat or a mix of meat and mostly vegetables? In these cases, a full pre-boil might be overkill. This is where a brilliant shortcut, a technique passed down through generations (and one I learned from my mother), comes into play: the quick blanch with boiling water. This method is incredibly efficient for cleaning smaller quantities of meat or a combination of meat and some bones, providing excellent clarity without the commitment of a full pre-boil.
This technique is perfect for cleaning pork, chicken, or beef chunks that will form the base of your broth. Let’s walk through the steps, using pork chunks as our example:
Step 1: Prepare Your Meat
Begin by placing your chosen meat – whether it’s pork chunks, chicken pieces, or beef – in a shallow bowl or a clean basin in your sink. Ensure the bowl is heat-proof, as you’ll be pouring boiling water directly onto the meat.
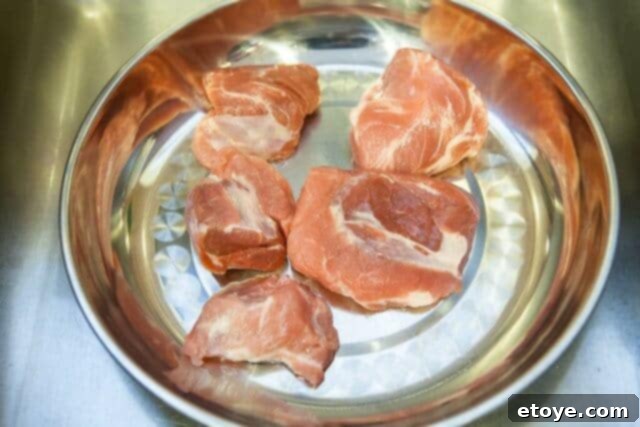
Step 2: First Pour of Boiling Water
Carefully pour approximately 2 cups of freshly boiled water directly over the meat. You’ll immediately notice a change: the surface of the meat will blanch, turning slightly opaque, and some initial impurities will begin to rise. This immediate exposure to high heat causes surface proteins to coagulate and separate.
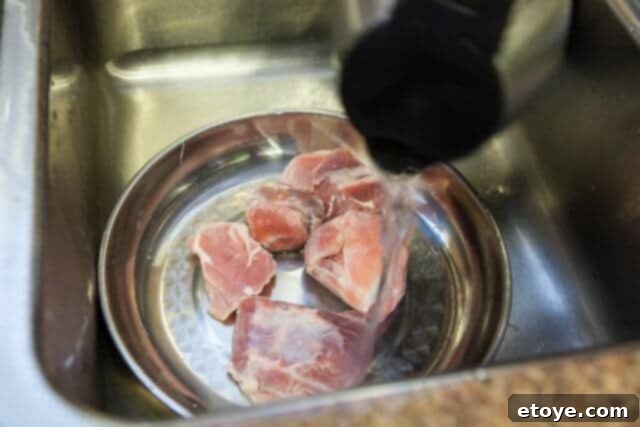
Step 3: Turn and Observe
Using tongs or a spoon, gently turn the meat pieces over in the hot water. This ensures all surfaces are exposed to the heat, allowing more impurities to be released. Observe the water – it will quickly become cloudy and tinged with a reddish-brown hue, indicating the presence of blood and other unwanted particles.
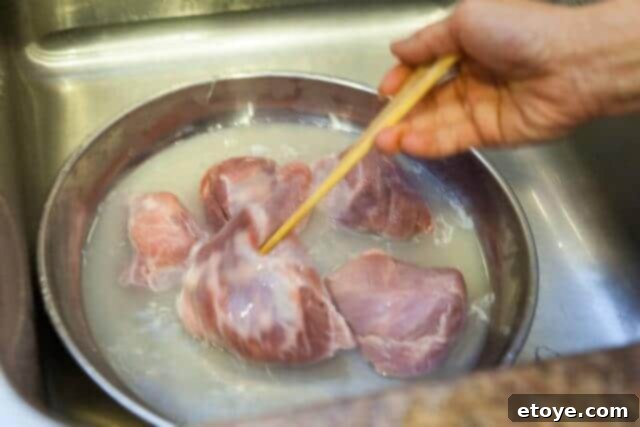
Step 4: Drain the Dirty Water
Immediately after turning, carefully drain out this dirty, cloudy water. You’ll be surprised by how much discolored liquid is produced in such a short amount of time. This step is critical; you want to remove all these impurities from the meat and the bowl before proceeding.
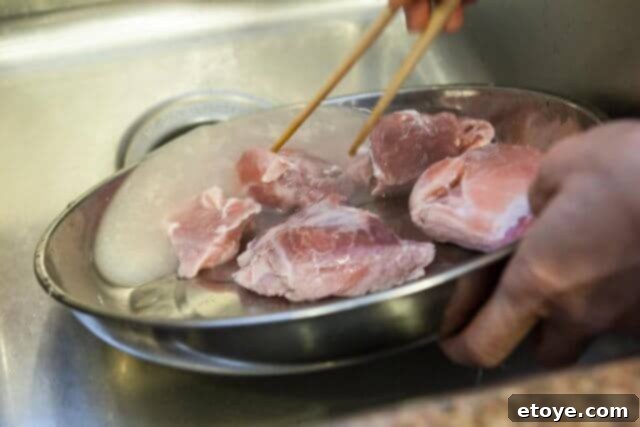
Step 5: Second Pour of Boiling Water
Repeat the process: pour another 2 cups of fresh boiling water over the blanched meat. This second pour acts as a final rinse and helps to release any remaining surface impurities that might have been missed during the first blanch. The water should be noticeably clearer this time, but still may show some slight discoloration.
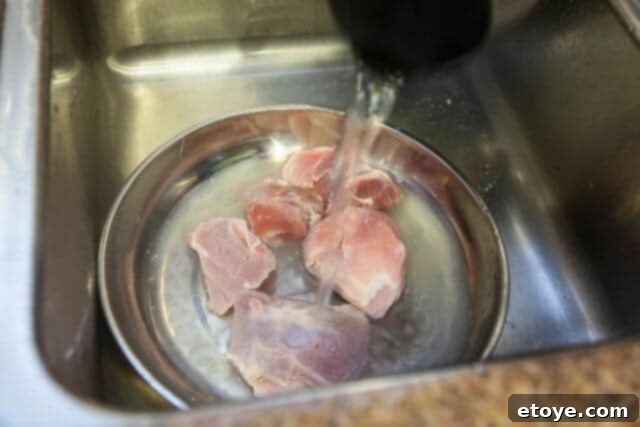
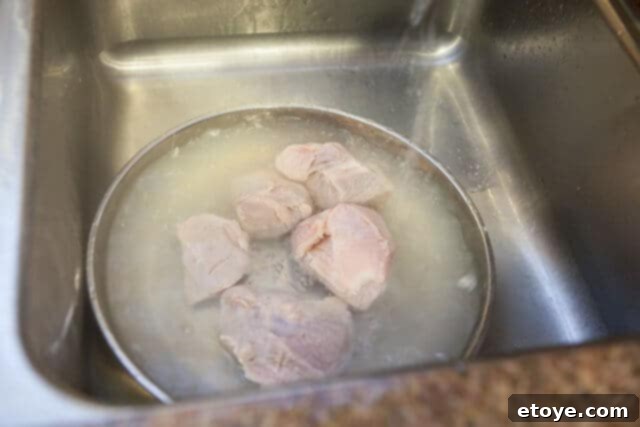
Step 6: Final Rinse with Cool Water
Drain out the second batch of hot water. Then, give the blanched meat a final, thorough rinse under cool, clean running water. You can gently rub the meat under the water to dislodge any stubbornly clinging bits of scum or protein. This final rinse leaves your meat perfectly clean and ready for cooking.
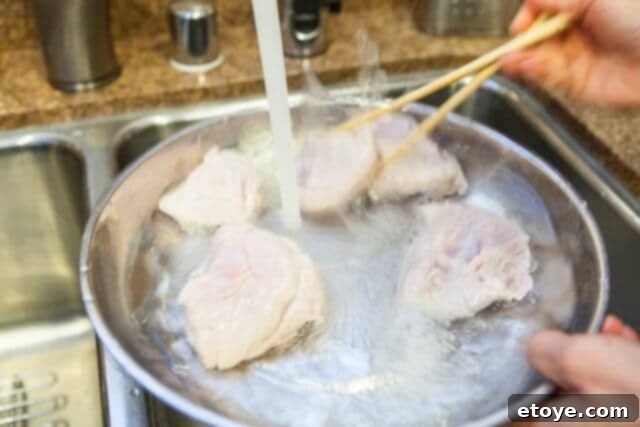
Step 7: Ready for Broth!
Your meat is now impeccably clean, free of surface impurities, and ready to be simmered into a beautiful, clear broth or stock. This quick blanching method effectively removes the primary sources of cloudiness and off-flavors, allowing the true essence of your ingredients to shine through.
Why These Cleaning Methods Work: The Science of Clarity
Both the pre-boil and quick blanch methods leverage the same scientific principle: heat causes proteins to denature and coagulate. When meat and bones are first exposed to high temperatures, the proteins on their surface, along with residual blood and other impurities, rapidly change structure. They become solid and separate from the meat, rising to the surface of the water as foam or scum.
By actively removing this initial, dirty water and the accompanying scum, you prevent these undesirable elements from dissolving back into your broth as it cooks. If left unchecked, these denatured proteins and particles would remain suspended in the liquid, creating a cloudy, opaque appearance. These initial cleaning steps effectively “wash” the ingredients of their impurities, ensuring that when you begin the actual broth-making process with fresh water, only the clean, desirable flavors and nutrients are extracted into the liquid, leading to a much cleaner and more appealing final product.
Beyond Cleaning: Additional Tips for Unrivaled Broth Clarity
While proper meat and bone preparation is paramount, several other factors contribute to creating a truly crystal-clear broth. Incorporating these techniques into your soup-making routine will guarantee consistently excellent results:
1. Simmer, Don’t Boil
Once your cleaned ingredients are in fresh water and brought to a boil, immediately reduce the heat to a very gentle simmer. A rolling boil agitates the ingredients excessively, causing fats and tiny particles to emulsify back into the liquid. This constant movement can also break down ingredients prematurely, releasing more starch and creating cloudiness. A gentle simmer, characterized by just a few bubbles breaking the surface, allows for a slow, controlled extraction of flavors and nutrients without disturbing the delicate balance.
2. Consistent Skimming
Even after initial cleaning, some impurities may continue to rise during the initial stages of simmering. Keep a watchful eye on your pot and use a fine-mesh skimmer to gently remove any foam or scum that collects on the surface for the first hour or two of cooking. This vigilance ensures that your broth remains pristine throughout the process.
3. Strain Thoroughly (and Gently!)
Once your broth has finished simmering and developing its rich flavors, the next crucial step is straining. For maximum clarity, don’t just use a colander. First, strain the broth through a fine-mesh sieve to remove all large solids. For an even more polished finish, line the sieve with a few layers of cheesecloth or a clean, thin kitchen towel before straining a second time. Resist the urge to press or squeeze the solids; this can force small, cloudy particles and emulsified fats back into your carefully clarified liquid. Simply let gravity do the work.
4. Cool and Degrease
Fat, while flavorful, can contribute to cloudiness if not properly managed. After straining, allow your broth to cool down completely, preferably in the refrigerator overnight. As it cools, any remaining fat will rise to the surface and solidify, forming a cap that can be easily lifted off and discarded. This degreasing step not only enhances clarity but also makes for a lighter, more refreshing broth.
5. Quality Ingredients Matter
The foundation of any great broth is high-quality ingredients. Use fresh, good-quality meat and bones from reliable sources. Fresh vegetables and aromatics will also contribute cleaner flavors and fewer impurities compared to older, potentially bruised produce.
6. Don’t Overcrowd Your Pot
Ensure your stockpot is appropriately sized for the amount of ingredients you’re using. An overcrowded pot restricts water circulation, making it harder for impurities to rise and for flavors to develop evenly. Give your ingredients room to breathe and simmer effectively.
The Joy of a Perfectly Clear Broth
The effort invested in preparing and clarifying your broth is truly rewarded when you behold a glistening, golden liquid, free of any cloudiness. This clean canvas allows the nuanced flavors of your ingredients to shine through, creating a more refined and enjoyable culinary experience. Whether you’re making a simple chicken noodle soup, a sophisticated consommé, or the base for an elaborate stew, a crystal-clear broth elevates the entire dish, demonstrating a mastery of fundamental cooking techniques. Embrace these methods, and prepare to delight in the unparalleled taste and visual appeal of your perfectly crafted homemade soups. The journey to a pristine broth is a rewarding one, promising delicious, professional-quality results right in your own kitchen.
