Have you ever fantasized about hosting your own culinary masterpiece, a show where you’re the star chef, sharing your passion for food with a global audience? For many aspiring food enthusiasts, this dream once seemed unattainable, requiring expensive equipment, elaborate studios, and connections to major television networks. The reality of jet-setting from city to city, gracing various daytime TV sets to film quick cooking segments, was the norm for industry insiders.


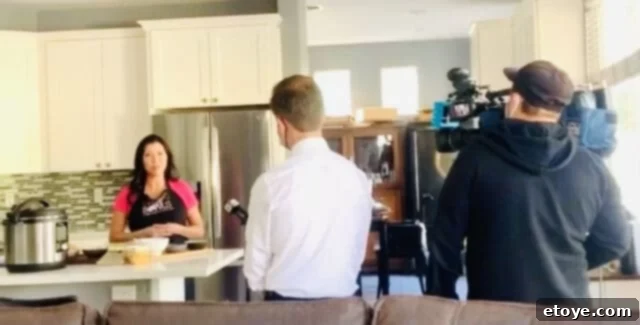
Then, the world experienced a monumental shift in 2020. The global pandemic transformed every aspect of life, including how content was created and consumed. Suddenly, those bustling network sets were replaced by the familiar comfort of home kitchens. Initially, this meant camera crews navigating the challenges of remote production, bringing their gear into private residences to capture cooking segments.

However, as the situation evolved and remote work became the standard, a new reality emerged: the need for content creators to become their own production teams. This pivotal moment democratized content creation like never before. The playing field truly leveled, empowering everyday individuals to become influencers and content creators directly from their living rooms and, more importantly, their kitchens.

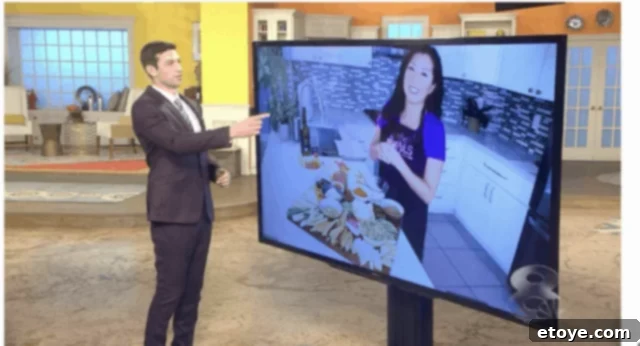
This was filmed with a little digital camera on top of my laptop, showcasing the simplicity of home production.
The barrier to entry for aspiring culinary stars crumbled. No longer did you need state-of-the-art equipment or the resources to fly across the country for a filming opportunity. All that was truly required was a basic digital camera – or even just your smartphone – coupled with a unique personality and an engaging on-screen presence. This shift ignited a surge of creativity, proving that authenticity and passion could outshine lavish productions.
So, if the thought of launching your own cooking show has ever simmered in your mind, now is undoubtedly the perfect time to let it boil over. It’s significantly easier and more accessible than you might imagine. With the right approach and a sprinkle of dedication, you could very well be the next culinary sensation, captivating audiences from the comfort of your very own kitchen.
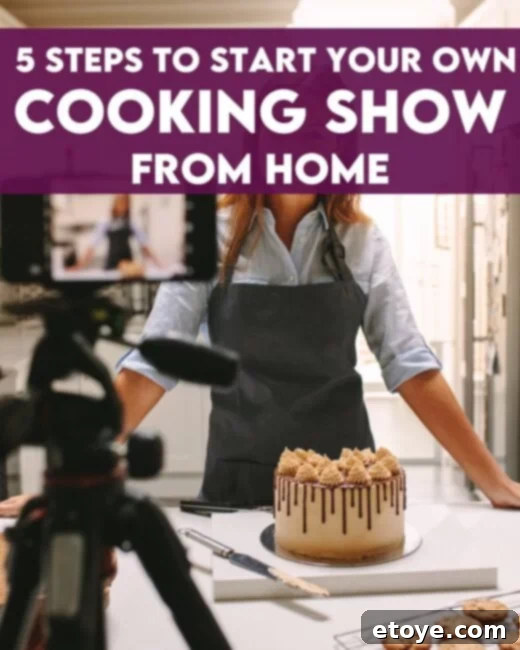
Ready to turn your culinary dreams into a tangible reality? Here’s your comprehensive, easy-to-follow guide to launching your very own homemade cooking show and becoming a successful food content creator.
Step 1: Discover Your Culinary Voice and Niche
Before you even think about hitting record, the most crucial step is to define what makes your culinary heart race. What specific aspect of food ignites your passion? Your unique niche is the secret ingredient that will make your cooking show stand out in a crowded digital landscape. Think of it as your signature dish – something that truly reflects who you are as a foodie and storyteller.
Unearthing Your Unique Angle
Are you dedicated to meticulously recreating cherished family recipes passed down through generations, each dish carrying a rich history? Perhaps you're an adventurous explorer of global cuisines, eager to introduce viewers to exotic flavors and cooking techniques from around the world. Or maybe your passion lies in a specific dietary approach, such as vibrant vegan delights, wholesome gluten-free creations, or innovative keto recipes. Consider focusing on budget-friendly meals, quick weeknight dinners for busy families, gourmet plating techniques, or even the fascinating world of fermentation.
Every dish has a story, and so do you. Take ample time to reflect and jot down what you genuinely love about cooking. Document your favorite dishes, the memories associated with them, the culinary lessons you've learned, and what cooking fundamentally means to you. This introspective process will help you craft a compelling narrative and connect with your audience on a deeper, more personal level. Your authenticity is your superpower.
Step 2: Transform Your Kitchen into a Functional Studio
Your kitchen isn’t just where you prepare meals; it’s your stage, your creative hub, and the backdrop for your culinary adventures. You don't need a sprawling, professional setup like a celebrity chef. The goal is to create an inviting, functional, and visually appealing space that reflects your personality and culinary style.
Optimizing Your Set Design
Start by decluttering and cleaning your kitchen thoroughly. A tidy workspace not only looks better on camera but also helps you stay organized while filming. Next, think about customization. Do you want your space to feel laid-back and rustic, modern and minimalist, or perhaps vibrant and eclectic? Incorporate elements that showcase your character – a quirky teapot, a stack of cookbooks, fresh herbs, or a unique piece of artwork. Ensure any visible brand labels are removed or covered if they aren't part of your intentional branding.
Essential Equipment for Your Homemade Studio
You don't need to break the bank to acquire quality production gear. Start simple and upgrade as your show grows. The most critical elements are often surprisingly affordable:
- Camera: Your smartphone is an incredibly powerful tool. Most modern smartphones boast high-quality cameras capable of shooting in 4K. Experiment with different settings and ensure your lens is clean. If you want to invest further, a mirrorless camera or a DSLR can offer more control and better low-light performance, but it's not a prerequisite.
- Audio: Good audio is paramount. Viewers are more forgiving of less-than-perfect video quality than they are of poor sound. A cheap lavalier microphone (clip-on mic) that connects directly to your phone or camera can dramatically improve sound clarity by picking up your voice clearly and minimizing background noise.
- Tripod/Mount: A stable shot is essential. A basic tripod for your smartphone or camera will prevent shaky footage and free up your hands for cooking. Consider a flexible gorillapod or an overhead phone mount for diverse camera angles.
- Lighting: Natural light is your best friend. Position yourself near a window during daylight hours to utilize soft, even illumination. If natural light is insufficient or inconsistent, consider an affordable ring light or a simple LED softbox kit to brighten your scene and eliminate harsh shadows.
- Editing Software: User-friendly editing apps and software are abundant. Free options like CapCut (mobile), iMovie (iOS/Mac), and DaVinci Resolve (desktop) are excellent for beginners. For more advanced features, consider Adobe Premiere Pro or Final Cut Pro.
Step 3: Master the Art of Cooking and Filming
This is where the magic happens! Select a recipe that you are genuinely passionate about and can talk about endlessly. Enthusiasm is contagious and will shine through on camera. For your initial videos, choose something relatively simple that won't require complex multitasking while you're also trying to present to the camera. The goal is to build confidence and refine your on-screen persona.
Pre-Production and Filming Techniques
- Practice Makes Perfect: Before filming, practice cooking your chosen dish multiple times. Get comfortable with each step. Then, practice talking through the recipe as you cook, as if you're explaining it to a friend. This helps you identify natural pauses, talking points, and areas where you might need to simplify instructions.
- Mise en Place: Prepare all your ingredients in advance. Chop vegetables, measure spices, and have everything ready to go. This French culinary term, meaning "everything in its place," will make your filming process smoother, more efficient, and look more professional on screen.
- Camera Angles: Experiment with different angles. A steady wide shot showing your general workspace, close-ups of ingredients being prepped or cooking in a pan, and an overhead shot (if your setup allows) for mixing or chopping, can add dynamic visual interest.
- Authenticity Over Perfection: Hit record and be your authentic self. Don't be afraid of small mishaps or imperfections; they make you relatable and human. If you accidentally drop a utensil or spill a pinch of spice, laugh it off! These unscripted moments can often be the most charming and engaging for your audience.
- Engage and Explain: As you cook, clearly explain each step and share tips or tricks related to the ingredients or techniques. Talk directly to your audience, maintain eye contact with the camera, and let your passion for food shine through.
Step 4: Elevate Your Content with Smart Editing
Editing is where you transform raw footage into a captivating culinary story. It’s the stage where mundane moments become intriguing, and your personality truly comes alive. Think of your favorite cooking shows – often, their sensational appeal comes not just from the food but from the dynamic music, creative cuts, and engaging pacing.
Key Editing Principles
- Pacing and Flow: Ruthlessly cut out long, boring segments, awkward pauses, or repetitive actions. Keep the video moving at an engaging pace. Use quick cuts to maintain viewer interest, especially during less visually stimulating steps.
- Music and Sound Effects: Add appropriate background music that matches the mood of your segment. Upbeat music for energetic cooking, or a softer tune for baking. Ensure the music doesn't overpower your voice. Royalty-free music libraries are readily available for creators. Subtle sound effects (sizzling, chopping) can also enhance the immersive experience.
- Text Overlays and Graphics: Use on-screen text for ingredient lists, measurements, key tips, or important instructions. This makes your recipe easy to follow and accessible to viewers who might prefer to read rather than just listen. Consider a consistent brand font and color palette for these elements.
- Color Correction and Grading: Basic color adjustments can make your food look more vibrant and appealing. Enhance saturation slightly, adjust brightness and contrast to make your dishes pop.
- Intro and Outro: Create a consistent intro and outro for your videos. Your intro could include a short branded animation or a quick snippet of your best cooking moments. Your outro is perfect for a call to action: remind viewers to like, comment, subscribe, or visit your website.
- Embrace Bloopers: Consider adding a short blooper reel at the end of your video. It adds personality, humor, and reinforces your authenticity.
Remember, editing is a skill that improves with practice. Don't strive for perfection in your first few videos. The trick is to just keep creating, learning from each project, and evolving your style. Even seasoned pros weren't perfect from day one!
Step 5: Share Your Culinary Creations and Maintain Momentum
Congratulations, chef! You've cooked, filmed, and edited your first video. Now it's time to share your masterpiece with the world and connect with your budding audience. This step is crucial for building a community around your cooking show.
Strategic Sharing and Engagement
- Choose Your Platforms Wisely: YouTube is ideal for longer-form, detailed cooking tutorials and recipe demonstrations. Instagram (Reels, Stories, and static posts) is excellent for visually appealing food photography, short engaging recipe snippets, and behind-the-scenes content. TikTok thrives on quick, trendy, and highly engaging recipe videos. Consider cross-posting and adapting your content for each platform.
- Optimize for Discovery: Use relevant keywords in your video titles, descriptions, and hashtags. Think about what people would search for to find your type of content (e.g., "easy weeknight pasta," "vegan dessert recipe," "how to bake sourdough").
- Engage with Your Audience: Be proactive in replying to comments, questions, and feedback. Foster a sense of community by asking questions, running polls, and encouraging viewers to share their own culinary experiences. Take constructive criticism with a pinch of salt, focusing on patterns of feedback that can help you improve.
- Consistency is Key: Regular uploads are vital for audience growth. Establish a realistic publishing schedule (e.g., once a week, bi-weekly) and stick to it. Consistency builds anticipation and keeps your audience coming back for more.
- Learn and Adapt: Pay attention to your analytics. Which videos perform best? What kind of content resonates most with your viewers? Use this data to refine your content strategy and experiment with new ideas, recipes, and formats. Your cooking show is a living entity – it will grow and change as you do.
- Explore Monetization (Optional): As your audience grows, you can explore various monetization avenues such as YouTube ad revenue, brand sponsorships, affiliate marketing for kitchen products, or even selling your own digital cookbooks or merchandise.
Remember, this is YOUR kitchen, and these are YOUR rules. Embrace the journey, celebrate every small victory, and most importantly, never lose the passion for what you do. We hope this blueprint empowers you to become the star of your own cooking show, right from your humble abode. Keep cooking, keep filming, keep sharing, and have an incredible amount of fun along the way!
