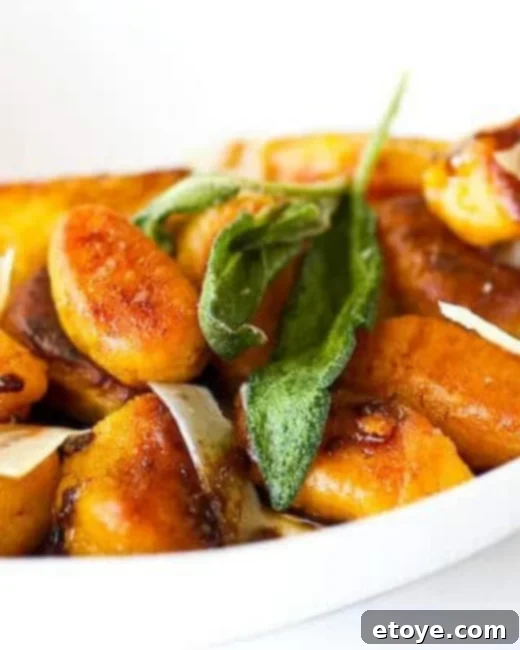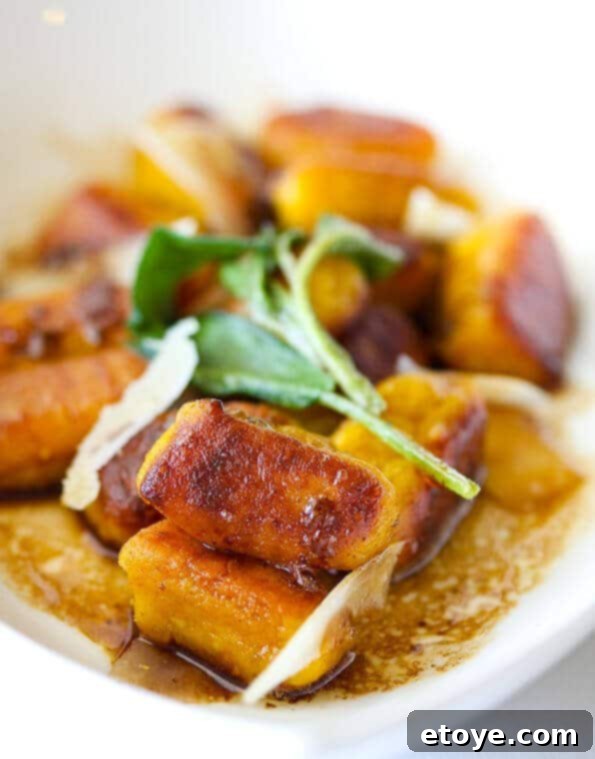
Experience Autumn Comfort: Pan-Fried Pumpkin Gnocchi with Brown Butter Sage
As the days grow shorter and the air turns crisp, there’s nothing quite as comforting as a warm, hearty meal that captures the essence of the season. This Pan-Fried Pumpkin Gnocchi with Brown Butter Sage is exactly that – a quintessential fall and winter delight, perfect for cozy evenings or as a show-stopping dish for your Thanksgiving table. If the thought of making homemade gnocchi sounds daunting, let me assure you, it’s far simpler than you imagine. Don’t let the Italian name or the “gn” consonant cluster intimidate you; this recipe is designed for ease and guaranteed deliciousness.
Many home cooks shy away from making gnocchi from scratch, often believing it to be a complex culinary endeavor reserved for seasoned chefs. However, this particular recipe, featuring the vibrant flavors of pumpkin and the rich creaminess of ricotta, is remarkably forgiving and quick to prepare. It transforms humble ingredients into an elegant dish that will impress your guests and satisfy your cravings for authentic, homemade comfort food. Forget the perfectly uniform, ridged gnocchi of Italian restaurants; our pan-fried version embraces rustic charm, focusing on a delightful crispy exterior and a tender, pillowy interior.
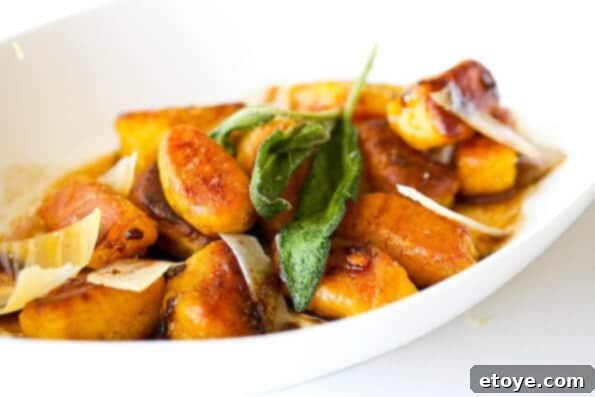
Demystifying Homemade Gnocchi: A Simple Approach
The secret to light, airy gnocchi lies in a gentle touch and minimal handling of the dough. Overworking the mixture develops the gluten in the flour too much, leading to a tough, chewy texture rather than the desired soft bite. Our recipe streamlines the process, making it accessible even for first-time gnocchi makers. We’ll guide you step-by-step, ensuring a successful and enjoyable cooking experience from start to finish. You’ll be amazed at how quickly you can create these delectable pumpkin pillows.
Gathering Your Ingredients: The Heart of the Flavor
The beauty of this pumpkin gnocchi recipe is its reliance on readily available ingredients that, when combined, create a symphony of fall flavors. You’ll need:
- **Canned Pumpkin:** The star of the show, providing moisture, a beautiful orange hue, and its signature earthy sweetness. Ensure you use plain pumpkin puree, not pumpkin pie filling.
- **Ricotta Cheese:** Adds a wonderful creaminess and helps achieve that tender gnocchi texture. Skim milk ricotta works perfectly for a slightly lighter touch.
- **Lemon Zest:** A crucial ingredient! It brightens the entire dish, cutting through the richness of the pumpkin and cheese with a subtle, fragrant acidity. Don’t skip this.
- **Grated Parmesan (Parmigiano Reggiano):** Contributes a salty, umami depth that complements the other flavors beautifully. Freshly grated is always best.
- **Egg Yolk:** Acts as a binder, helping to hold the dough together and adding richness.
- **All-Purpose Flour:** The structural component. Remember, less is often more with gnocchi dough.
- **Butter and Olive Oil:** For pan-frying the gnocchi and creating the glorious brown butter sage sauce.
- **Fresh Sage:** Its earthy, slightly peppery aroma is the perfect partner to pumpkin and brown butter.
- **Balsamic Vinegar:** A splash of good quality balsamic vinegar at the end of the sauce preparation adds a fantastic tangy counterpoint to the richness, elevating the entire dish.
Crafting Your Pumpkin Gnocchi: Step-by-Step Perfection
Let’s dive into the simple process of making these delightful pumpkin gnocchi. We’ll break it down into easy, manageable steps:
1. Preparing the Dough Base
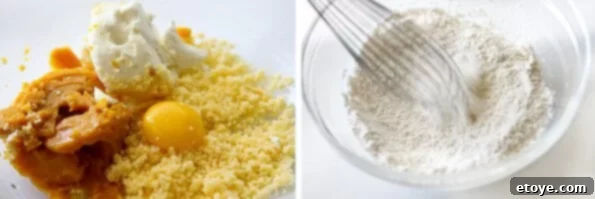
In a large bowl, combine the canned pumpkin, lemon zest, kosher salt, creamy ricotta cheese, and the egg yolk. Stir these ingredients together until they are well integrated and form a smooth, vibrant orange mixture. In a separate bowl, measure out your all-purpose flour. Here’s a little shortcut I love: instead of sifting the flour, which can be a bit messy, I use a wire whisk to vigorously aerate and break up any clumps. It achieves the same light, even texture without the extra fuss. Plus, “briskly whisk” just sounds fun!
2. Incorporating the First Batch of Flour
Now, add about half of your measured flour to the pumpkin and ricotta mixture. Using a spatula, gently fold and mix the ingredients until the flour is just incorporated and no dry streaks remain. Remember, the key here is a light hand; avoid over-mixing, as this is where gnocchi can become dense. The dough will still be quite wet and sticky at this stage.
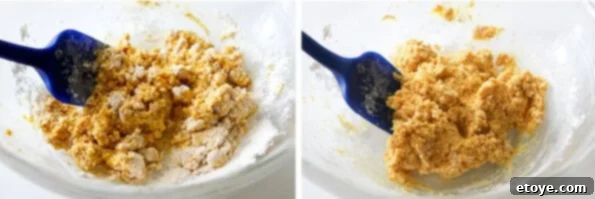
3. Gentle Kneading with Fingertips
Next, add the remaining flour. This time, switch from your spatula to your fingertips. Lightly mix and knead the dough for no more than a minute, just until the flour is fully integrated. The dough will be soft, wet, and slightly sticky – this is exactly what you want! If it feels excessively sticky, you can add a tiny bit more flour, a tablespoon at a time, until it reaches the right consistency. A quick test: press your finger into the dough. It should feel slightly tacky but come away clean, without much residue.
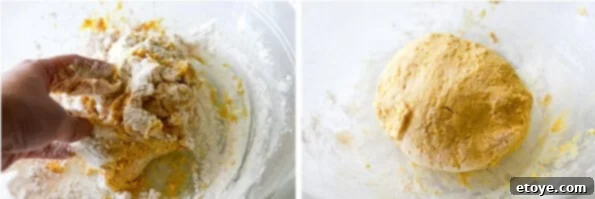
4. Rolling and Shaping the Gnocchi
Once your dough has the right texture, divide it into four equal portions. Take one portion and, using your hands, gently roll it on a lightly floured surface into a long, uniform “snake” about 1 inch in diameter. Don’t press too hard; keep it light.
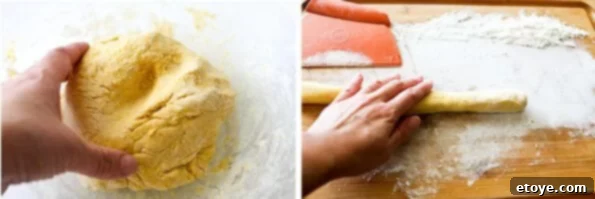
5. Cutting the Gnocchi Pieces
Using a knife, cut the dough snake into 1-inch pieces. You can then use your fingers to lightly roll each piece to make them slightly more even, but truthfully, for pan-fried gnocchi, this step is entirely optional. Any fancy handwork or traditional fork marks will disappear once they hit the hot pan, so embrace the rustic look!
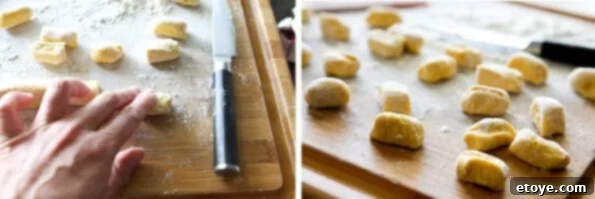
6. Pan-Frying for Golden Perfection
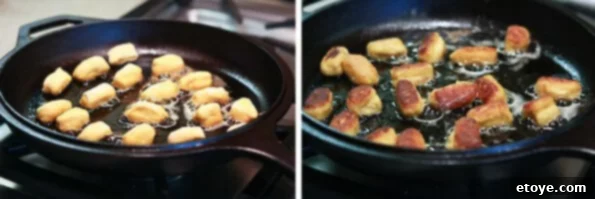
Heat a large frying pan or sauté pan over medium heat with a tablespoon of butter and a tablespoon of olive oil. Once hot, add a single layer of gnocchi pieces, ensuring they have enough space and don’t touch each other (this helps them brown evenly). Fry for 1-2 minutes per side until they turn a beautiful golden brown and develop a slightly crispy exterior. This pan-frying method gives them an incredible texture that boiling simply can’t achieve.
7. Crafting the Brown Butter Sage Sauce
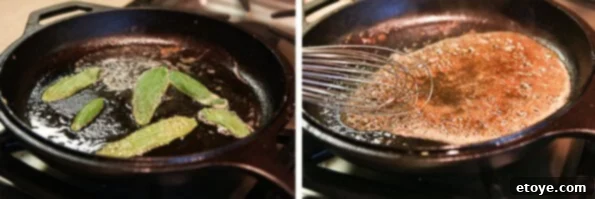
After frying all batches of gnocchi, remove them and set aside in a warm oven (preheated to 300F). Clean the frying pan with a paper towel. Return the pan to medium heat, then add the remaining 2 tablespoons of butter and 1 tablespoon of olive oil. Once melted and hot, add the fresh sage sprigs. Let the sage sizzle and brown for a couple of minutes until incredibly fragrant, taking care not to burn it. You can remove the crispy sage leaves if you prefer (or keep them in to eat, as their crispiness is a delightful textural addition!). Finally, whisk in the balsamic vinegar. Let it simmer on low for about a minute until slightly reduced and fragrant, then pour this luscious sauce over your warm gnocchi.
8. Finishing Touches and Serving
To serve, shave some fresh Parmigiano Reggiano over the gnocchi using a vegetable peeler. Garnish with an extra sage leaf if desired, and a sprinkle of lemon zest for an added pop of freshness. The rich, nutty brown butter and fragrant sage, combined with the tangy balsamic, perfectly complement the soft, slightly sweet pumpkin gnocchi. It’s a delightful balance of flavors and textures.
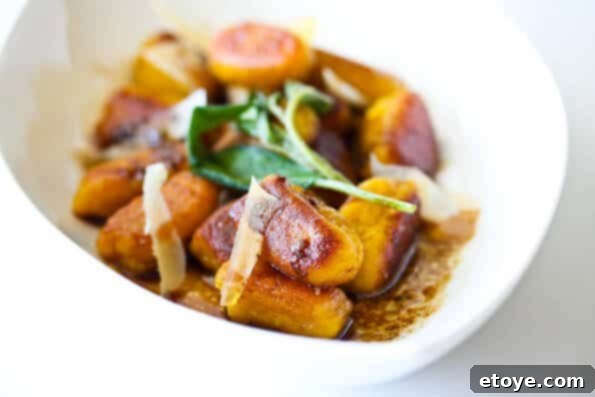
And there you have it! Delicious, homemade pumpkin gnocchi that’s surprisingly easy to make. This dish is not just a meal; it’s an experience – a celebration of fall flavors and the joy of cooking from scratch.
Pan-Fried Pumpkin Gnocchi Recipe
The secret to achieving perfectly light and tender gnocchi lies in your touch: avoid overworking the dough at all costs. Over-kneading develops the gluten too much, resulting in a dense, rubbery texture instead of the desirable soft, pillowy consistency. Use a spatula for initial mixing and then your fingertips for only a minute or two to bring the rest of the flour into the dough. For those who, like me, prefer convenience over traditional methods, a wire whisk makes an excellent substitute for a flour sifter, effectively breaking up any clumps.
The brown butter sage sauce is truly magnificent and adds a layer of sophisticated flavor that transforms this dish. It’s a rich, aromatic recipe, and a modest amount of this fragrant sauce is all that’s needed – it’s designed to complement the gnocchi, not drown it. The addition of a good quality balsamic vinegar introduces a delightful tanginess that beautifully cuts through the richness of both the gnocchi and the butter, creating a perfectly balanced flavor profile. Choose a high-quality balsamic for the best results, as its nuanced flavor truly shines.
Pan-Fried Pumpkin Gnocchi with Brown Butter Sage
Ingredients
- ½ cup skim milk ricotta
- ½ cup canned pumpkin puree
- ½ cup freshly grated Parmigiano Reggiano
- 1 large egg yolk
- 1 tsp lemon zest (from a microplane grater, plus extra for garnishing)
- 1 tsp kosher salt (or ½ tsp table salt)
- 1 cup all-purpose flour (sifted or whisked, plus more for dusting)
- 3 tbsp unsalted butter (divided)
- 2 tbsp olive oil (divided)
- 2 tbsp good quality balsamic vinegar
- 3 sprigs fresh sage (plus more for garnish)
- 1 dash shaved Parmigiano Reggiano for serving (use a vegetable peeler)
Instructions
- Preheat oven to 300°F (150°C). This will be used to keep your fried gnocchi warm while you cook in batches.
- In a large bowl, combine the ricotta, pumpkin puree, grated Parmigiano Reggiano, egg yolk, lemon zest, and salt. Mix thoroughly until well combined. Sprinkle half of the all-purpose flour over the mixture. Gently fold and turn with a spatula a few times to incorporate the flour. This can be done directly in the bowl or on a lightly floured countertop.
- Add the remaining flour to the mixture. Using your fingertips, gently knead the dough just until the flour is fully incorporated. This step should take no more than a minute or two to avoid overworking the dough, which can lead to tough gnocchi. The dough should be slightly tacky but clean to the touch.
- Lightly dust a clean, dry surface with flour. Divide the dough into 4 equal parts. Take one portion and roll it gently with your hands into a long, 1-inch (2.5 cm) diameter log. Using a knife, cut the log into 1-inch pieces to form the individual gnocchi. Repeat with the remaining dough portions.
- Heat a large frying pan or sauté pan over medium heat with 1 tablespoon of butter and 1 tablespoon of olive oil. Once the butter is melted and the oil is shimmering, add a single layer of gnocchi, ensuring they do not overcrowd the pan. Fry for 1-2 minutes per side until golden brown. Remove the fried gnocchi and place them on a large baking sheet in the preheated oven to keep warm. Repeat this process with the remaining gnocchi, adding a little more butter and oil if needed for subsequent batches.
- Once all gnocchi are fried, discard any remaining butter/oil from the pan and wipe it clean with a paper towel. Return the pan to medium heat. Add the remaining 2 tablespoons of butter and 1 tablespoon of olive oil. When hot, add the fresh sage sprigs. Allow the sage to brown and sizzle for a couple of minutes until very fragrant, being careful not to burn it. Remove the crispy sage leaves (you can discard them or keep them for garnish if you enjoy their texture). To the pan, add the balsamic vinegar and whisk well. Let the sauce simmer on low heat for 1 minute, then pour it evenly over the warm gnocchi.
- Serve immediately, garnished with shaved Parmigiano Reggiano (created with a vegetable peeler) and a fresh sage leaf for a beautiful presentation.
