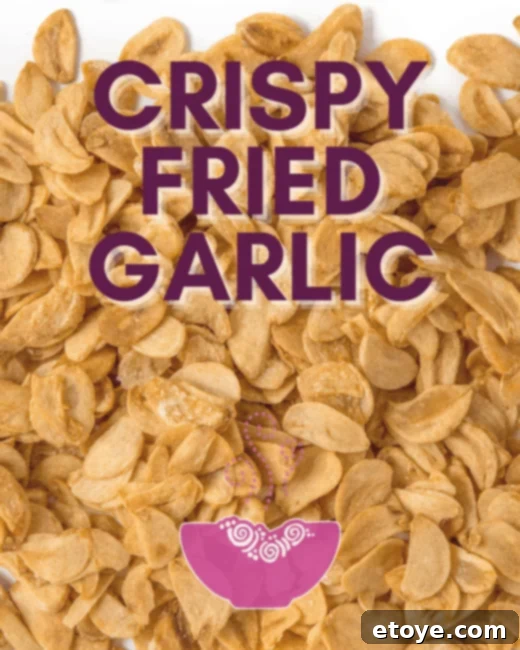
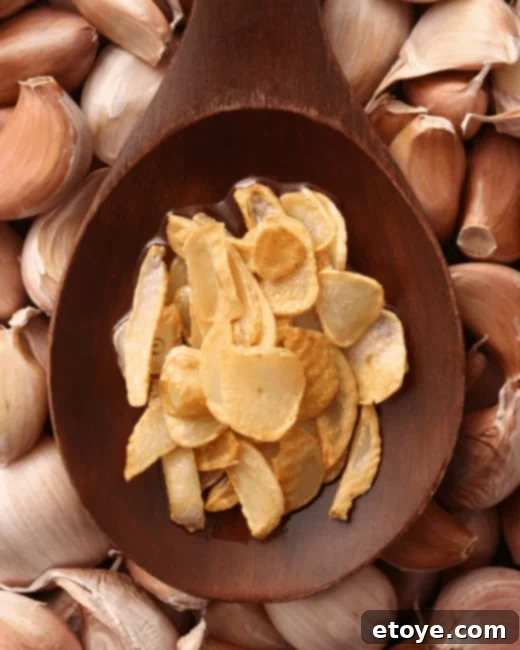
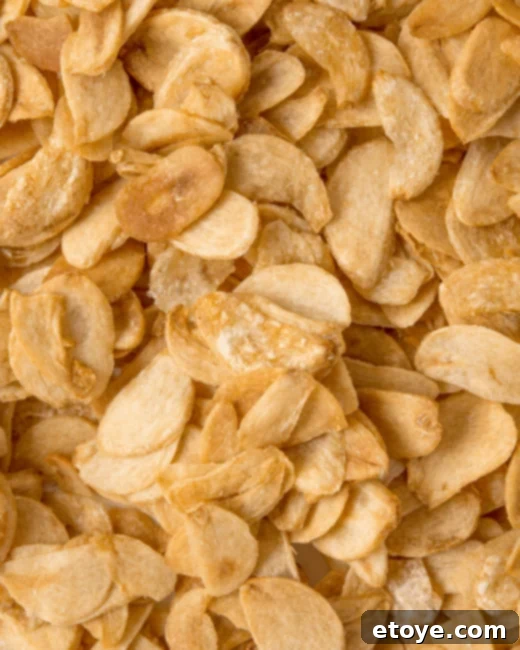
Garlic enthusiasts, prepare to elevate your culinary creations! This comprehensive guide reveals the simple secrets to pan-frying garlic to achieve irresistible golden-brown, crispy perfection. Once you master this technique, you’ll discover a world of flavor enhancement, as these glorious garlic chips can be generously sprinkled over virtually any dish – from vibrant Buddha bowls and fresh salads to savory pastas, zesty tacos, and hearty sandwiches. Get ready to transform ordinary meals into extraordinary experiences with this surprisingly easy and incredibly versatile crispy fried garlic recipe.

Unlock Unforgettable Flavor: The Magic of Crispy Fried Garlic
There’s a common misconception that “fried garlic” implies an overcooked, bitter, or burnt result. On the contrary, when prepared correctly, crispy fried garlic signifies a profound elevation of flavor. It embodies a transformation, turning humble garlic cloves into delightful, crunchy morsels that bring a nutty, deeply savory, and aromatic richness to any dish. It’s not just “more delicious than before”; it’s an entirely new texture and taste sensation that will leave your taste buds craving more.
Our ultimate goal when frying garlic for use as a topping is to achieve that perfect balance: crispy, nutty, and just rich enough to complement, rather than overpower, other ingredients. This isn’t about mere heat application; it’s about carefully coaxing out the best qualities of garlic, turning it into a culinary gem that adds both texture and an umami punch.
Essential Ingredients for Perfect Crispy Fried Garlic
You might be surprised to learn that this incredible flavor enhancer requires only two primary ingredients, plus a pinch of seasoning. The simplicity of the components belies the incredible depth of flavor they yield when properly prepared.
Fresh Garlic: The More, The Merrier!
The foundation of exceptional crispy fried garlic begins with the garlic itself. While pre-peeled garlic can be convenient, using fresh, whole heads of garlic often yields the best flavor. Look for firm, plump bulbs without any green sprouts, which indicate older garlic and can lead to a slightly bitter taste. Quantity is key here; the more cloves you prepare, the more delicious garlic chips and flavorful garlic oil you’ll have on hand for days to come! Consider using several heads of garlic at once to maximize your efforts.
The secret to uniform crispiness lies in how you slice the garlic. It is paramount to slice the cloves thinly and, most importantly, evenly. Inconsistent slices will result in some pieces burning while others remain soft. A mandoline slicer is an excellent tool for achieving perfectly uniform, paper-thin slices quickly and safely. If using a knife, take your time and aim for consistent thickness, about 1-2mm. This precision ensures that every single piece of garlic fries at the same rate, leading to an even golden color and satisfying crunch.
Choosing Your Cooking Oil
The type of cooking oil you select plays a crucial role in the outcome of your fried garlic. For the most neutral flavor that allows the garlic to shine, opt for high-smoke-point, neutral-flavored oils such as canola oil, vegetable oil, grapeseed oil, or even sunflower oil. These oils can withstand the necessary heat without imparting unwanted flavors. While olive oil is delicious, its lower smoke point and distinct flavor profile might not be ideal for achieving the purest garlic taste, though a light olive oil can be used for a slightly different aromatic nuance.
Regarding quantity, there isn’t a strict, single proportion of garlic to oil that must be followed. The general rule is to use enough oil to fully immerse all the garlic slices in the pan. As a starting point, approximately 1/3 to 1/2 cup of oil per average-sized head of garlic should suffice. It’s better to have a little more oil than too little, as insufficient oil can lead to uneven frying and burnt spots.

The Coveted Byproduct: Flavorful Garlic Infused Oil
As you embark on this garlic-frying adventure, don’t overlook one of the most celebrated side benefits: the incredible garlic-infused oil you’ll be left with! This isn’t merely used cooking oil; it’s a golden elixir brimming with the sweet, nutty essence of garlic. This aromatic oil is a culinary treasure in its own right, capable of transforming a multitude of dishes with its potent flavor.
Once your fried garlic is strained, allow the oil to cool completely before transferring it to an airtight container. Store it in a cool, dark place, or even in the refrigerator, where it can last for several weeks. This versatile oil can be used in countless ways:
- Sautéing: Use it as a base for stir-fries, vegetables, or proteins to infuse them with rich garlic flavor.
- Dressings: Whisk it into homemade salad dressings for an extra kick.
- Dipping: Serve it with crusty bread for an appetizer that rivals any restaurant.
- Finishing Oil: Drizzle it over finished dishes like pasta, grilled meats, or roasted vegetables just before serving for an aromatic flourish.
- Soups and Stews: Add a tablespoon or two to elevate the flavor profile of your favorite comfort foods.
This garlic oil ensures that no flavor is wasted, making your crispy fried garlic endeavor doubly rewarding!
Steps for Easy, Crispy Fried Garlic: A Detailed Guide
The journey to perfectly crispy fried garlic is remarkably straightforward, but it demands a swift and organized approach. The key to success lies in “mise en place” – having all your equipment and ingredients ready before you even turn on the stove. This recipe moves quite quickly, and you won’t want to be scrambling for tools mid-fry.
Essential Equipment for Success:
- A reliable pan: A heavy-bottomed skillet or saucepan ensures even heat distribution, which is crucial for uniform frying.
- Strainer/Colander/Sieve: Have a fine-mesh strainer or colander readily available to quickly drain the garlic from the hot oil. Place it over a heat-proof bowl to efficiently catch the invaluable garlic-infused oil.
- Paper Towel-Lined Plate: Prepare a plate by lining it with several layers of paper towels. This will be where your freshly fried garlic will rest, allowing any residual oil to be absorbed and ensuring maximum crispness.
- Sharp Knife or Mandoline: For slicing the garlic cloves uniformly.
- Spatula or Spoon: For stirring the garlic during frying.
Optional Pre-Step: Blanching for Perfect Browning
For those aiming for absolute perfection and truly uniform golden-brown garlic chips, a quick blanching step can be beneficial. This process helps to remove excess natural sugars from the garlic, which can sometimes lead to uneven browning or quick burning during frying. To blanch:
- Bring a small pot of water to a boil.
- Add the thinly sliced garlic to the boiling water, just enough to cover the slices.
- Immediately remove from heat and drain the garlic thoroughly using a strainer.
- Pat the blanched garlic dry with paper towels before proceeding with frying.
While optional, this step can give you a slight edge, especially if you’re new to frying garlic or want to guarantee professional-looking results. Blanched or not, once you have your thinly sliced garlic ready, it’s time to fry!
The Frying Process: Step-by-Step Perfection
- Cold Pan Start: Pour your chosen cooking oil into a cold pan. Add the thinly sliced garlic in a single, even layer, spreading it out as much as possible. Give the pan a gentle shake or use a spatula to ensure all the garlic is submerged and nestled comfortably in the oil. This cold-start method allows the garlic to gradually release its flavor into the oil and prevents it from burning too quickly, giving you more control over the browning process.
- Gentle Sizzle & Golden Hue: Place the pan over medium-low heat. The garlic should begin to sizzle gently, not aggressively. This low and slow approach is crucial for achieving that desirable golden-brown color and crispy texture without burning. Stir the garlic occasionally to ensure even cooking. As the garlic cooks, it will slowly change color, starting with a pale yellow, then moving towards a light golden. Keep a close watch; this stage typically takes 2 to 3 minutes, but it can vary based on heat and garlic thickness. The garlic is ready when it’s evenly golden and just starting to crisp up and dry out.
- Quick Transfer & Seasoning: The critical moment! As soon as the garlic reaches a light golden-brown color, and *before* it becomes fully golden or dark brown, immediately take the pan off the heat. The garlic will continue to cook and darken from residual heat even after being removed from the stove. Promptly transfer the garlic into your prepared strainer, shaking it vigorously to remove excess oil into the bowl below. While still warm, sprinkle generously with salt to taste. The warmth helps the salt adhere and infuse flavor.
- Cooling for Crispness: Pour the drained, salted garlic onto your paper towel-lined plate. Spread it out in a single layer to allow air circulation. Let it cool completely. This cooling period is essential for the garlic chips to achieve their ultimate crispness. As they cool, any remaining moisture evaporates, leaving you with perfectly crunchy garlic shards ready to bedazzle your Buddha bowl or any other dish!

Troubleshooting & Tips for Crispy Fried Garlic
Even with careful steps, sometimes things can go awry. Here are some common issues and how to avoid or fix them:
- Garlic burned too quickly: This is usually a sign that your heat was too high. Always start with a cold pan and medium-low heat. Also, ensure your slices are thin and even.
- Garlic isn’t crispy: This might mean it wasn’t cooked long enough, or it wasn’t spread out to cool properly. Ensure the garlic is golden and dry-looking before removing it from the heat, and let it cool completely on paper towels without crowding.
- Garlic is soft/chewy: Likely not enough cooking time or not enough surface area for oil contact (too thick slices).
- Oil splattering: Make sure your garlic is as dry as possible before adding it to the oil. If you blanched it, pat it very dry.
Awesome Recipes for Crispy Fried Garlic Lovers
Now that you’ve mastered the art of making crispy fried garlic, it’s time to put your delicious creation to good use! The versatility of these golden chips knows no bounds, adding a delightful crunch and robust flavor to a myriad of dishes. Here are some ideas and recipes where crispy fried garlic truly shines:
- Buddha Bowls: Sprinkle generously over any Buddha bowl for added texture and a burst of savory flavor. Try this Pineapple Chicken Teriyaki Buddha Bowl Recipe for a sweet and savory sensation enhanced by garlic.
- Pasta Dishes: Elevate simple pasta dishes like aglio e olio, or creamy sauces with a crispy finish. It’s a fantastic contrast to the rich and smooth textures. A perfect match for Creamy Miso Chicken Pasta.
- Salads: Move beyond croutons! Crispy fried garlic makes an exciting and flavorful topping for green salads, grain salads, or even a refreshing Shrimp Pad Thai Salad.
- Tacos and Wraps: Add a crispy element to your favorite tacos, burritos, or lettuce wraps for an unexpected layer of flavor and crunch.
- Soups: Finish creamy soups or clear broths with a sprinkle of fried garlic for an aromatic and textural contrast.
- Roasted Vegetables: Toss roasted broccoli, asparagus, or potatoes with crispy fried garlic for an instant flavor upgrade.
- Eggs: Sprinkle over scrambled eggs, fried eggs, or omelets for a gourmet breakfast or brunch.
- Rice Dishes: Transform plain rice into a fragrant side dish, or enhance dishes like fried rice or congee. Explore with a Rice Noodle Buddha Bowl with Vietnamese Dressing Recipe.
Storage Solutions for Crispy Fried Garlic
To keep your crispy fried garlic at its best, ensure it is completely cool before storing. Transfer it to an airtight container and store at room temperature for up to a week. For even longer freshness, you can refrigerate it for up to two weeks, or freeze it for a month or more. While it might lose a tiny bit of its initial crunch over time, a quick re-crisping in a dry pan over low heat can revive it. However, for the absolute best texture and flavor, we recommend enjoying your crispy fried garlic immediately after it cools!
Mastering crispy fried garlic is a simple yet profoundly rewarding culinary skill. It’s a testament to how humble ingredients, treated with a little care and technique, can yield extraordinary results. So go ahead, slice that garlic, heat that oil, and prepare to elevate your cooking to new, incredibly delicious heights!

Crispy Fried Garlic Recipe
Pin Recipe
10
5
Snack
Asian
8
97 kcal
Equipment
- Strainer/colander/sieve
- Paper towel(s)
Ingredients
- 1/3 cup cooking oil or as needed
- 8 cloves garlic sliced thinly
- Salt to taste
Instructions
- Before cooking, prepare a clean, dry fine-mesh strainer or sieve over a bowl (to catch the oil). Line a plate with a paper towel.
- Pour oil into a cold pan. Add garlic and heat pan over medium- to medium-low heat. Shake to disperse the garlic and cook over medium-low heat until garlic starts to crisp and reaches a light golden color throughout, 2 to 3 minutes.
- Pour garlic out into the strainer over the bowl. Sprinkle with salt and shake to remove excess oil into the bowl. Pour dry garlic out onto the paper towel-lined plate and let cool completely for best crisp.
- Optional pre-step: bring garlic to a boil in a pot of water. Add garlic slices to a pot of water, just enough to cover. Bring to a boil and immediately remove from heat. Strain garlic, then proceed with the recipe. This helps remove extra sugars from the garlic to ensure even browning while it fries.
Notes
Nutrition
Calories:
97
kcal
Carbohydrates:
1
g
Protein:
1
g
Fat:
11
g
Saturated Fat:
1
g
Sodium:
1
mg
Sugar:
1
g
Vitamin C:
1
mg
buddha bowl, fried garlic, crispy garlic
Tried this recipe?
Let us know how it was!
