Cleaning your toaster often feels like a chore, a task easily put off for another day. It’s understandable; there’s nothing inherently exciting about tackling burnt crumbs and food debris. Yet, neglecting this essential kitchen appliance isn’t just about aesthetics; it poses significant risks to your health and home safety. A dirty toaster can become a breeding ground for bacteria and, more alarmingly, a serious fire hazard. Fortunately, maintaining a pristine toaster doesn’t have to be a daunting or time-consuming ordeal. With a straightforward approach, you can ensure your toaster is not only sparkling clean but also operates safely and efficiently for years to come.
This comprehensive guide will walk you through a simple, step-by-step process to thoroughly clean your toaster. By following these easy instructions, you’ll not only learn the proper techniques but also discover how quick and satisfying a clean toaster can be. Our goal is to transform your relationship with this routine task, making it a regular and effortless part of your kitchen maintenance, thereby extending the life of your appliance and safeguarding your family’s well-being.
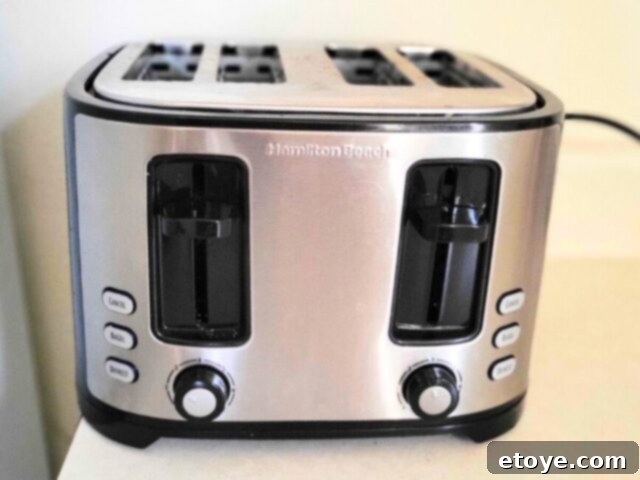
Why Prioritize Toaster Cleaning?
Beyond simply keeping your kitchen tidy, there are compelling reasons to make toaster cleaning a regular habit. Understanding these benefits can motivate you to keep this frequently used appliance in top condition, ensuring both hygiene and safety.
- Preventing Food Contamination and Health Risks: Every time you use your toaster, tiny food particles and crumbs accumulate at the bottom and within the heating elements. Over time, these remnants can become a haven for harmful bacteria, mold, and even attract pests. When fresh bread or other items are placed into a contaminated toaster, these microorganisms can easily transfer, leading to potential food poisoning or other health issues. Regular cleaning eradicates these bacterial colonies, ensuring that your breakfast toast is always safe and hygienic. This proactive approach significantly reduces the risk of cross-contamination and maintains a healthy cooking environment.
- Mitigating Fire Hazards: Perhaps the most critical reason to clean your toaster is to prevent a potentially devastating kitchen fire. Accumulated crumbs, especially those that are burnt or coated in grease from toasted items like cheese or pastries, are highly flammable. As the toaster heats up, these dry crumbs can easily ignite, leading to flames or significant smoke. This risk is amplified if the toaster is used on its side or in any position other than its intended upright orientation, as crumbs can come into direct contact with heating elements. A clean crumb tray and interior drastically reduce the amount of flammable material, safeguarding your home and loved ones from accidental fires. Prioritizing fire prevention through regular cleaning is a non-negotiable aspect of kitchen safety.
- Ensuring Optimal Performance and Longevity: A toaster clogged with crumbs and debris cannot function efficiently. The accumulation of food particles can interfere with the heating elements, leading to uneven toasting, longer cooking times, or even a persistent burning smell. This not only diminishes the quality of your toast but also places undue strain on the appliance’s internal components, potentially shortening its lifespan. Regular cleaning ensures that air circulates freely and heating elements can operate optimally, resulting in perfectly golden toast every time. Moreover, preventing the buildup of gunk reduces the likelihood of malfunctions and extends the working life of your toaster, saving you money on replacements and ensuring consistent performance.
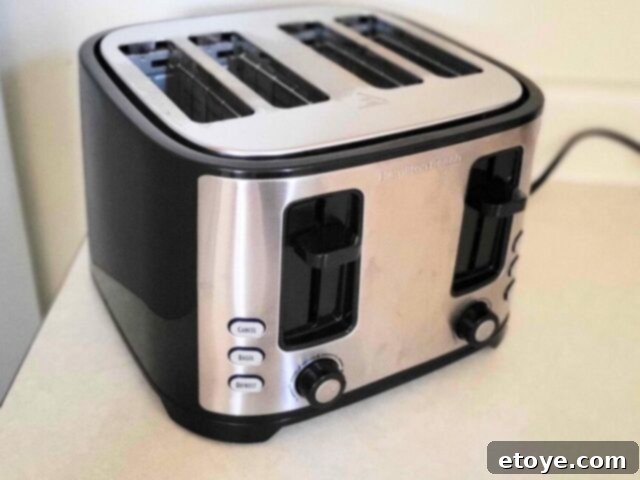
How Often Should You Clean Your Toaster?
The frequency of cleaning largely depends on your usage habits. Establishing a consistent cleaning schedule is crucial for maintaining hygiene and preventing safety hazards. Here’s a general guideline:
- For Daily Users: If your toaster is a kitchen workhorse, used almost every day, a weekly deep clean is highly recommended. Daily use quickly leads to a significant accumulation of crumbs and residues, which means the risks of fire and bacterial growth escalate rapidly. Dedicate a few minutes each week to thoroughly clean both the interior and exterior to ensure continuous safe and efficient operation.
- For Occasional Users: If you use your toaster less frequently, perhaps only once or twice a week, you can extend the full cleaning interval to once every two to four weeks. However, even with less frequent use, it is imperative to empty the crumb tray on a weekly basis. This quick step alone can dramatically reduce fire risks and prevent pests from being attracted to your appliance. Regularly emptying the crumb tray is a simple yet vital maintenance habit.
Ultimately, a good rule of thumb is to assess the visible crumb accumulation. If you see a substantial amount of crumbs, it’s time for a clean, regardless of your schedule. Staying proactive will keep your toaster in pristine condition.
Essential Materials for Toaster Cleaning:
Gathering the right tools before you begin will make the cleaning process seamless and effective. Most of these items are likely already in your kitchen pantry or cleaning cabinet.
- Soft-Bristle Pastry Brush: Ideal for gently sweeping away loose crumbs and food particles from the delicate interior of the toaster, especially around the heating elements, without causing damage.
- Damp Cloth: A general-purpose cloth, slightly moistened with water, perfect for wiping down surfaces and removing light grime.
- Mild Dish Soap: An excellent degreaser and cleaner, safe for most external surfaces and the crumb tray.
- White Vinegar: A natural disinfectant, deodorizer, and powerful polishing agent, particularly effective for stainless steel exteriors, leaving them streak-free and shiny.
- Baking Soda (Optional): A mild abrasive that forms a paste with water, making it incredibly effective for tackling stubborn stains and baked-on grease without scratching surfaces.
- Microfiber Cloth: Essential for drying and polishing, a microfiber cloth ensures a lint-free, streak-free finish on all surfaces, especially crucial for stainless steel.
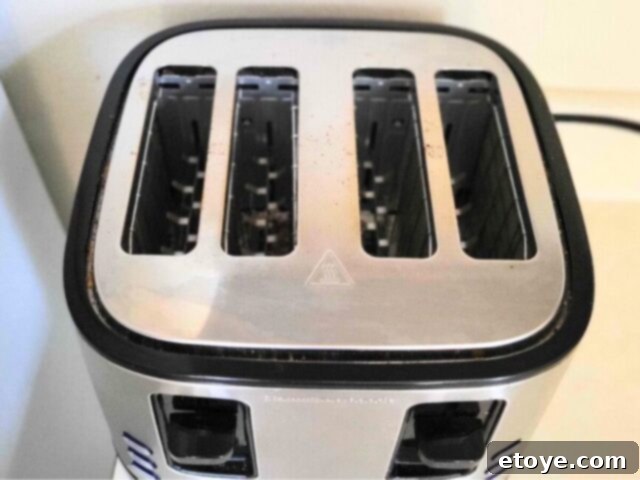
The Comprehensive Toaster Cleaning Process:
Follow these detailed steps to ensure a thorough and safe cleaning of your toaster. Each stage is designed to maximize cleanliness while safeguarding your appliance.
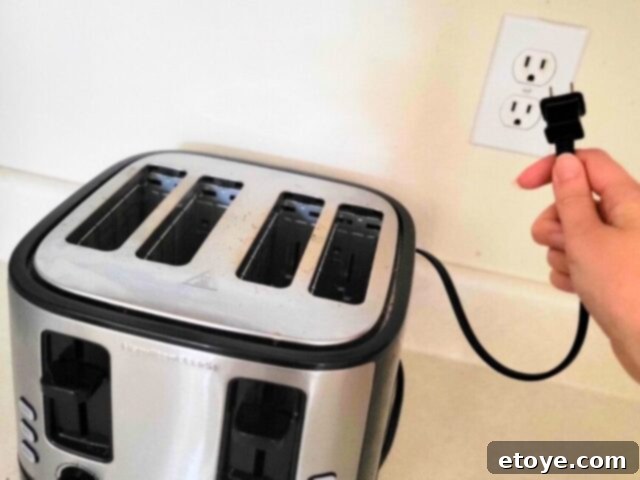
1. Unplug and Prepare for Safety
Before you begin any cleaning, the absolute first and most critical step is to unplug your toaster from the electrical outlet. This eliminates any risk of electrical shock or accidental activation while you are cleaning. Always wait for the toaster to cool down completely if it has been recently used, as hot heating elements can cause burns. Safety should always be your top priority when dealing with electrical appliances.
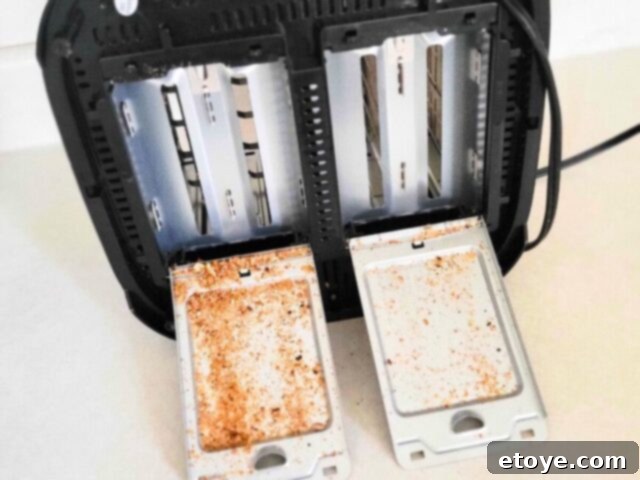
2. Remove and Empty the Crumb Tray
Locate the crumb tray at the bottom of your toaster. Depending on your model, it might slide out completely or pivot open on a hinge. Carefully remove or open the tray and dispose of all accumulated crumbs into a trash can or compost bin. This step is incredibly important, as the crumb tray is where the vast majority of flammable debris collects. Regular emptying of this tray is one of the most effective measures against toaster fires. Pay attention to any larger pieces of food that might be stuck.
3. Dislodge and Shake Out Loose Crumbs
Even after emptying the tray, many crumbs will remain trapped inside the toaster’s main compartment. Over a sink or trash can, turn your toaster upside down and gently shake it from side to side. A gentle shimmy or tap on the side can help dislodge any stubborn crumbs clinging to the interior walls or heating elements. Continue this process until no more crumbs fall out. This initial step helps remove the bulk of the loose debris, making subsequent cleaning easier and more effective.
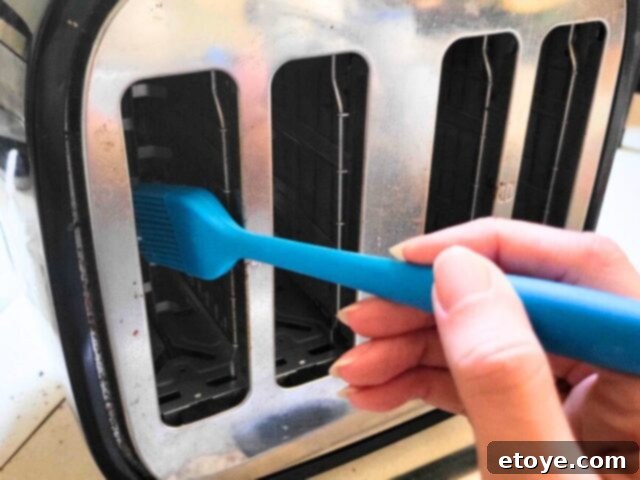
4. Brush the Interior Thoroughly
With most loose crumbs removed, it’s time to tackle the remaining particles. Take your soft-bristle pastry brush and carefully insert it into the toaster slots. Gently brush the inside walls, paying special attention to the heating elements (without applying excessive pressure) and any hard-to-reach corners or crevices. These areas are notorious for accumulating finely ground food particles and burnt residue. The soft bristles will effectively dislodge these stubborn bits without damaging the delicate internal components. For very tight spots, a clean, dry toothbrush can also be effective. Remember to be gentle to avoid bending or scratching the heating coils.
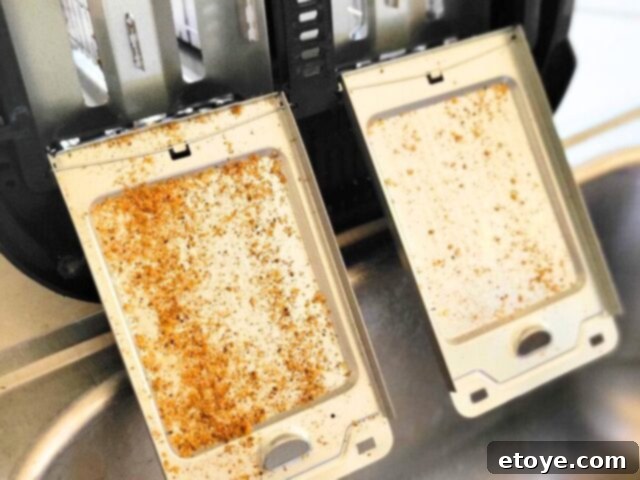
5. Clean the Crumb Tray Separately
Now, focus on the crumb tray itself. If your crumb tray fully detaches, wash it thoroughly with warm, soapy water in your sink. Use a small amount of dishwashing liquid and a sponge or soft-bristle brush to scrub away any food residue, grease, or baked-on crumbs. For hinged trays, wipe them down thoroughly with a damp, soapy cloth. Rinse the tray completely under running water to remove all soap residue. It is absolutely crucial to dry the crumb tray thoroughly before reattaching it. Any residual moisture can lead to rust, mold growth, or pose an electrical hazard when the toaster is plugged back in.
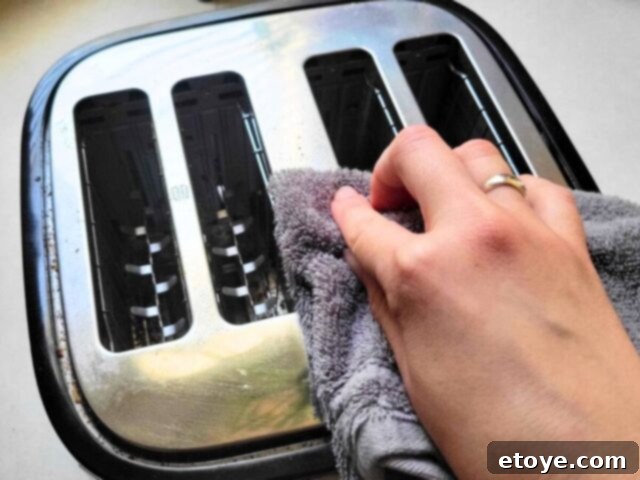
6. Wipe Down the Toaster’s Exterior
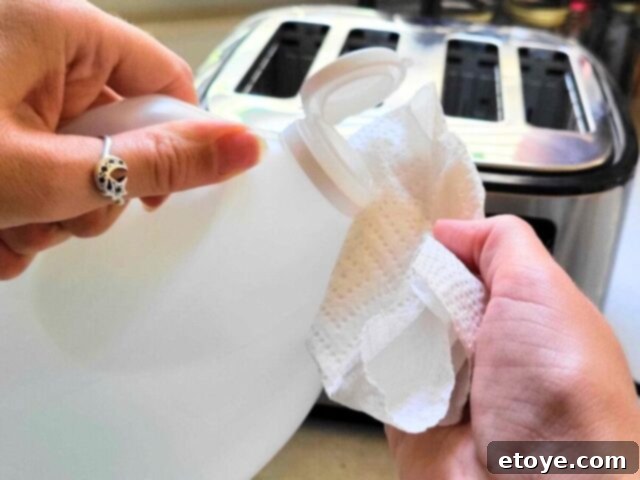
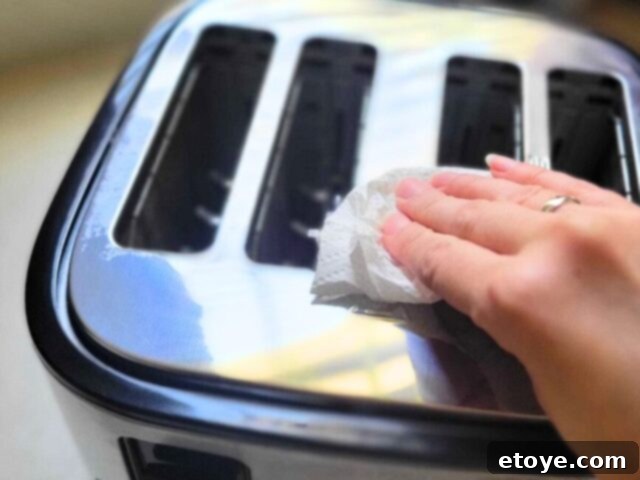
The exterior of your toaster is often exposed to splatters and fingerprints. For most toaster finishes (plastic, painted metal), a damp cloth with a few drops of mild dish soap will suffice. Gently wipe down all outer surfaces. If you have a stainless steel toaster, you can achieve a brilliant, streak-free shine using a solution of equal parts warm water and white vinegar. Spray this solution onto a microfiber cloth and wipe in the direction of the grain of the stainless steel. This not only cleans but also polishes the surface. Always avoid using harsh chemical cleaners, abrasive scrubbers, or scouring pads, as these can scratch, discolor, or damage the toaster’s finish. A clean exterior contributes to the overall hygiene and aesthetic appeal of your kitchen.
7. Address Stubborn Stains with Baking Soda (Optional)
For more persistent stains, baked-on grease, or discoloration on the exterior that regular wiping can’t handle, a baking soda paste is an excellent solution. Mix equal parts baking soda and water to form a thick paste. Apply this paste directly to the stained areas and let it sit for about 5-10 minutes. The baking soda acts as a mild abrasive and a natural degreaser. After allowing it to work, gently scrub the paste with a damp, soft sponge (ensure you’re using the soft, non-abrasive side) or a microfiber cloth. The gentle scrubbing action, combined with the baking soda, will lift the stains without damaging the surface. Once the stain is gone, wipe away any residue with a clean, damp cloth and then dry thoroughly.
8. Ensure Thorough Drying Before Reassembly
This final step is crucial for safety. After cleaning, use a clean, dry microfiber or lint-free cloth to thoroughly dry the exterior of the toaster and the crumb tray. For the interior, which cannot be wiped directly, it’s vital to allow sufficient air drying time. Leave the toaster unplugged and allow it to sit out, ideally overnight, in a well-ventilated area. This ensures that any residual moisture inside the toaster completely evaporates before it is plugged back into an electrical outlet. Plugging in a toaster with internal moisture can lead to short circuits, appliance damage, or serious electrical hazards. Only reattach the crumb tray and plug in the toaster once you are absolutely certain it is 100% dry, both inside and out.
Additional Toaster Cleaning and Maintenance Tips:
Beyond the regular cleaning process, incorporating a few extra habits and considerations can significantly enhance your toaster’s performance, safety, and longevity.
- Commit to Regular Cleaning: Make toaster cleaning a non-negotiable part of your kitchen routine, perhaps integrated into your weekly kitchen tidy-up. Consistent, light cleaning is far easier and more effective than tackling a heavily soiled toaster after months of neglect. Regular maintenance prevents the buildup of stubborn crumbs and burnt food particles, saving you time and effort in the long run.
- Use Soft Cloths for Stainless Steel Appliances: When cleaning any stainless steel surface, including your toaster’s exterior, always opt for a soft cloth or sponge. Abrasive materials like steel wool, harsh scrubbers, or certain chemical cleaners can leave permanent scratches, dull the finish, or even cause discoloration. Wiping with the grain of the stainless steel also helps prevent streaks and enhances its natural luster.
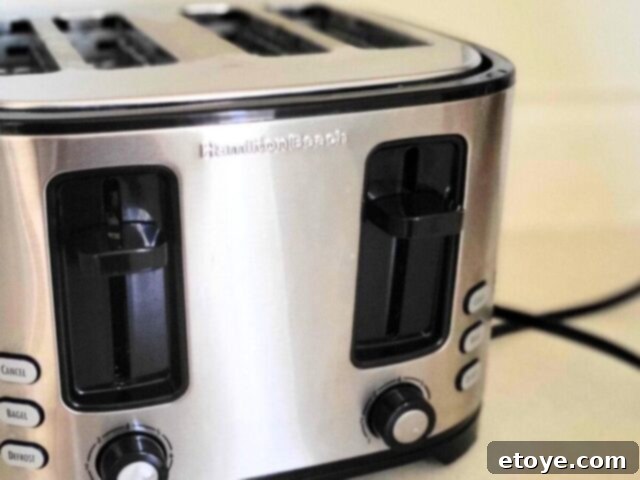
- Care for the Control Panel Delicately: The control panel, with its buttons, levers, and dials, requires a gentle approach to avoid damaging sensitive electrical components. Use a lightly damp paper towel or a soft cloth to wipe away fingerprints and smudges. It is crucial to ensure that no moisture seeps into the gaps around the buttons or into the electrical housing. Avoid spraying cleaners directly onto the control panel; instead, apply the cleaner to your cloth first.
- Proactive Fire Risk Prevention: Regularly emptying the crumb tray and brushing out internal debris are your primary defenses against toaster fires. However, also be mindful of what you toast. Avoid toasting items with excessive glazes, sugars, or cheese that can melt and drip onto the heating elements, as these residues are particularly difficult to remove and highly flammable. Always ensure bread slices fit properly within the slots without touching the heating elements.
- Avoid Submerging Your Toaster: Never immerse your toaster in water or place it in a dishwasher. It is an electrical appliance, and submerging it can cause severe damage, electrical shorts, and pose a grave electrocution risk. All cleaning should be done externally or with minimal internal dampness as outlined in the steps above.
- Consider Specialized Tools: For very persistent crumbs deep within the toaster that even a brush can’t reach, a can of compressed air can be used with extreme caution to blow them out. Ensure the toaster is completely unplugged and aim the air away from your face.
- Know When to Replace: Even with the best care, toasters don’t last forever. If your toaster consistently emits a burning smell even after cleaning, shows visible signs of electrical damage (like frayed cords), or experiences consistent malfunctions, it might be time to invest in a new one. Your safety should always come first.
Empowering Your Toaster Cleaning Routine
As you can see, cleaning your toaster doesn’t have to be a dreaded chore. This detailed, step-by-step guide is designed to simplify the process, demonstrating just how easy it is to keep your toaster in pristine condition. With a few basic household items and a little dedicated time, you can ensure your appliance is not only sparkling clean but also functions safely and efficiently every single day.
By integrating these simple steps into your regular kitchen maintenance, you’ll not only prolong the life of your toaster but also safeguard your home against potential fire hazards and maintain a hygienic cooking environment. Make a commitment to giving your toaster a good clean on a weekly or bi-weekly basis, and you’ll undoubtedly appreciate the fresh, perfectly toasted results.
Do you have any ingenious tips or clever tricks for cleaning your pop-up toaster, toaster oven, or other small kitchen appliances that you’ve found particularly effective? We would love to hear from you! Please share your favorite cleaning hacks and advice in the comments below, helping our community keep their kitchens sparkling clean and safe.
