For many households, the toaster is a breakfast staple, a reliable companion for crispy toast, bagels, and more. Yet, despite its frequent use, cleaning your toaster often falls into the category of household chores we love to postpone, or even completely forget about. The thought of dealing with burnt crumbs and tricky crevices can seem daunting, leading to a build-up that’s not only unsightly but also potentially hazardous. However, what if we told you that maintaining a sparkling clean toaster is far easier and quicker than you imagine? This comprehensive guide will transform your approach to toaster maintenance, making it a simple, regular task rather than a dreaded chore.
Beyond aesthetics, a clean toaster is crucial for both household safety and food hygiene. An accumulation of neglected crumbs doesn’t just look bad; it poses a significant fire risk and can harbor bacteria, potentially contaminating your food. Regular cleaning ensures your appliance operates efficiently, toasts evenly, and extends its lifespan. We’ve compiled a straightforward, step-by-step method designed to demystify the process, helping you achieve a perfectly clean toaster in no time. Prepare to redefine your relationship with this essential kitchen appliance, ensuring it remains safe, sanitary, and ready for your next perfect piece of toast.
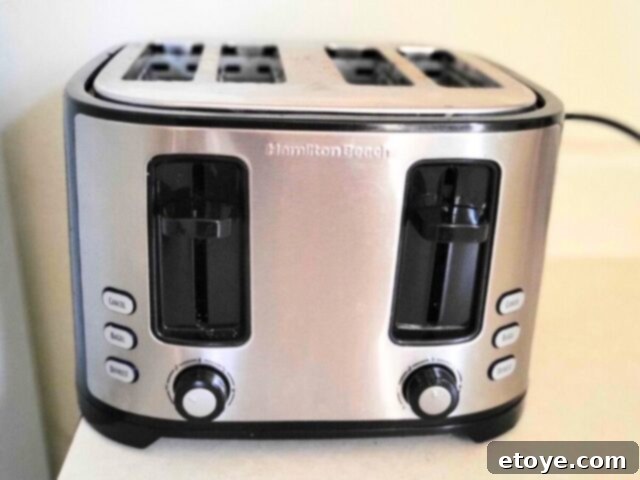
Why Cleaning Your Toaster is Non-Negotiable: Safety, Health, and Efficiency
Understanding the critical reasons behind regular toaster cleaning can motivate you to keep up with this simple yet vital task. It’s more than just tidiness; it’s about safeguarding your home and health, while also maximizing the performance of your appliance.
1. Preventing Food Contamination and Food Poisoning
It might seem surprising, but your toaster can become a breeding ground for harmful bacteria. Every time you toast bread, bagels, or pastries, tiny crumbs and food particles inevitably fall into the toaster’s interior. Over time, these crumbs accumulate, and if left unattended, they can become damp, attracting mold and other microorganisms. When new food items are introduced, these contaminants can easily transfer, leading to potential food poisoning or other health issues. Regular cleaning removes these hazardous residues, ensuring that your breakfast isn’t a petri dish for unwanted germs.
2. Eliminating the Risk of Fire Hazards
This is perhaps the most critical reason to keep your toaster spotless. Burnt crumbs and grease build-up inside the toaster are highly flammable. When the heating elements activate, especially at higher settings or during prolonged use, these accumulated debris can easily ignite, leading to a kitchen fire. This risk is amplified if crumbs fall onto the heating elements themselves. A significant number of household fires are attributed to neglected kitchen appliances, and a dirty toaster is a common culprit. By regularly emptying the crumb tray and cleaning the interior, you drastically reduce this dangerous fire hazard, protecting your home and loved ones.
3. Ensuring Optimal Performance and Even Toasting
Beyond safety and hygiene, a clean toaster simply works better. Accumulated crumbs and debris can interfere with the toaster’s internal mechanisms, including the heating elements and the pop-up function. This interference often results in unevenly toasted bread – one side burnt, the other barely warm – or even prevents the toaster from functioning correctly. A thick layer of crumbs can also cause your toaster to emit an unpleasant burnt smell, tainting your food. Keeping the interior free from obstructions allows for consistent heat distribution and smooth operation, ensuring every slice comes out perfectly golden brown, just the way you like it, and extending the lifespan of your appliance.
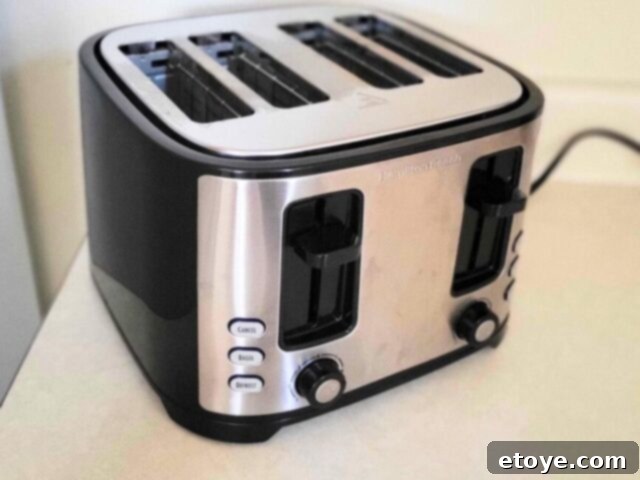
How Often Should You Clean Your Toaster for Optimal Results?
The frequency of cleaning largely depends on your toaster usage. Establishing a regular cleaning schedule is key to preventing hazardous build-up and maintaining appliance efficiency. Here’s a general guideline:
- Daily Users (3-7 times a week): If your toaster is a daily workhorse, making toast for breakfast every morning, a weekly deep clean is highly recommended. At a minimum, the crumb tray should be emptied at least once a week, preferably more often if you notice a significant accumulation.
- Occasional Users (1-2 times a week): For those who use their toaster less frequently, perhaps only on weekends or a couple of times during the week, a thorough cleaning every two to three weeks should suffice. However, it’s still crucial to empty the crumb tray weekly to prevent any long-term accumulation of stale crumbs.
- Infrequent Users (Less than once a week): Even if your toaster sees action only a few times a month, a monthly check-up and clean is a good practice. Crumbs can attract pests and grow mold even without frequent use.
Regardless of usage frequency, make it a habit to quickly inspect your toaster’s crumb tray whenever you use it. A quick shake over the trash can often prevent larger cleaning tasks down the line.
Essential Tools and Materials for Toaster Cleaning
Gathering your supplies beforehand will make the cleaning process smooth and efficient. You likely already have most of these items in your kitchen or cleaning cabinet:
- Soft-bristle Pastry Brush or Small Paintbrush: Ideal for gently sweeping away loose crumbs from the toaster’s interior without damaging heating elements.
- Damp Cloth: A general-purpose cloth, slightly moistened with water, perfect for wiping surfaces.
- Mild Dish Soap: A small amount mixed with water is effective for cleaning the crumb tray and exterior.
- White Vinegar: An excellent natural degreaser and sanitizer, especially for stainless steel exteriors, leaving a streak-free shine.
- Baking Soda (Optional but Recommended): A versatile abrasive for tackling stubborn stains and caked-on grease on the exterior.
- Microfiber Cloths: Essential for drying surfaces thoroughly and polishing, preventing water spots and streaks.
- Toothpick or Cotton Swab (Optional): For reaching very tiny crevices or dislodging stubborn crumbs.
With these simple tools at hand, you’re ready to embark on a thorough toaster cleaning mission.
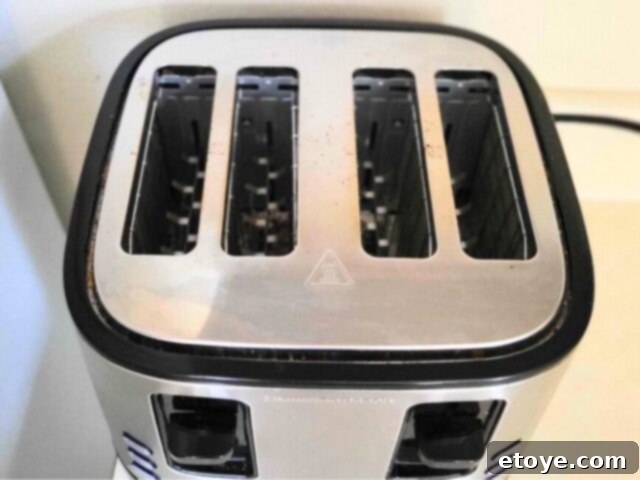
Step-by-Step Guide: How to Clean Your Toaster Effectively
Follow these simple yet crucial steps to ensure a thorough and safe cleaning of your toaster. Remember, patience and attention to detail will yield the best results.
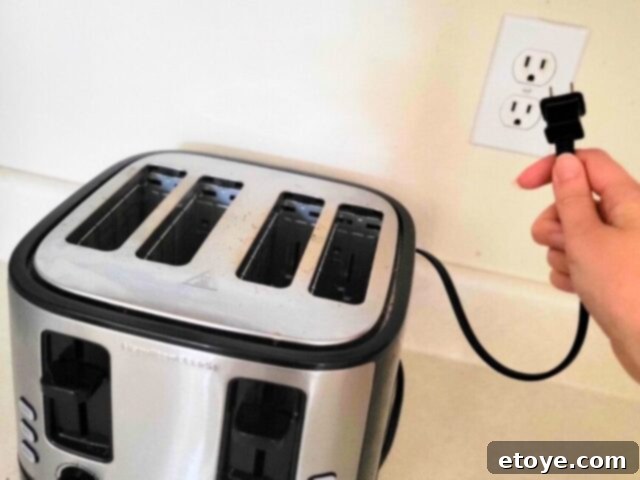
Step 1: Unplug Your Toaster – Safety First!
Before you begin any cleaning, the absolute first and most critical step is to unplug your toaster from the power outlet. This eliminates any risk of electrical shock or accidental activation during the cleaning process. Never attempt to clean an appliance that is still connected to a power source. Give the toaster a few minutes to cool down completely if it has been recently used, as heating elements can retain heat.
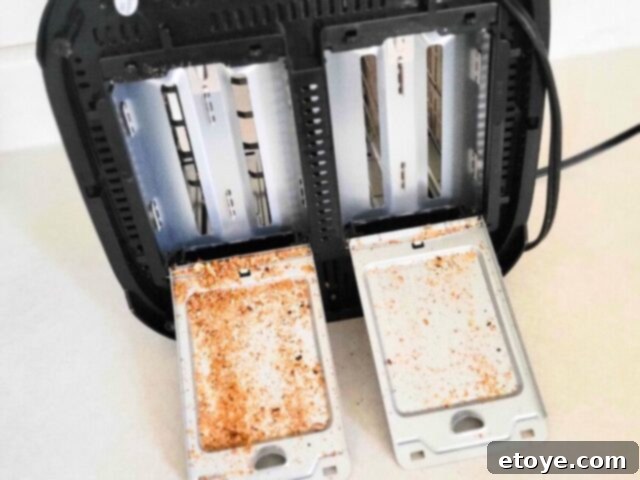
Step 2: Remove and Empty the Crumb Tray
Most modern toasters are equipped with a removable crumb tray, typically located at the bottom. Gently slide out this tray. Some older models or specific designs might have a hinged door that swings open rather than a fully removable tray; in this case, simply open it. Hold the tray over a trash can or compost bin and carefully dump out all accumulated crumbs and debris. This initial step alone drastically reduces fire risks and makes subsequent cleaning much easier. If your toaster doesn’t have a removable tray, proceed directly to Step 3, being extra cautious when shaking out crumbs.
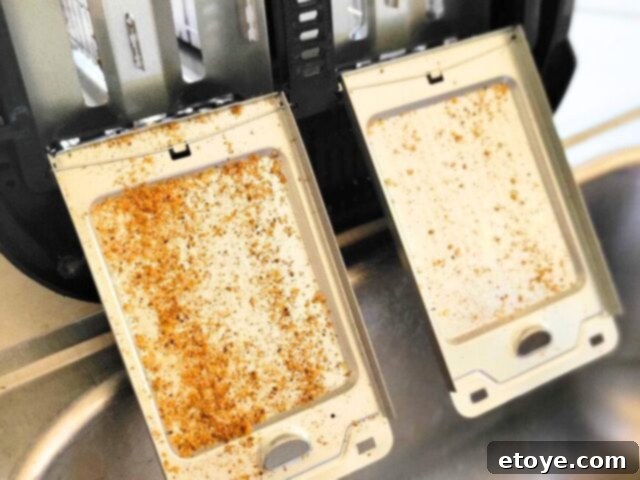
Step 3: Shake Out Remaining Loose Crumbs
Even after emptying the tray, many crumbs will invariably cling to the inside of your toaster. Take your unplugged toaster to a sink or over a large trash can. Gently turn it upside down and give it a firm but controlled shake and shimmy. You might be surprised by how many additional crumbs, burnt bits, and small food particles dislodge from the internal crevices. Repeat this a few times, gently tapping the sides, to ensure as many loose particles as possible are removed. This prevents them from being pushed further into the toaster during the next step.
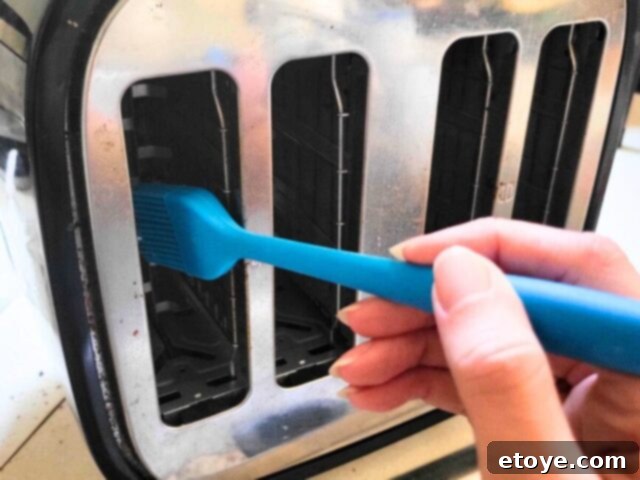
Step 4: Brush the Interior for Thorough Cleaning
Now, grab your soft-bristle pastry brush or a dedicated small, clean paintbrush. Carefully insert the brush into the toaster slots and gently sweep along the heating elements, the walls, and any other reachable interior surfaces. Pay particular attention to the bottom of the toaster, where crumbs tend to accumulate most stubbornly. Be very gentle around the delicate heating elements to avoid damaging them. The goal here is to dislodge any crumbs or sticky residue that shaking couldn’t remove. A soft brush is crucial as it won’t scratch or damage the interior components. For particularly tight spots, a clean, dry toothbrush can also be used with extreme care.
Step 5: Clean the Crumb Tray with Soap and Water
If your crumb tray is fully detachable, take it to the sink. Wash it thoroughly with warm, soapy water using a sponge or a soft-bristle brush. Apply a small amount of mild dish soap to lift any sticky residue, burnt-on food particles, or grease. Scrub both sides of the tray until it’s completely clean. Rinse it well under running water to remove all soap residue. For hinged crumb trays that aren’t fully removable, carefully wipe them down with a damp cloth dipped in soapy water, taking care not to let water drip into the toaster’s electrical components. Ensure it is completely rinsed and free of soap.
Step 6: Wipe Down and Polish the Exterior
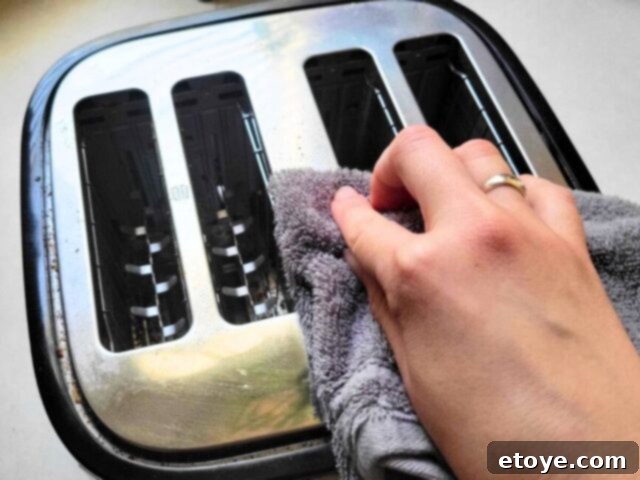
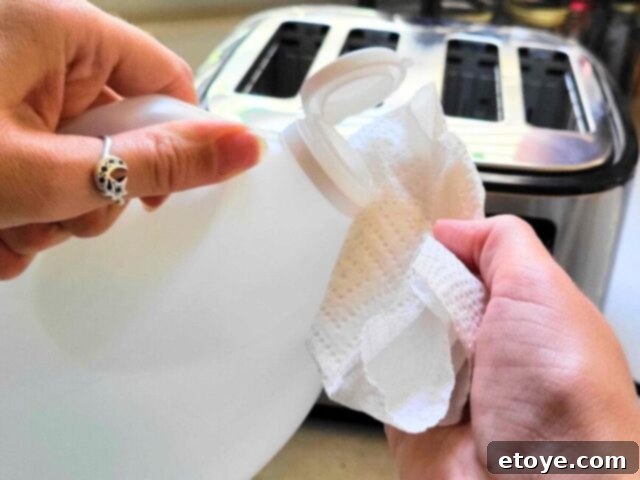
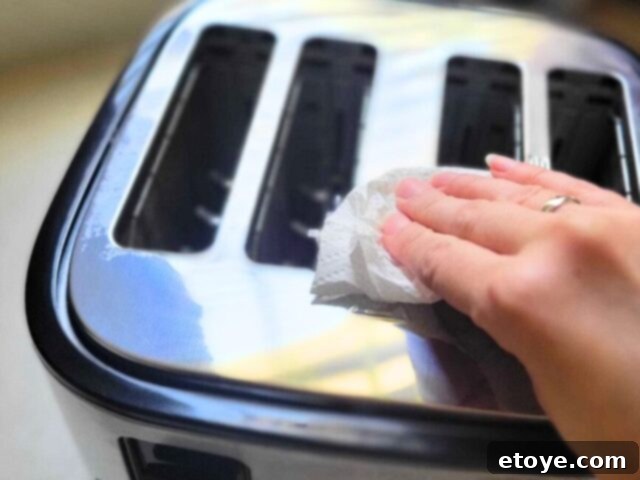
The exterior of your toaster is just as important for a sparkling kitchen. Dampen a clean cloth with warm water and add a drop or two of mild dish soap. Gently wipe down all exterior surfaces. For stainless steel toasters, a solution of equal parts white vinegar and water can work wonders, leaving a streak-free shine and naturally disinfecting the surface. Simply dampen a microfiber cloth with this solution and wipe in the direction of the grain. For plastic exteriors, soapy water is usually sufficient. Remember, never spray cleaning solutions directly onto the toaster; always apply them to your cloth first to prevent liquid from seeping into internal components. Avoid harsh abrasive cleaners or scouring pads, as these can scratch and damage the toaster’s finish.
Step 7: Tackle Stubborn Stains with Baking Soda Paste (Optional)
For those persistent, baked-on stains or greasy marks on the exterior that won’t budge with soap and water, baking soda is your secret weapon. Create a paste by mixing equal parts baking soda and water in a small bowl. Apply this paste directly onto the stubborn stains and let it sit for about 5-10 minutes. The gentle abrasive nature of baking soda will help lift the grime. After allowing it to work, gently scrub the area with the soft side of a damp sponge or a soft cloth. Wipe away the paste with a clean, damp cloth, then polish with a dry microfiber cloth. This method is highly effective without being overly abrasive.
Step 8: Thoroughly Dry Your Toaster Before Reassembly
This final step is crucial for safety. Use a clean, dry microfiber cloth or a lint-free towel to thoroughly dry the exterior of your toaster, removing all moisture and polishing it to a shine. Ensure the crumb tray is also completely dry before reinserting it. For the interior, it’s best to allow it to air dry for several hours, or ideally, overnight. Even a tiny bit of residual moisture can pose an electrical hazard when the toaster is plugged back in. Patience here is paramount. Once you are absolutely certain that every part of your toaster, inside and out, is bone dry, you can reassemble it, if necessary, and plug it back into the power outlet.
Advanced Toaster Cleaning Tips and Maintenance Hacks
To further enhance your toaster cleaning routine and ensure its longevity, consider these additional tips:
- Make it a Habit: Integrate toaster cleaning into your regular kitchen maintenance schedule. Whether it’s a quick crumb tray emptying after each use or a more thorough clean every weekend, consistency is key to preventing major build-ups and simplifying the task.
- Handle Stainless Steel with Care: When cleaning stainless steel exteriors, always wipe in the direction of the metal’s grain to avoid streaks and preserve its polished look. Microfiber cloths are essential for their lint-free and gentle properties.
- Cleaning the Control Panel and Buttons: The control panel and buttons can accumulate grease and dust. Use a slightly damp cloth (dampened with water or a vinegar solution) to wipe these areas. Be extremely cautious to avoid allowing any moisture to seep into the electrical components or around the button crevices. A cotton swab can be useful for detailing around buttons.
- Preventive Measures Against Fire Risk: Beyond regular cleaning, always ensure your toaster is placed on a stable, heat-resistant surface away from flammable materials like curtains or paper towels. Never operate it unattended, and always unplug it when not in use for extended periods.
- Addressing Persistent Odors: If your toaster develops a lingering burnt smell even after cleaning, it might indicate deeply embedded residue. Running an empty toast cycle (after ensuring it’s completely dry) can sometimes help burn off any last bits, but keep a close eye on it. If the smell persists, further interior inspection with a flashlight might be necessary.
- Avoid Overfilling: Try not to force oversized items like thick bagels into the toaster slots, as this can cause them to touch the heating elements and burn, creating more mess and a fire risk.
Embrace a Cleaner, Safer, and More Efficient Toaster Experience!
We trust that this detailed guide has not only equipped you with the knowledge of how to clean your toaster thoroughly but has also demonstrated just how straightforward and beneficial the process is. What once seemed like a bothersome chore can now be viewed as a quick, essential step towards a safer, more hygienic, and better-performing kitchen appliance.
By integrating these simple steps into your routine, you’ll extend the life of your toaster, ensure perfectly golden toast every time, and significantly reduce potential health and fire hazards. A clean toaster is a happy toaster, and a happy toaster makes for a happier kitchen!
Do you have any personal tips, tricks, or perhaps a favorite eco-friendly cleaning solution you use for your pop-up toaster or other small kitchen appliances? We’d love to hear from you! Share your insights and experiences in the comments section below to help fellow readers maintain their kitchen essentials with ease.
