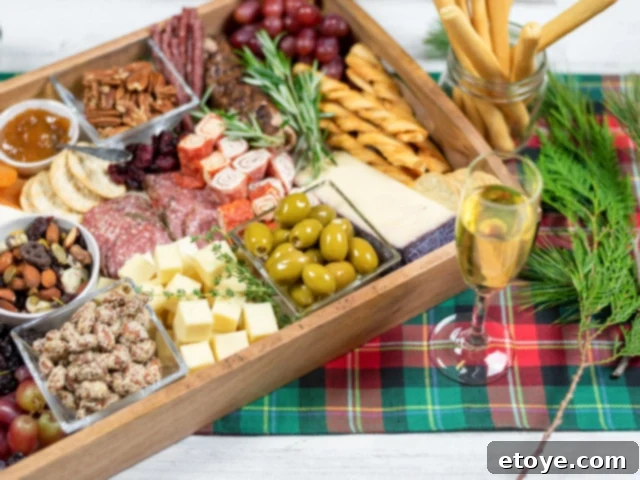
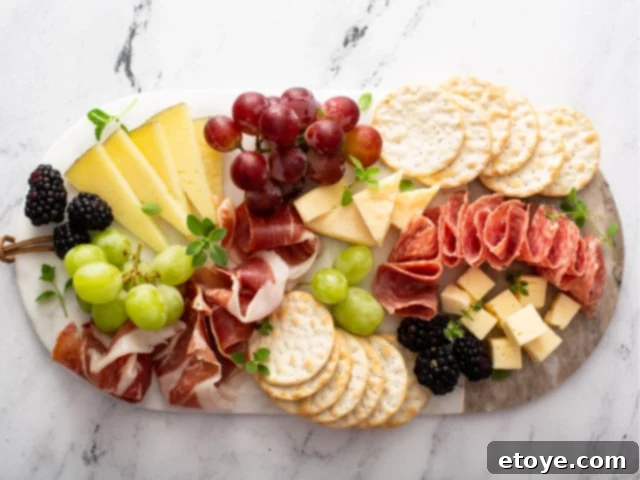
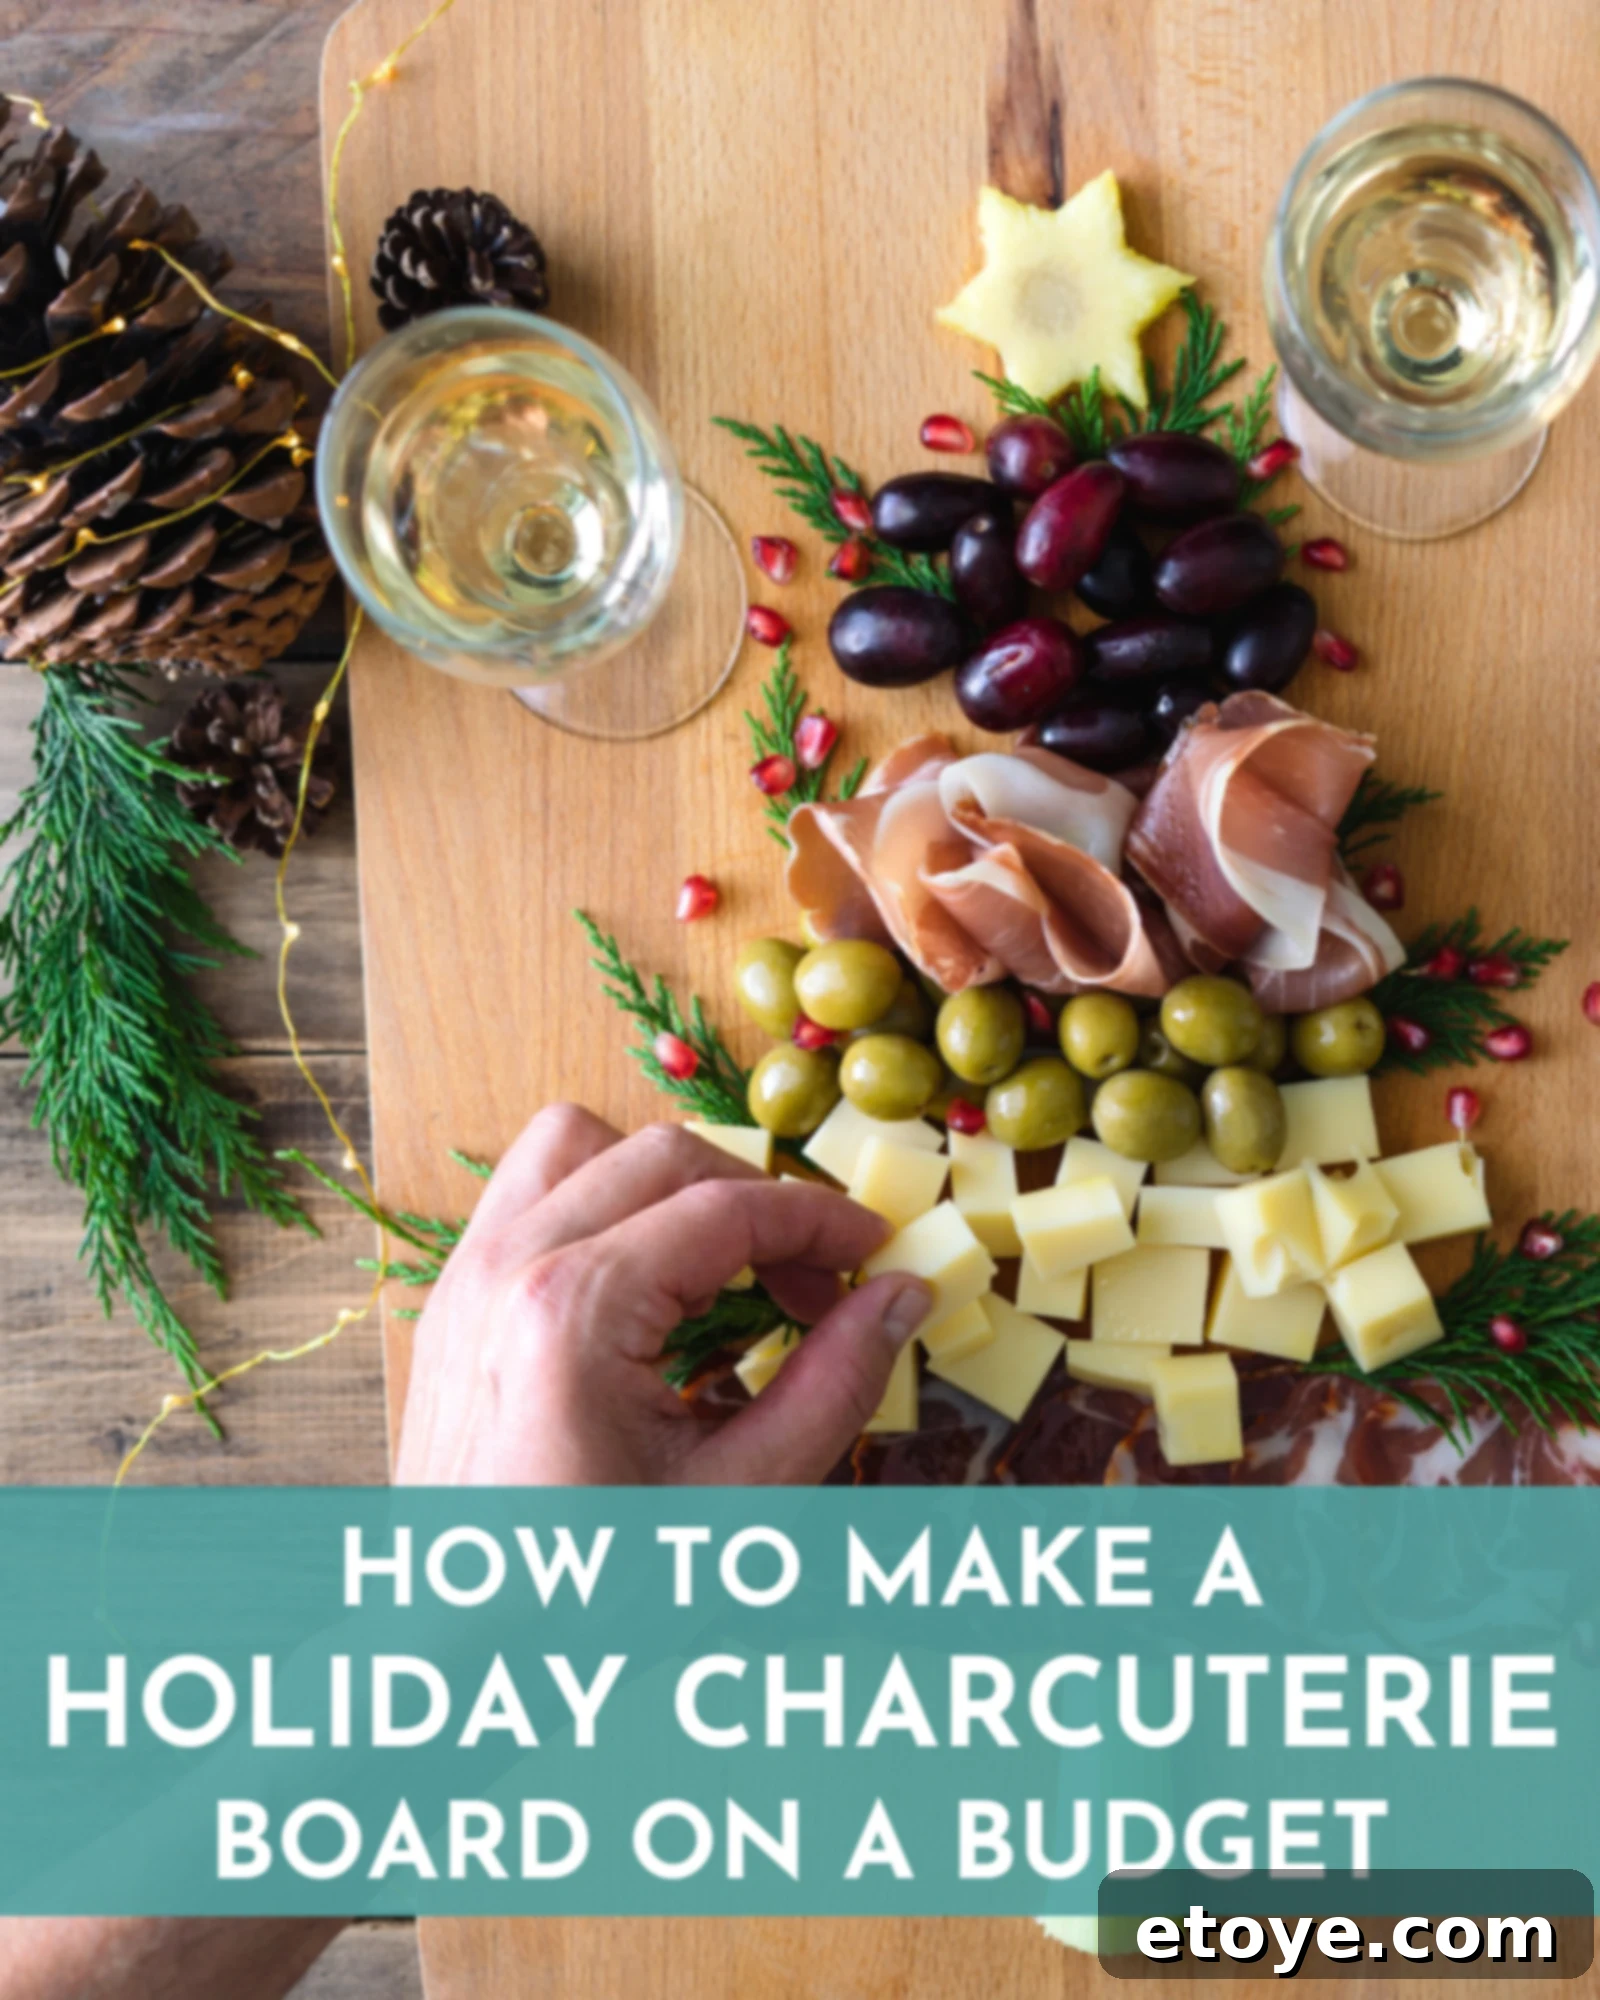
The holiday season is a magical time for gathering with loved ones, and what better way to celebrate than with a stunning charcuterie board? Forget the myth that creating an impressive spread requires a private chef’s budget or gourmet ingredients. With a little creativity and a few smart choices, you can assemble a beautiful, delicious, and budget-friendly charcuterie board that will undoubtedly “WOW” your friends and family.
This comprehensive guide will equip you with helpful tips, smart strategies, and an abundance of inspiration to craft a memorable charcuterie platter. We’ll focus on utilizing affordable ingredients, pantry staples, seasonal finds, and budget-friendly cheeses readily available at your local grocery store. From selecting the perfect theme to expertly arranging your chosen elements, we’ll walk you through each easy step to create a winter charcuterie board that looks expensive but is wonderfully affordable. But before we dive into the practical “how-to,” let’s explore some festive and imaginative themes to set the stage for your magnificent board.

Creative Charcuterie Board Themes for the Holiday Season
Crafting a charcuterie board is an art form that blends culinary delight with visual appeal. Choosing a distinct theme can elevate your board from merely “nice” to an absolute “next-level showstopper.” A well-chosen theme guides your ingredient selection, color palette, and overall presentation, making the entire experience more cohesive and impressive. Here are a few fun and festive themes perfectly suited for your holiday gatherings:
1. Winter Wonderland Charcuterie Board
Embrace the serene beauty of a snowy landscape with a Winter Wonderland theme. The goal here is to create a chic, ethereal aesthetic by focusing on white, pale, and silver-hued foods. Begin with creamy, soft cheeses like a delicate goat cheese log, a luscious wedge of brie, or fresh mozzarella pearls. Pair these with light-colored crackers, elegant breadsticks, or even a few slices of a crusty white baguette. For a touch of sweetness and sparkle, sprinkle in some sugared nuts (like pecans or almonds), white chocolate-covered pretzels, and dried fruits such as golden raisins or dried apricots. To add natural contrast and mimic evergreen branches in a snow-covered scene, artfully place a few sprigs of fresh rosemary or frosted cranberries around your board. This theme is particularly elegant and sophisticated.
2. Festive Red & Green Holiday Board
Nothing screams “holiday season” quite like the classic vibrant combination of red and green. This theme allows you to play with a bounty of seasonal colors, making your board look instantly festive and inviting. Incorporate juicy cherry tomatoes, plump red grapes, and tart fresh cranberries for striking reds. Complement these with vibrant green olives, crisp cucumber slices, crunchy pistachios, or bright green grapes. Introduce a delightful pop of sweetness and zest with ruby-red pomegranate seeds or crisp green apple slices. Arrange all these colorful components around a central focal point, such as a soft brie cheese wheel topped with a dollop of cranberry sauce or a sprig of holly, for a truly beautiful and eye-catching arrangement.
3. Decadent Dessert Charcuterie Board
Who says charcuterie boards are only for savory delights? Indulge your sweet tooth and go all out with a dessert-centric board that will be the talk of any holiday party. Swap traditional meats and cheeses for an array of sweet treats and delightful dippables. Include rich cream cheese spreads or delicate mascarpone for dipping. Surround these with an assortment of chocolate truffles, an array of holiday cookies (gingersnaps, shortbread, snickerdoodles), fluffy marshmallows, and miniature pastries. Don’t forget a variety of dried fruits like dates, figs, or candied citrus peels, alongside fresh fruits such as glistening strawberries, succulent orange slices, or juicy raspberries. For the ultimate sweet touch, provide small bowls of honey, caramel, or chocolate sauce for drizzling. This showstopping dessert board is a perfect end to any holiday meal or a delightful centerpiece for a sweet-themed gathering.
4. Fun & Friendly DIY Kids’ Charcuterie Board
Keep the little ones entertained and encourage their creativity with a board designed just for them. The key here is simplicity, familiarity, and a touch of whimsy. Opt for child-friendly ingredients that are easy to pick up and enjoy. Think small cubes of mild cheddar or mozzarella cheese, mini crackers, thinly rolled slices of their favorite deli meats (turkey or ham), and an assortment of colorful fresh fruit slices like melon, berries, or apple wedges. To add a delightful touch of whimsy and holiday spirit, scatter some colorful jelly beans, mini candy canes, or small gingerbread cookies. This interactive board allows kids to graze on healthy options while feeling like they have their own special holiday treat.
Have you picked a theme that sparks your imagination? Excellent! With your creative vision set, let’s now dive into the practical steps of assembling your spectacular, budget-friendly holiday charcuterie board.

How to Assemble an Amazing Budget-Friendly Holiday Charcuterie Board
Creating an impressive charcuterie board doesn’t require expensive tools or ingredients. The magic lies in smart choices and thoughtful presentation. Follow these steps to build a beautiful and affordable spread that will delight all your guests.
Step 1: Choose Your Base (The Canvas for Your Culinary Art)
Your charcuterie board’s foundation doesn’t need to be a costly, designer wooden slab. Get creative with what you already own! A large cutting board (wooden or bamboo), a clean baking sheet, a festive holiday platter, or even a clean slab of slate can serve as your perfect canvas. Bonus points if your chosen base has slightly raised edges, which can help prevent ingredients from tumbling off as guests serve themselves. The most important factors are that your board is sturdy, clean, and provides ample space to arrange your delicious selections.
Step 2: Select Budget-Friendly Cheeses (The Heart of Your Board)
Cheese is undoubtedly the star of any charcuterie board, but you don’t need to break the bank to offer a delicious variety. The key is to select different types of cheeses that offer a range of textures, flavors, and milk types to ensure there’s something for everyone. Stores like Aldi, Trader Joe’s, or even your local grocery store’s house brand often have fantastic selections of high-quality cheeses at incredibly reasonable prices. Aim for a mix of at least three types to create a dynamic tasting experience:
- Hard Cheeses: These are usually crowd-pleasers and hold up well. Opt for classics like aged cheddar (sharp or mild), nutty Gouda, or robust Parmesan. They are inexpensive, easy to slice, and pair well with many other ingredients.
- Soft Cheeses: Creamy and luxurious, soft cheeses add an element of sophistication. Brie cheese, a mild goat cheese log, or fresh mozzarella pearls (marinated or plain) feel incredibly indulgent without a hefty price tag. Their spreadable or delicate nature provides a lovely contrast to harder cheeses.
- Semi-Hard or Crumbly Cheeses: Consider options like Monterey Jack, Colby, or a small wedge of blue cheese or feta for a stronger flavor profile. A little goes a long way with these bolder choices, making them budget-friendly “fancy” additions.
Expert Tip: Always let your cheeses come to room temperature for about 30-60 minutes before serving. This allows their full flavor and creamy texture to truly shine. However, for food safety, avoid leaving cheese out for longer than two hours.
Step 3: Incorporate Affordable Cured Meats (Savory & Visually Appealing)
While imported prosciutto is lovely, it’s certainly not a requirement for an impressive charcuterie board. Focus on readily available and affordable meat products that still offer great flavor and texture. Look for deals at the deli counter or opt for pre-packaged, budget-friendly options. Affordable choices include:
- Hard Salami: A classic choice, often available in various flavors (like Genoa or peppered).
- Dry-Cured Sausages: Look for options like chorizo or sopressata, often sold in smaller, more affordable portions.
- Pepperoni: A familiar and universally loved option, great for adding a bit of spice.
- Smoked Turkey or Ham: For guests who prefer milder flavors or non-pork options, thinly sliced deli turkey or ham can be artfully rolled or folded.
Arrange your meats with visual interest. Instead of simply laying them flat, try folding them into quarters, rolling them into tight cylinders, or fanning out slices to create texture and volume on your board. This makes even simple meats look elegant.
Step 4: Raid Your Pantry for Delicious Extras (The Fillers and Flavors)
This is where you can truly get creative and save money by utilizing items you likely already have on hand. Pantry staples are excellent for filling in gaps, adding diverse textures, and enhancing flavors:
- Nuts: Provide a satisfying crunch with almonds, walnuts, pecans, cashews, or even simple roasted peanuts. Consider adding candied nuts for a sweet touch or spiced nuts for an unexpected kick.
- Dried Fruit: Bring a concentrated burst of sweetness and chewy texture with raisins, dried cranberries, apricots, dates, figs, or even dried cherries. These complement both cheeses and meats beautifully.
- Crackers & Breads: Variety is key here! Gather an assortment of crackers – plain water crackers, seeded crackers, whole-wheat crackers, or even gluten-free options. Don’t hesitate to use that leftover box of crackers from a potluck! Slices of a fresh baguette, mini toasts, or small breadsticks also make excellent additions.
- Olives & Pickles: A small bowl of briny olives (Kalamata, Castelvetrano) or tangy cornichons (mini pickles) provides a welcome contrast to rich cheeses and meats.
Step 5: Incorporate Fresh Produce for Vibrant Color & Freshness
Fresh fruits and vegetables are your secret weapon for making your budget board look incredibly appealing and “Instagram-worthy.” They add vibrant pops of color, essential vitamins, and refreshing textures. Prioritize seasonal produce for the best flavor and price. Consider:
- Fruits: Juicy red grapes, crisp green apples (sliced thinly to prevent browning), pear slices, seasonal berries (strawberries, raspberries), bright orange segments, or ruby-red pomegranate seeds.
- Vegetables: Sweet cherry tomatoes, crisp cucumber slices, colorful mini bell peppers, or crunchy radish slices.
- Fresh Herbs: Don’t underestimate the power of garnishes. Sprigs of fresh rosemary, thyme, or even basil scattered artfully around your board instantly elevate its appearance and add an aromatic holiday vibe.
Step 6: Utilize Small Bowls for Dips, Spreads, and Olives
Small bowls are not just functional; they also add structure and visual interest to your board. Use them to hold items that might otherwise roll around or be messy. This also allows you to offer a wider variety of accompaniments without cluttering the main surface. Excellent options include:
- Sweet Spreads: Honey (a classic pairing with cheese), fruit jams or preserves (fig jam, apricot preserves), or even a small bowl of maple syrup.
- Savory Dips: Hummus, a creamy cheese spread, olive tapenade, or a whole-grain mustard.
- Pickled Items: Olives, cornichons, or pickled onions.
- Small Candies: For a dessert board, use small bowls for M&Ms, chocolate chips, or mini marshmallows.
Step 7: Master the Art of Assembly (Styling Like a Pro)
Now for the fun part – arranging your ingredients! There’s no single “right” way, but these styling tips will help you create a visually stunning and abundant charcuterie board:
- Start with a Focal Point: Begin by placing your largest items first. This could be a generous wedge of cheese, a small bowl of olives or honey, or a cluster of grapes. These anchor your layout and help balance the board.
- Utilize the Rule of Odds: For a more visually pleasing and natural look, arrange items in odd numbers. Aim for three to five types of cheeses, three kinds of meat, and an odd number of bowls. This creates a dynamic and aesthetically balanced composition.
- Play with Textures: A variety of textures keeps the board interesting and inviting. Pair smooth, creamy brie with crunchy nuts, chewy dried fruits, and crisp crackers. Add different types of crackers – some seeded, some plain, some sturdy, some delicate – for extra contrast and dipping options.
- Layer and Stack for Dimension: Create height and depth by layering sliced meats, stacking crackers in small, inviting piles, or arranging cheese wedges at different angles. For meats, try folding circular slices into quarters or rolling them into elegant cylinders. Don’t be afraid to let some items slightly overlap; this creates a sense of abundance and fullness.
- Fill in the Gaps Creatively: Empty spaces can make a board look incomplete. Use smaller items like fresh herbs (rosemary sprigs, thyme), dried fruits, nuts, or even a few decorative sprigs of holly (ensure they are non-toxic if touching food) to fill in any gaps. This makes the board look lush, full, and incredibly inviting.
- Add a Pop of Color: Bright ingredients are essential for visual appeal. Incorporate fresh produce like vibrant red grapes, crisp green cucumbers, juicy orange slices, or colorful berries. Use garnishes such as pomegranate seeds or fresh cranberries for that quintessential holiday touch.
- Don’t Forget the Tools: Provide the proper serving tools. A set of cheese knives (one for soft cheeses, one for hard, a spreader) makes it easy for guests to serve themselves without struggling. Small tongs or spoons for olives and spreads are also appreciated.
Step 8: The Final Touch & Serving
Before your holiday party or gathering begins, take one final look at your masterpiece. Does it offer a good variety of textures and colors? Is everything easily accessible? Your charcuterie board doesn’t have to be absolutely perfect, but it should look abundant, inviting, and, most importantly, fun! Place it in a central location where guests can easily gather around and enjoy. Consider having extra crackers or bread on hand for replenishment throughout the event.

Transform Your Entertaining: Never Make a Boring Board Again!
You now possess all the knowledge and inspiration to craft your own stunning and budget-friendly holiday charcuterie board. Whether it’s for festive Christmas gatherings, an elegant New Year’s celebration, a casual family get-together, or any upcoming event, your newfound charcuterie skills will ensure your spread is always a hit. The beauty of a charcuterie board lies in its versatility and the endless possibilities for customization.
Embrace the creative process, experiment with different flavors and textures, and most importantly, have fun assembling your edible art. Your guests will be delighted by the thoughtful presentation and delicious variety, and you’ll be proud of the impressive spread you created without overspending. What delicious delights will your next spread consist of? We’d absolutely love to hear about your unique creations and favorite budget-friendly finds, so be sure to leave us a comment below and share your charcuterie success stories!
