The Ultimate Fluffy Buttermilk Biscuits: A Beloved Family Recipe Inspired by The Pioneer Woman
There are some recipes that transcend mere sustenance, becoming woven into the fabric of family memories. For us, Ree Drummond’s Buttermilk Biscuits have achieved this cherished status. It’s more than just a recipe; it’s a portal back to simpler times, to sticky fingers, flour-dusted countertops, and the heartwarming aroma of fresh-baked goodness filling our home. This particular journey with buttery, flaky biscuits began over a decade ago, back in 2009, long before we had the privilege of knowing Ree personally. My son, Nathan, then just five years old, discovered her cookbook, captivated by the promise of homemade treats. He pointed to this very buttermilk biscuit recipe, and an enduring family tradition was born.
Fast forward a few years, and life has taken us on an incredible adventure. That same little boy who painstakingly cut out biscuit shapes is now jumping on Ree’s bed, celebrating his birthday at the Drummond Ranch, and even participating in cattle activities like branding (and, yes, castrating!). It’s a testament to the unexpected friendships and incredible experiences that food, especially a classic like Ree’s, can bring into our lives. This recipe isn’t just about ingredients; it’s about the magic of shared moments, the evolution of a family, and the delicious connections made along the way.
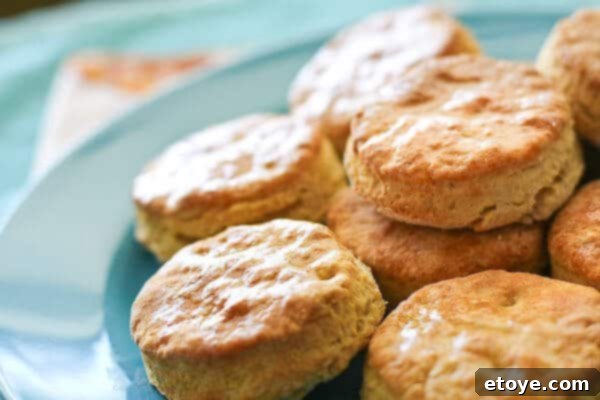
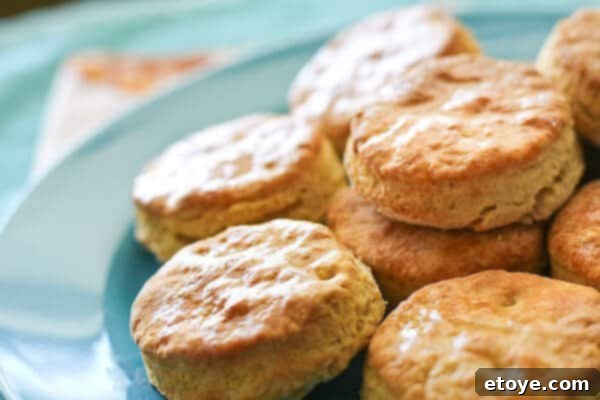
You absolutely must make these. The thought of their golden-brown tops and tender, layered interiors is enough to make anyone’s mouth water. Or, if you’re lucky, you might have a budding young chef in your own home who will insist on making them for you! Either way, get ready for a treat that will disappear almost as fast as it comes out of the oven.
Why Buttermilk Biscuits Are a Must-Have in Every Home
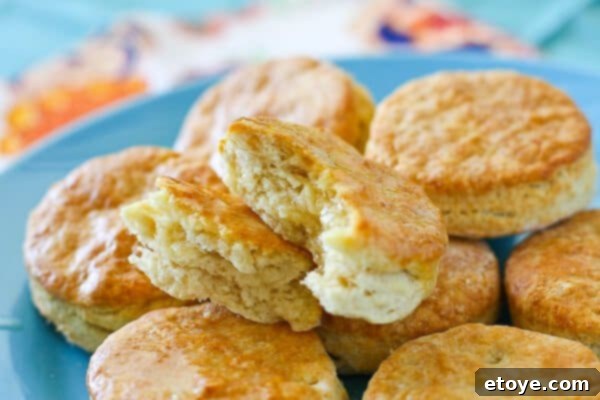
The beauty of a perfect buttermilk biscuit lies in its deceptive simplicity. With just a few basic ingredients – flour, butter, buttermilk, and leavening – you can create something truly extraordinary. What sets buttermilk biscuits apart is the unique tang and tender crumb imparted by the buttermilk. The acidity of the buttermilk reacts with baking soda, creating air pockets that result in a light, airy texture. When done right, each biscuit boasts a beautifully crisp exterior and a soft, fluffy interior that practically melts in your mouth.
This recipe, perfected by Ree Drummond, known affectionately as The Pioneer Woman, has become a cornerstone in countless kitchens across the country. Her approach combines classic Southern techniques with an accessible style, making what might seem intimidating for novice bakers entirely achievable. Her philosophy is all about creating comforting, delicious food that brings people together, and these biscuits are a prime example.
Before you even think about starting, you might as well add flour and buttermilk to your grocery list right now. Trust us, you’ll want to have these staples on hand, because once you taste these biscuits, you’ll be making them repeatedly. They’re not just for breakfast; they’re perfect alongside dinner, as a snack with jam, or even split and filled for a quick sandwich.
The Joy of Baking with Kids: A Culinary Adventure
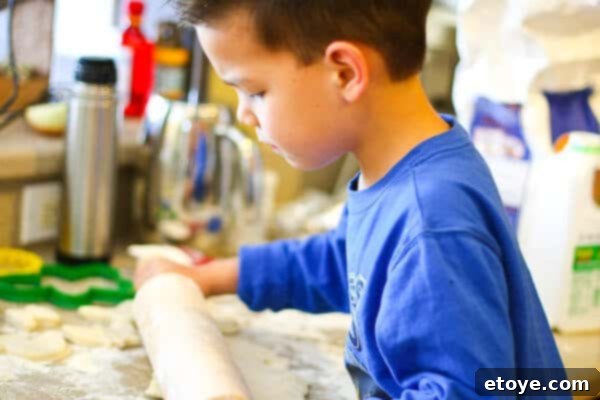
One of the most heartwarming aspects of this recipe is how wonderfully kid-friendly it is. Baking with children is a fantastic way to introduce them to the kitchen, teach them basic culinary skills, and create lasting memories. Watching Nathan, at just five years old, eagerly participate in the process was a joy. From measuring ingredients to kneading dough and cutting out shapes, every step was an exciting adventure.
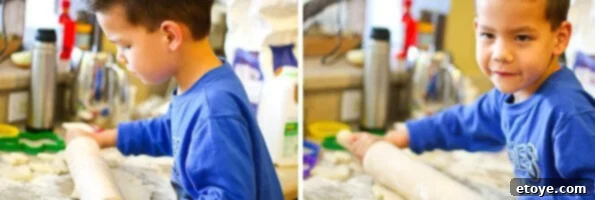
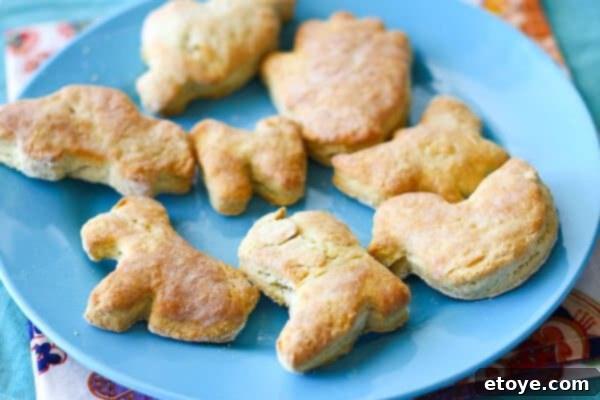
There’s something incredibly satisfying about rolling out the dough and using cookie cutters. It’s an opportunity for creativity and a fun way to engage little hands. You can use classic round cutters for traditional biscuits, or unleash your imagination with playful shapes. Nathan loved using various cookie cutters to make his biscuits unique, transforming the baking process into a delightful game.
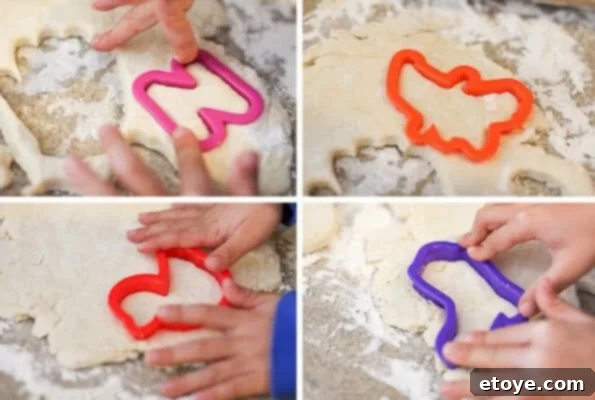
Imagine biscuits shaped like a doggy… or a… um… what is that??? The beauty is, it doesn’t really matter what shape they are; they’ll taste delicious all the same. The slightly imperfect, whimsically shaped biscuits often become the most memorable.
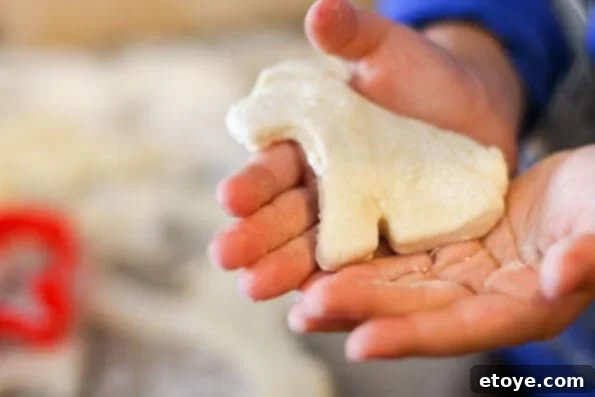
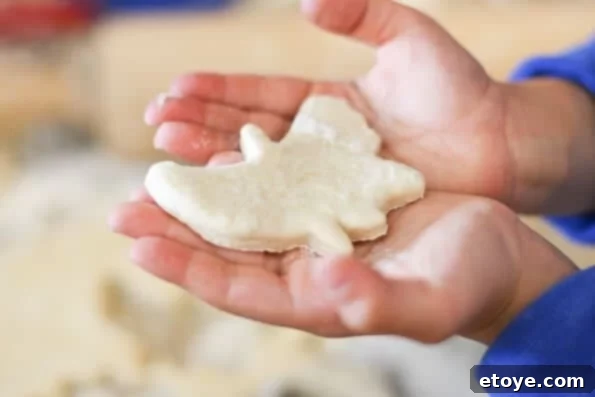
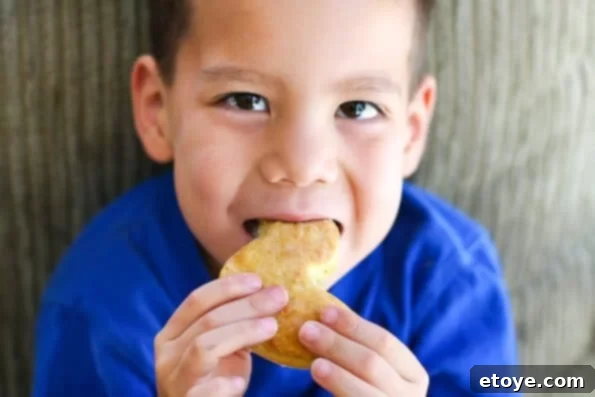
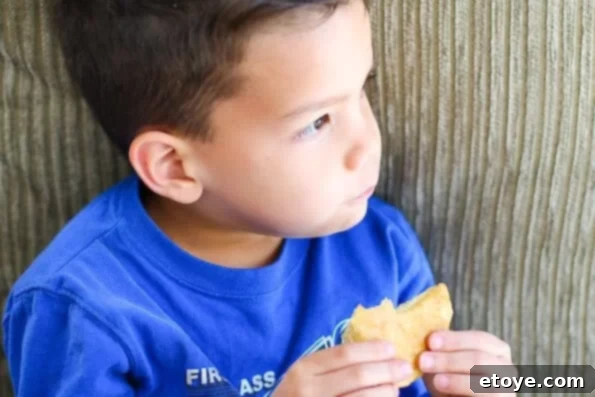
The pure joy on a child’s face when they see their creations come out of the oven, golden and risen, is priceless. It’s a shared accomplishment that fosters a love for cooking and a sense of pride in their efforts. And let’s be honest, those “yummy” moments, like the one captured below, are what make it all worthwhile.
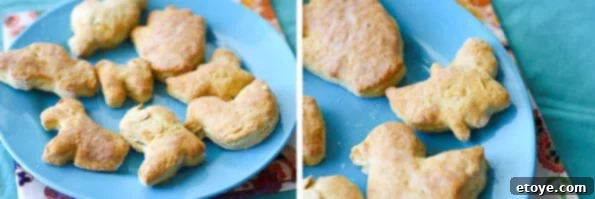
When Nathan declared, “Dang, ‘dem biscuits are good!” it was more than just a compliment; it was the ultimate seal of approval. Especially if they are shaped like ducks, cowboy boots, and doggies – the more character, the better! But even if they’re just plain old regular shaped, the flavor and texture of these homemade buttermilk biscuits will undoubtedly impress.
Ree Drummond’s Buttermilk Biscuits: The Recipe You Need
While the original post hinted at the biscuits, we’re providing a quintessential Buttermilk Biscuit recipe that pairs perfectly with the Pioneer Woman’s style of cooking. These are designed to be light, fluffy, and utterly delicious. This recipe focuses on simple techniques to achieve amazing results every time.
Classic Buttermilk Biscuit Recipe
These classic buttermilk biscuits are incredibly versatile. Enjoy them warm with butter and jam for breakfast, or serve them alongside savory dishes for a comforting meal.
- Prep Time: 15 mins
- Cook Time: 12-15 mins
- Yields: 8-12 biscuits
Ingredients:
- 2 cups all-purpose flour, plus more for dusting
- 1 tablespoon baking powder
- 1/2 teaspoon baking soda
- 1 teaspoon granulated sugar (optional, for a hint of sweetness)
- 1/2 teaspoon salt
- 1/2 cup (1 stick) unsalted butter, very cold and cut into small pieces
- 3/4 to 1 cup cold buttermilk
Instructions:
- Preheat your oven to 425°F (220°C). Line a baking sheet with parchment paper or lightly grease it.
- In a large bowl, whisk together the flour, baking powder, baking soda, sugar (if using), and salt.
- Add the cold, cubed butter to the flour mixture. Using a pastry blender, two forks, or your fingertips, cut the butter into the flour until the mixture resembles coarse crumbs with some pea-sized pieces of butter remaining. The colder the butter, the flakier your biscuits will be.
- Make a well in the center of the flour mixture and pour in 3/4 cup of the cold buttermilk. Stir with a fork until just combined and the dough comes together. Be careful not to overmix, as this can lead to tough biscuits. If the dough is too dry, add the remaining 1/4 cup buttermilk, one tablespoon at a time, until it forms a shaggy, cohesive dough.
- Turn the dough out onto a lightly floured surface. Gently knead the dough 5-6 times, just until it comes together. Avoid overworking it.
- Pat the dough into a rectangle about 1/2 to 3/4 inch thick. For flaky layers, you can fold the dough in thirds (like a letter), then gently pat it out again. Repeat this folding and patting process once or twice more. This creates additional layers.
- Using a 2-inch or 2.5-inch biscuit cutter (or a knife for square biscuits), cut out the biscuits. Dip the cutter in flour between each cut to prevent sticking. Press straight down without twisting the cutter to ensure a good rise.
- Place the cut biscuits on the prepared baking sheet, ensuring they are touching if you prefer softer sides, or slightly spaced if you like crispier edges.
- Bake for 12-15 minutes, or until the tops are golden brown and the biscuits have risen beautifully.
- Remove from the oven and, if desired, brush with melted butter for extra flavor and shine. Serve warm.
Notes & Tips for Perfect Biscuits:
- Cold Ingredients: This is key! Cold butter creates steam pockets in the oven, leading to flaky layers. Cold buttermilk keeps the dough from overworking too quickly.
- Don’t Overmix: Overmixing develops gluten, making biscuits tough. Mix just until combined.
- Handle Gently: A light touch is essential when kneading and patting the dough.
- Don’t Twist the Cutter: Press straight down and pull up. Twisting seals the edges of the biscuit, preventing it from rising properly.
- For a Shiny Top: Brush the tops of the biscuits with a little buttermilk or an egg wash before baking.
Pairing Perfection: Serving Your Buttermilk Biscuits
These fluffy buttermilk biscuits are fantastic on their own, but they truly shine when paired with other delicious dishes. Our family absolutely loves them with The Pioneer Woman’s Buttermilk Fried Chicken. The crisp, savory chicken and the soft, tender biscuits create an unforgettable meal. Just try not to get caught stealing crispy bits off of Daddy’s plate when he’s not looking! (Oops, a little secret shared there.)
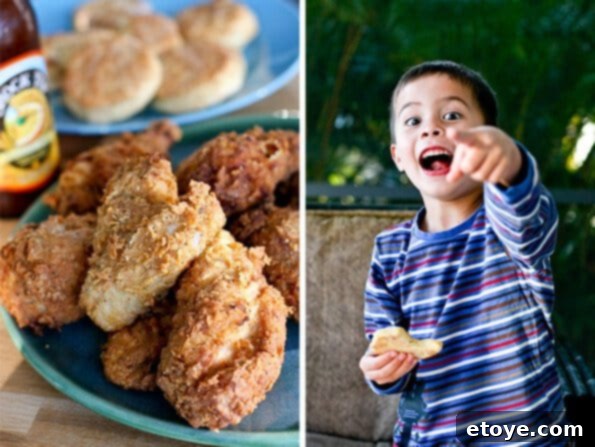
Beyond fried chicken, biscuits are incredibly versatile. Imagine them slathered with homemade jam, dripping with honey, or soaking up rich sausage gravy. They’re also ideal for small sandwiches, whether filled with ham and cheese or a slice of perfectly cooked bacon and an egg. The possibilities are endless!
The Pioneer Woman’s Buttermilk Fried Chicken Recipe: A Companion Dish
No discussion about comfort food and Southern cooking would be complete without highlighting The Pioneer Woman’s famous Buttermilk Fried Chicken. This recipe, a true classic from Ree Drummond’s cookbook, offers insights into achieving perfectly crispy, juicy fried chicken every time. It’s the ideal savory counterpart to those fluffy biscuits.
Pioneer Woman’s Buttermilk Fried Chicken Recipe
Recipe from The Pioneer Woman Cookbook: Recipes from an Accidental Country Girl by Ree Drummond
There are a few secrets that I learned from Ree for this fried chicken. The first is the buttermilk bath overnight (no, not you, the chicken). Second, mixing the flour with a bit of the buttermilk makes the breading a little shaggy, which is perfect for maximum crispiness volume. Lastly, baking the chicken after frying ensures that the chicken is cooked through without burning the skin.
Serves 6-8 hungry ranch hands (halve recipe if you’re feedin’ normal city folk)
Pin Recipe
Ingredients
- 2 cut-up fryer chickens
- 1 quart plus 1/4 cup buttermilk, divided
- 5 cups all-purpose flour
- 3 tablespoons seasoned salt (like Lawry’s)
- 2 teaspoons black pepper
- 2 teaspoons dried thyme
- 2 teaspoons paprika
- 1 teaspoon cayenne pepper
- 1/4 cup milk
- canola or vegetable oil for frying
Instructions
- In a large bowl (or 2 freezer bags) add the chicken with only 1 quart of the buttermilk. Refrigerate overnight. When ready to fry, remove chicken from bowl and let sit on counter for 30 minutes to take chill off.
- Preheat oven to 350°F. Stir together the flour, seasoned salt, pepper, thyme, paprika and cayenne in a very large bowl. In a small bowl combine the remaining 1/4 cup buttermilk and the milk. Pour the milk mixture into the flour and use a fork to mix until little lumps throughout.
- Heat 1 1/2 inches of oil in a deep skillet or dutch oven over medium high heat to 365°F. Working in batches, thoroughly coat each buttermilk-soaked chicken piece with the breading, pressing to adhere the breading. Add the chicken to the oil 3-4 pieces at a time. Cover pan and fry 5-7 minutes, checking to make sure chicken isn’t getting too brown. Turn, cover and cook additional 3-5 minutes more. Monitor temperature of oil to make sure chicken doesn’t burn. Keep in mind chicken will finish cooking in oven.
- Place chicken on baking sheet and continue frying rest of chicken. When done, bake the chicken for 20 minutes, until chicken cooked through.
Notes
Recipe from The Pioneer Woman Cookbook: Recipes from an Accidental Country Girl by Ree Drummond
The Ranch Experience: More Than Just Food
The only thing better than enjoying these incredible biscuits and fried chicken at home is experiencing the magic firsthand at the Pioneer Woman’s Ranch. Our family’s visits, especially Nathan’s birthday celebrations there, have created unforgettable memories. It’s a place where the spirit of good food, family, and authentic country living truly come alive. From hearty meals to experiencing ranch life, it’s a full sensory adventure that deeply connects with the recipes we love. Goin’ to the Pioneer Woman’s Ranch and having birthday cake, or any meal cooked with such love and care, is an experience that truly comes full circle from that first biscuit made with a child’s curious hands.
Whether you’re making these biscuits for a special occasion or just a regular weeknight dinner, they are guaranteed to bring warmth and joy to your table. They are more than just food; they are an invitation to create, to share, and to make memories that will last a lifetime.
Tried this recipe? Let us know how it was!
