Let’s get real – Thanksgiving is often a whirlwind of culinary ambition, where every inch of oven space becomes precious real estate and timing is everything. While the majestic turkey and an array of delectable pies usually steal the spotlight, there’s an unsung hero quietly waiting to revolutionize your holiday cooking: the microwave. Far more than just a reheating device, this humble kitchen appliance is poised to become your ultimate secret weapon for pulling off the most memorable and stress-free feast of the year. Imagine a Thanksgiving where the oven isn’t overflowing, where prep work is halved, and where you actually have time to enjoy a festive drink before the guests arrive. This dream can become a reality when you embrace the power of microwave hacks. From perfectly drying herbs to softening stubborn brown sugar, and even pre-cooking entire side dishes, the microwave steps up in a big way to simplify your Thanksgiving meal preparation. Gone are the days of kitchen chaos; it’s time to pivot from traditional, oven-centric methods and zap your way to an easier, more efficient holiday celebration. Get ready to discover how your microwave can do more than just warm up leftovers – it can transform your entire Thanksgiving experience. Below, we reveal our favorite, ingenious microwave hacks designed to streamline your efforts and ensure a smooth, delightful Thanksgiving for everyone.

Drying Fresh Herbs for Thanksgiving Flavors
Imagine reaching for that critical sage or thyme, only to find your fresh herbs have wilted into a sad, autumn-leaf-like state. On Thanksgiving, every ingredient counts, and vibrant, aromatic herbs are essential for elevating your dishes. While air-drying can take days and an oven can be overkill, your microwave offers a brilliant solution for quickly drying fresh herbs. This ingenious hack transforms garden-fresh greenery into potent, flavor-packed dried herbs in mere minutes, ensuring you always have the perfect seasoning on hand for your stuffing, turkey, or gravies. Not only does it preserve their flavor and aroma, but it also saves you money on store-bought dried herbs, giving you a superior product with minimal effort. Simply lay out your chosen herbs – such as sage, parsley, thyme, or rosemary – in a single layer on a paper towel. Cover them with another paper towel and place them in the microwave. Start with short bursts, typically 30 seconds on high power, allowing for a brief pause and checking their dryness after each interval. The exact time will vary depending on the herb’s moisture content and your microwave’s wattage, but generally, a minute or two is all it takes. Once they are crumbly and dry to the touch, they are ready. This rapid drying process is a game-changer for adding that punch of fresh-dried flavor to your Thanksgiving dishes without the long wait, ensuring your culinary creations are always at their peak.
For a detailed guide, check out how to dry your own herbs in the microwave here.
Effortlessly Softening Hard Brown Sugar
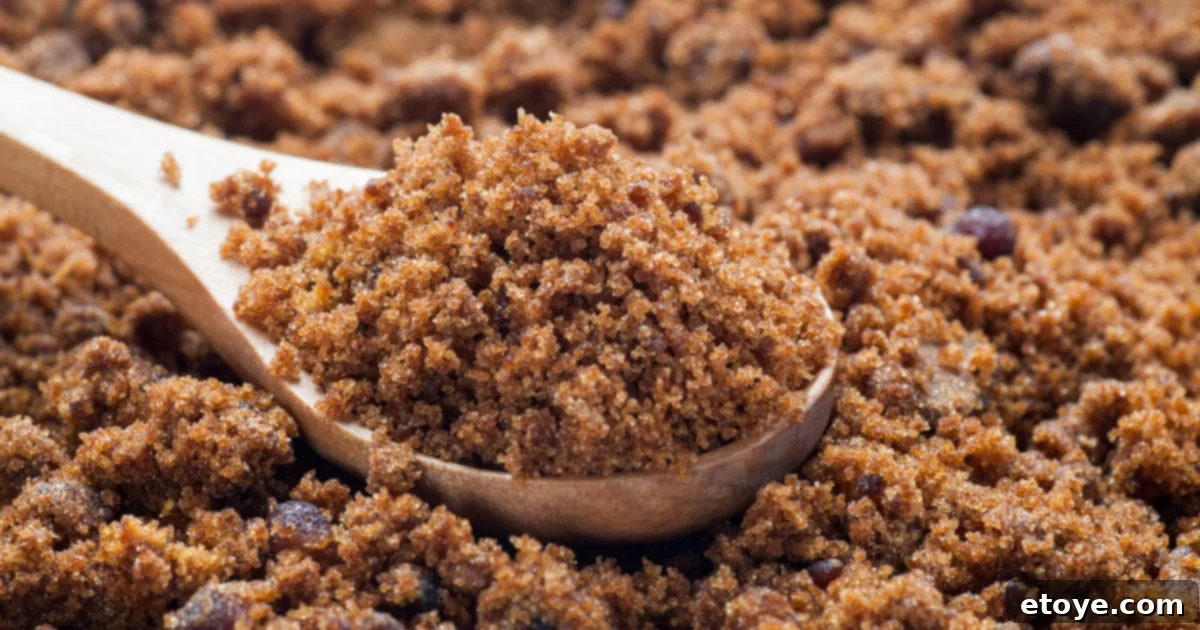
The scenario is all too familiar: you’re poised to bake Grandma’s legendary pumpkin pie or a delightful batch of cranberry-orange muffins, only to discover your brown sugar has solidified into a rock-hard, unyielding lump. This common kitchen mishap can derail your baking plans and add unnecessary stress to an already busy Thanksgiving day. But fear not, for your microwave holds the key to bringing that seemingly unrecoverable sugar back to its soft, pliable glory in seconds. This nifty trick is a lifesaver when you’re short on time and need that essential sweetness for your holiday desserts or glazes. The science behind it is simple and effective: moisture and heat. To revive your brown sugar, place the hardened lump in a microwave-safe bowl. Then, take a damp paper towel – not soaking wet, just thoroughly moistened – and lay it over the brown sugar. Cover the bowl with a lid or microwave-safe plastic wrap, leaving a small vent. Microwave on high for short bursts, typically 10-20 seconds at a time. After each interval, gently check the sugar. You’ll notice it gradually becoming soft and crumbly again. Continue zapping in short increments until it’s perfectly softened and ready to be measured and mixed into your festive recipes. This method is like bringing your brown sugar back from the dessert desert, ensuring your holiday baking goes off without a hitch and your treats are perfectly sweet and moist.
Streamlining Thanksgiving with Pre-Cooked Vegetables
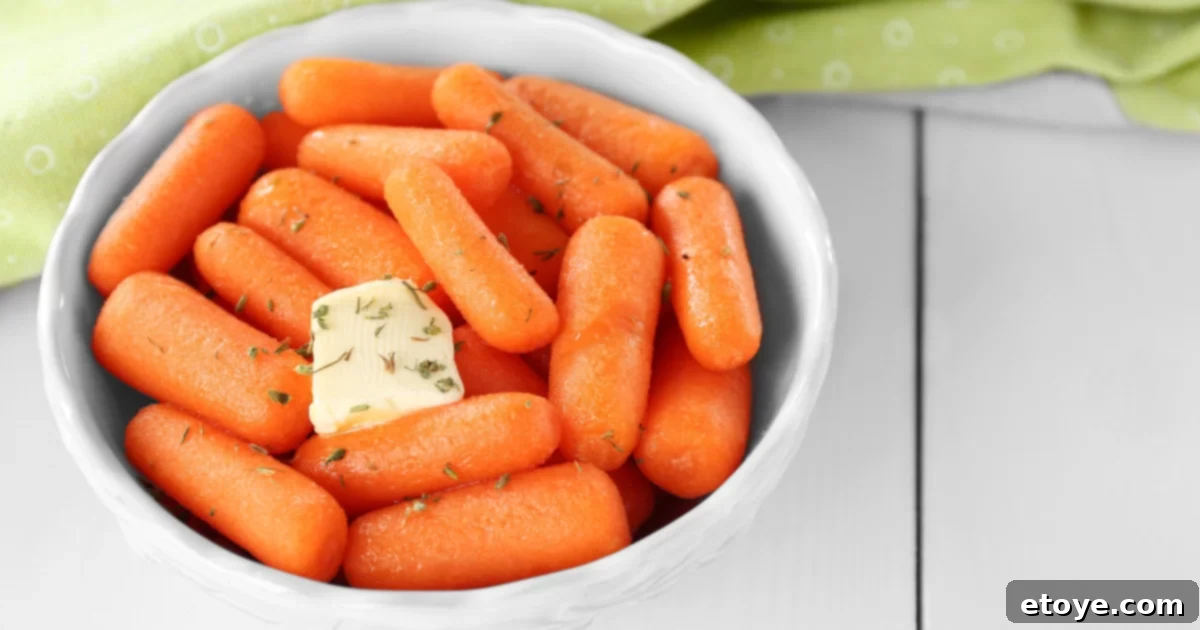
Thanksgiving is a marathon, not a sprint, especially when it comes to managing precious oven space. When your casserole game is strong but time is not on your side, the microwave emerges as an indispensable tool for pre-cooking vegetables. Steaming your greens – like vibrant green beans, florets of broccoli, tender carrots, or hearty Brussels sprouts – in the microwave before they enter their final casserole bath or get roasted is a brilliant strategy. This method not only saves valuable oven time, which can be entirely dedicated to the turkey and other baked goods, but it also locks in that vibrant color, essential nutrients, and a perfectly crisp-tender texture. Microwaving vegetables with a splash of water creates a steaming environment that cooks them quickly and evenly, ensuring they’re just tender enough to finish cooking in the oven without becoming mushy. This pre-game ritual for your veggies gives them a quick spa treatment, meaning less waiting around and more time for you to actually enjoy that well-deserved glass of wine or catch up with early arrivals. It’s an efficient way to manage your holiday cooking timeline, ensuring every component of your Thanksgiving feast is prepared to perfection and served on schedule.
You can find our microwave veggie how-tos here:
How To Steam Green Beans in the Microwave
How To Steam Carrots in the Microwave
How To Steam Brussel Sprouts in the Microwave
Whipping Up Easy Microwave Hollandaise Sauce
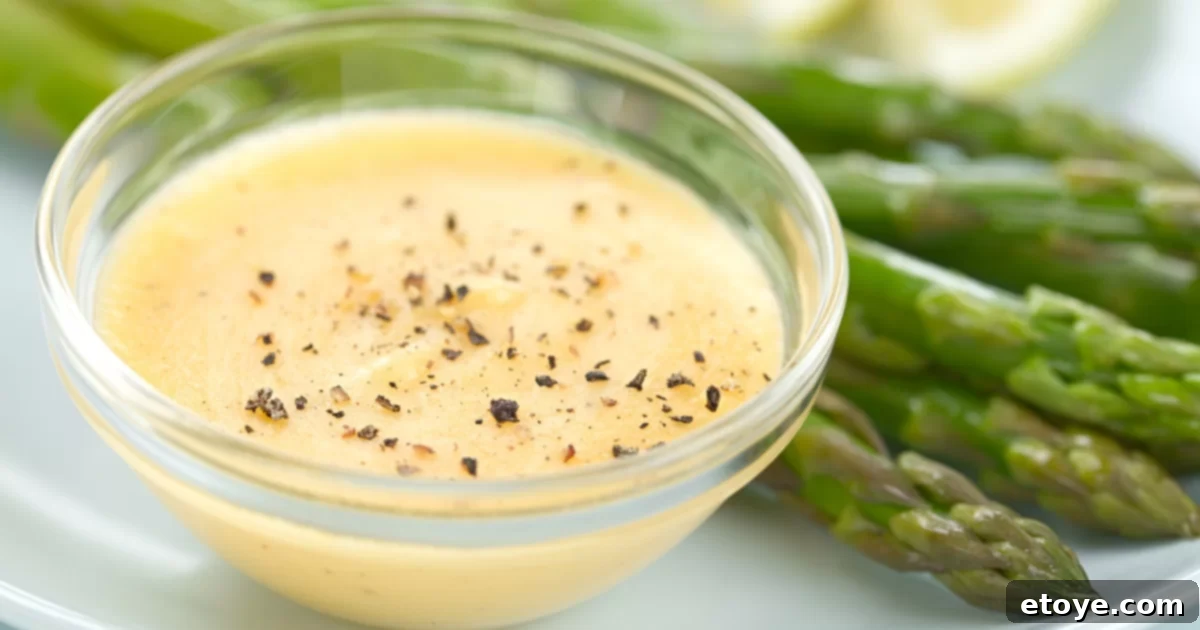
Alright, here’s a little secret for you, one that will elevate your Thanksgiving feast from delicious to truly decadent: that velvety, rich, and utterly luxurious hollandaise sauce isn’t as fussy or intimidating as you might think. Especially when you enlist your microwave for a bit of quick magic! Traditionally, hollandaise is a labor of love, requiring constant whisking over a double boiler, a keen eye, and considerable arm strength to achieve that perfect emulsification. But on Thanksgiving, who has time for that kind of stovetop vigilance? With your trusty microwave, you can achieve a restaurant-quality hollandaise with astonishing ease, freeing you up for other critical tasks. Picture this: you’re gently whisking together egg yolks, a splash of bright lemon juice, a dash of spicy Dijon mustard, and slowly incorporating melted butter. Instead of the stovetop, you’ll utilize short, controlled bursts in the microwave, whisking vigorously between each zap. In just a few sessions, with stirring in between, you’ll witness the transformation into a creamy, dreamy hollandaise without any of the whisking wrist-ache or fear of curdling. This smooth, buttery sauce is an incredible addition to your Thanksgiving table. Drizzle it generously over your roasted vegetables – like asparagus, broccoli, or even those perfectly steamed green beans – or consider giving slices of your succulent turkey a glossy, luxurious coat. Your guests will undoubtedly raise their eyebrows in a “you-made-this?” kind of way, utterly impressed by your culinary prowess. And you, oh clever cook, just saved yourself a significant amount of stress and time, all thanks to that handy microwave! It’s a secret weapon for adding an unexpected touch of gourmet elegance to your holiday spread.
Quick and Convenient Microwave Blanching for Vegetables
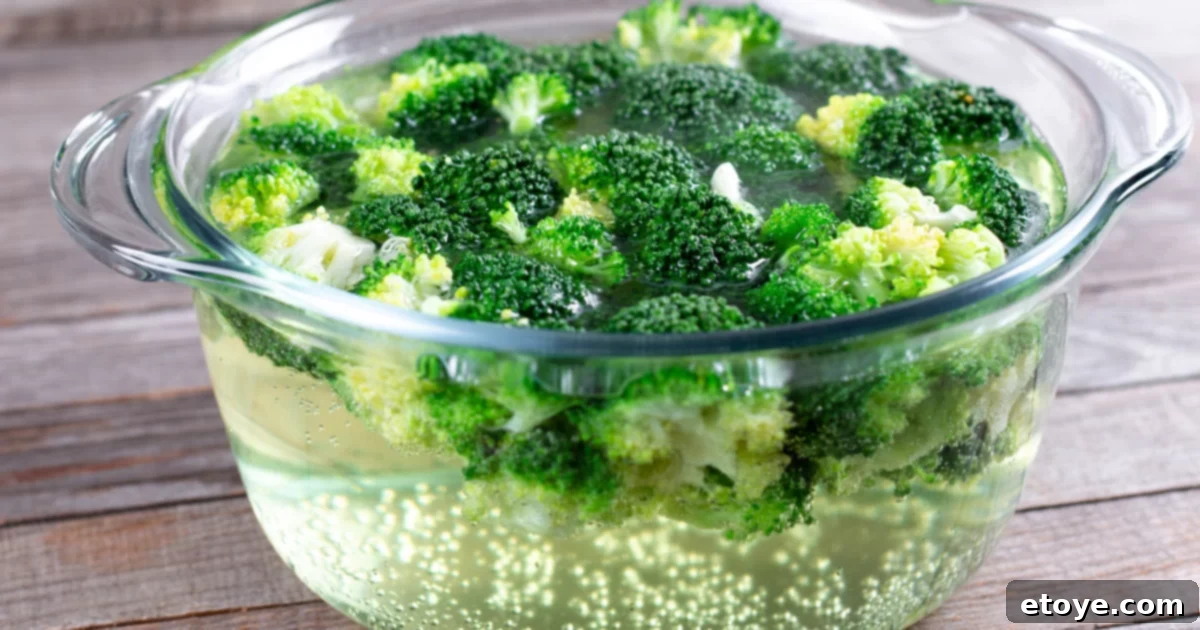
Blanching vegetables is a culinary technique that typically involves a large pot of boiling water and a separate ice bath. It’s used to brighten colors, tenderize slightly, and stop enzymatic action, making vegetables perfect for salads or freezing. On Thanksgiving, with every burner occupied and a sink full of dishes, the thought of an extra pot of boiling water can be daunting. Thankfully, blanching vegetables in the microwave is like having a culinary time machine – it’s incredibly fast and efficient, freeing up your stovetop for other important tasks. This method is ideal for preparing vegetables that you want to serve vibrant and crisp-tender, such as green beans, asparagus, broccoli, or even small carrots, either for a fresh holiday salad or as a bright, colorful side dish. To achieve perfectly blanched vegetables, simply toss your prepped greens into a microwave-safe bowl with just a splash of water – a tablespoon or two is usually sufficient. Cover the bowl with vented plastic wrap or a microwave-safe lid, ensuring some steam can escape. Zap them on high for a short duration, usually 1-3 minutes, depending on the vegetable and its desired tenderness. Immediately after microwaving, plunge the vegetables into an ice bath to stop the cooking process and preserve their vibrant color and crisp texture. You’ll have crisp-tender, gorgeously colored veggies ready for that vibrant Thanksgiving salad or as a bright, appealing side to your mains, quicker than you can say “pass the cranberries.” It’s a simple yet highly effective hack for optimizing your holiday kitchen flow.
Effortlessly Cooking Acorn Squash in the Microwave
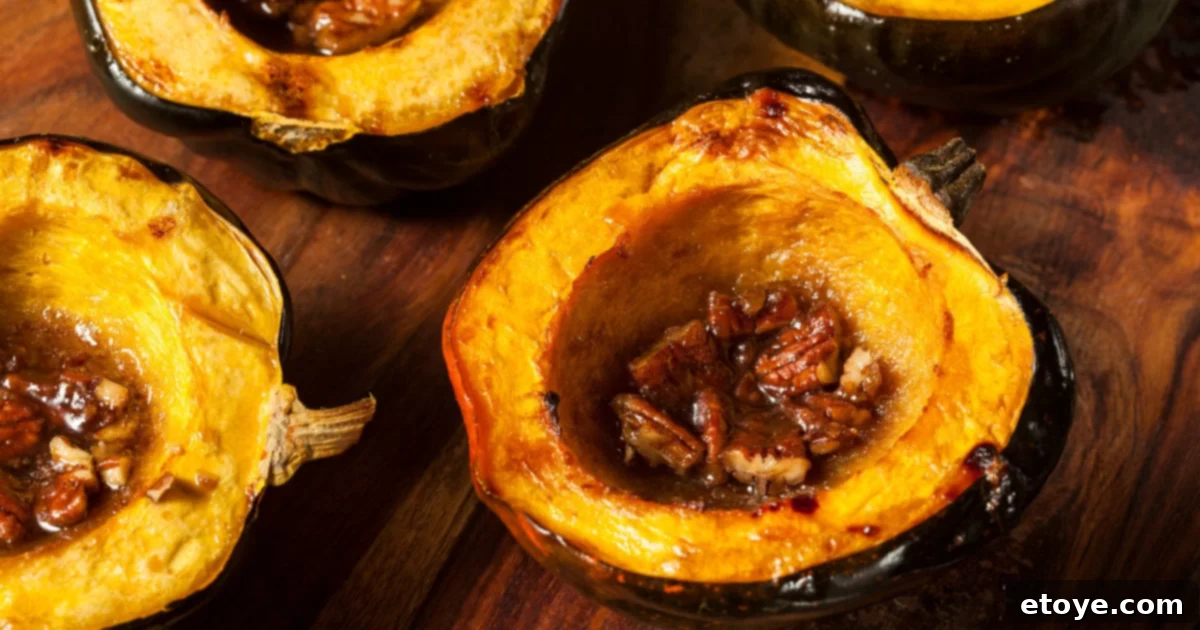
Acorn squash, with its distinctive ridges and sweet, nutty flavor, makes a wonderful addition to any Thanksgiving table. However, its tough exterior can be notoriously difficult and even dangerous to cut when raw, often leading to wrestling matches with a sharp knife. Who knew that the humble microwave could be the ultimate tool for taming this autumnal gourd, transforming a hard-as-hell acorn squash into a soft, spoonable delight with minimal effort? This microwave hack is a game-changer for preparing squash, making it significantly easier to handle and cook. To utilize this trick, simply pierce the squash a few times with a fork to allow steam to escape during cooking. Then, place the whole acorn squash in the microwave and cook it on high for 3-5 minutes, depending on its size. This initial zap will soften the skin just enough to make it much safer and easier to cut in half. Once halved, carefully scoop out the seeds and fibrous strands. You can then place the halves cut-side down with a small amount of water in a microwave-safe dish, cover it, and continue to microwave until the flesh is perfectly tender – typically another 5-10 minutes. You’ll end up with perfectly tender squash ready for a sweet or savory filling, perhaps brown sugar and pecans, or herbs and cheese. It’s like the ‘easy button’ for a side dish that’s not only cozy and flavorful but also gets bonus points for its beautiful presentation, all without tying up your oven or risking a finger. This method ensures that even the most challenging Thanksgiving vegetables can be prepared with ease and efficiency.
Quickly Toasting Nuts for Enhanced Flavor
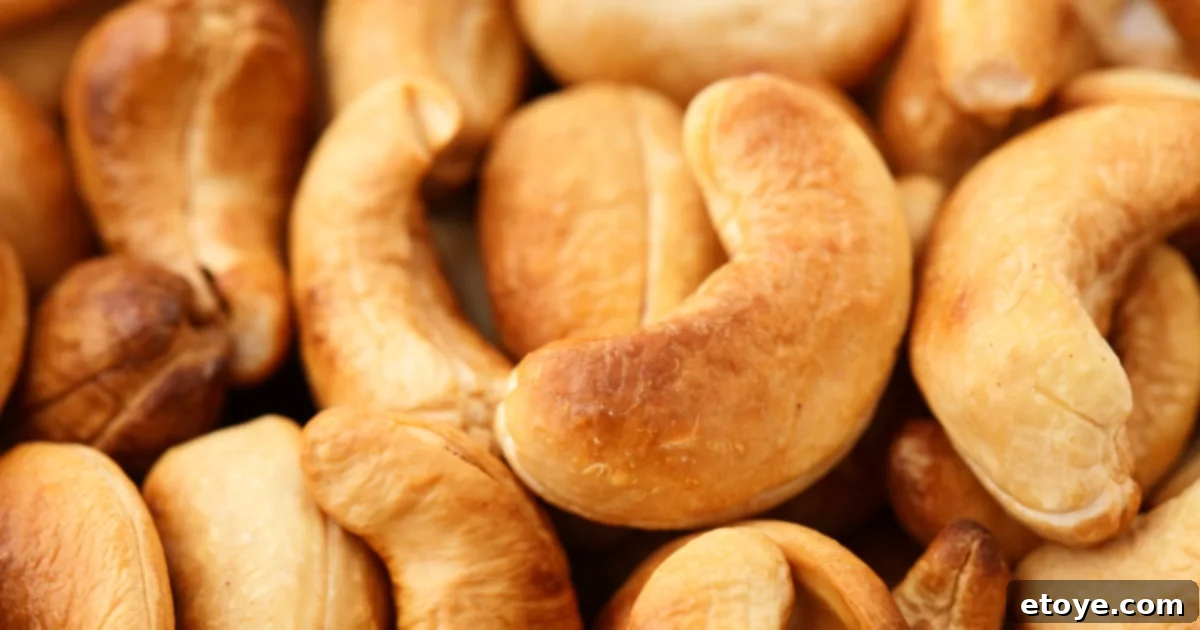
Toasted nuts are a simple yet incredibly effective way to add depth, crunch, and a rich, irresistible aroma to a multitude of Thanksgiving dishes. From topping green bean casseroles and roasted vegetables to garnishing salads and, of course, enhancing decadent pumpkin and pecan pies, the difference a toasted nut makes is truly remarkable. While oven-toasting is common, it often means preheating a large appliance for a small batch of nuts, which is inefficient on a busy holiday. If your Thanksgiving dishes are crying out for a little extra crunch and nutty flavor, don’t sweat it – your microwave is surprisingly adept at toasting nuts quickly and efficiently. This hack saves time, energy, and valuable oven space, making it perfect for last-minute additions or small batches. To toast nuts in the microwave, simply spread your pecans, walnuts, almonds, or any other nuts in a single layer on a microwave-safe plate. Avoid overcrowding, as this can lead to uneven toasting. Microwave them on high for short intervals, typically 30 seconds to 1 minute at a time, depending on the type and quantity of nuts. Crucially, you must keep a very close eye on them and stir frequently, as nuts can go from perfectly golden to burnt in a matter of seconds. They will continue to brown slightly even after being removed from the microwave due to residual heat. You’ll be rewarded with wonderfully toasty, fragrant nuts ready to sprinkle over everything from hearty stuffing to that indulgent pumpkin pie. It’s an effortless way to elevate the texture and flavor profile of countless holiday recipes.
Check out our how-to on how to toast nuts in the microwave here.
Reviving Stale Bread for Stuffing and Sides
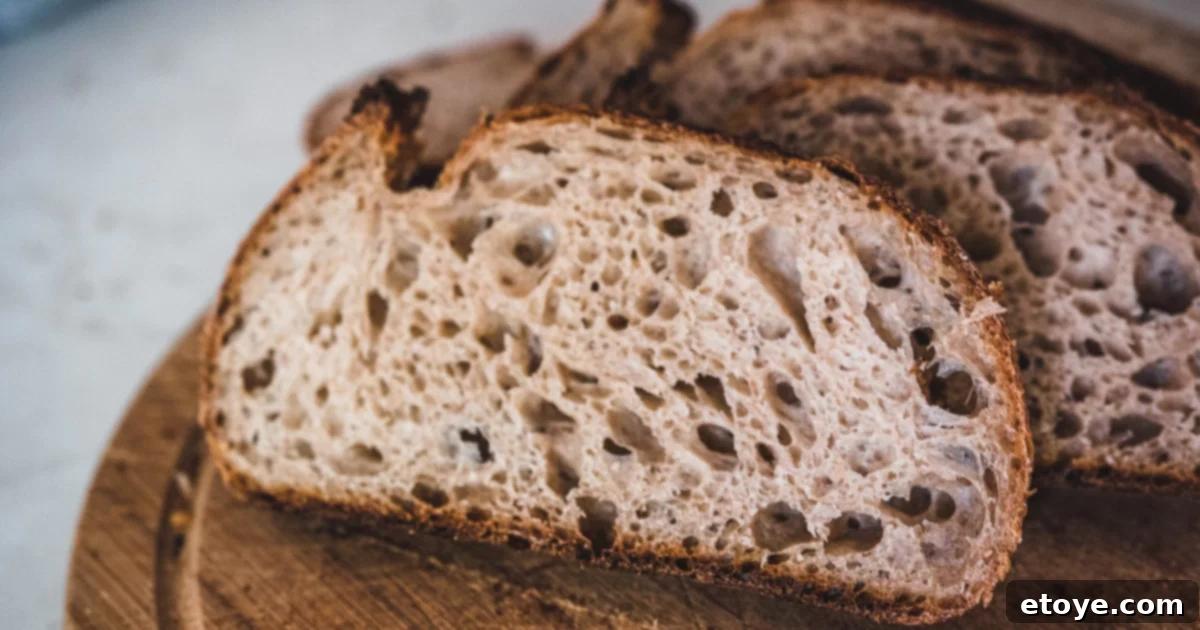
On Thanksgiving, every morsel of food is precious, and sometimes, you might find yourself with a loaf of stale bread that seems destined for the compost bin. But stale bread is far from a lost cause, especially when you have a microwave up your sleeve. Whether it’s for making your famous holiday stuffing, preparing croutons for a festive salad, or simply serving fresh bread alongside the meal, this microwave hack can work wonders. This simple technique can miraculously bring dry, hard bread back to life, making it soft and pliable again, almost like it’s fresh from the bakery – minus the crisp crust, but hey, for stuffing or soft rolls, we’re after soft and squishy here! To revive your stale bread, lightly dampen a clean paper towel or a thin kitchen towel with water. Wrap the entire loaf or individual slices of bread in this damp towel. Place the wrapped bread in the microwave and give it a quick zap on high for 10-20 seconds. The moisture from the towel, combined with the heat, will create steam that rehydrates the bread, softening its texture. For larger loaves, you might need slightly longer, perhaps 30 seconds, checking its progress carefully. Just like that, you’ve got bread that’s soft, warm, and ready to tear into chunks for your stuffing, or to serve up on the side with butter. It’s an incredible time-saver and a fantastic way to reduce food waste during the holiday season, ensuring no good bread goes unused.
Crafting Quick Flavored Oils for Thanksgiving Delights

Flavored oils are like liquid gold when it comes to adding an extra layer of gourmet sophistication and an instant burst of aroma to your Thanksgiving spread. They can elevate everything from roasted vegetables and mashed potatoes to your turkey and even bread for dipping. While infusing oils traditionally requires slow heating or days of steeping, your microwave can infuse good quality olive oil with the rich, aromatic flavors of garlic, rosemary, thyme, chili flakes, or even citrus zest in mere minutes. This quick hack allows you to prepare several distinct flavored oils to complement different dishes, adding versatility and depth to your holiday menu without any fuss. To make flavored oils, choose a microwave-safe container and add your preferred aromatics, such as minced garlic, fresh rosemary sprigs, dried chili flakes, or lemon peel. Pour in enough olive oil to cover the ingredients. Microwave on medium power for short bursts, typically 30 seconds to 1 minute, until the oil is warm and fragrant. The gentle heat helps to release the essential oils and flavors from your chosen ingredients into the olive oil without burning them. Once heated, remove from the microwave and let the aromas mingle as the oil cools completely. You can then strain out the solids for a clear oil or leave them in for a more rustic presentation. Drizzle that exquisite elixir over your roasted vegetables for an extra layer of flavor, brush it onto your turkey before roasting for a savory crust, or serve it with fresh bread for an irresistible appetizer. It’s a flavor bomb that’s straight-up drool-worthy and incredibly easy to achieve with your trusty microwave.
“Baking” a Stress-Free Sweet Potato Casserole in the Microwave
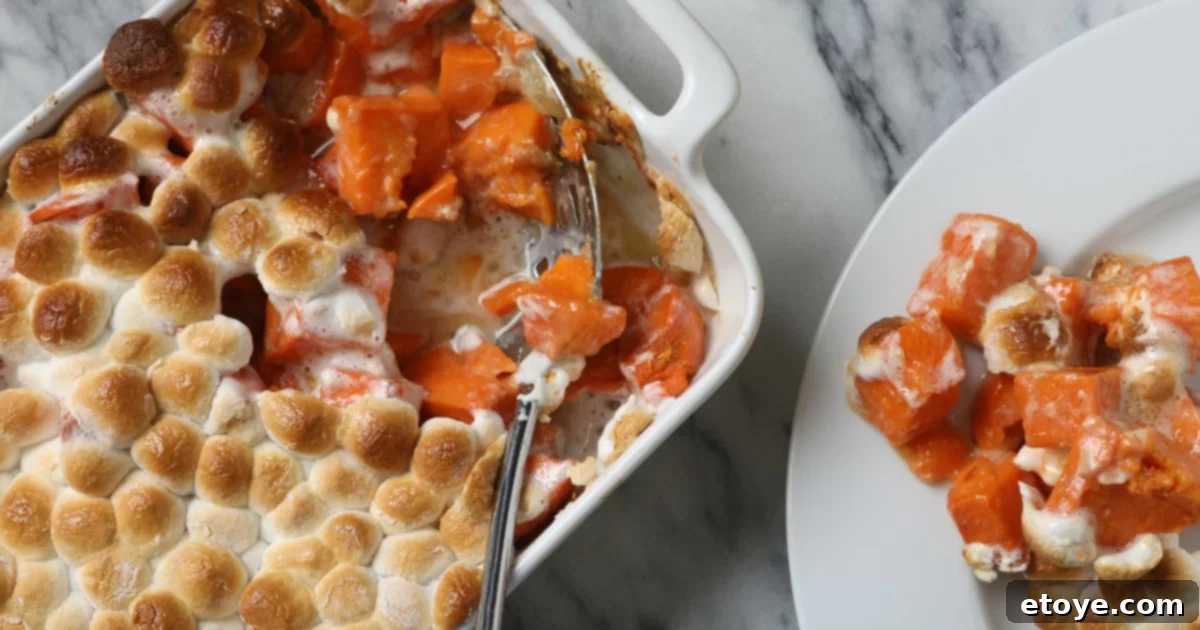
The sweet potato casserole, with its comforting creamy base and often a delightful marshmallow or pecan topping, is a quintessential Thanksgiving side dish. However, during the holiday rush, oven real estate is prime, and often, there’s simply no room for every dish to bake simultaneously. But that’s no issue for a savvy cook armed with a microwave! You can effectively “bake” your sweet potatoes right in the microwave, cutting down on cooking time and freeing up your oven for other critical components of the feast. This hack focuses on getting your sweet potatoes perfectly tender and mashable, which is the most time-consuming part of the casserole. To prepare, simply wash and pierce your sweet potatoes several times with a fork. Place them directly in the microwave and cook on high until they are fork-tender and soft all the way through – usually 5-10 minutes, depending on their size. Once cooked, let them cool slightly, then scoop out the soft flesh. From there, you can whip ’em up with your favorite casserole ingredients: butter, brown sugar, spices, a splash of milk or cream, and any other secret additions. Transfer the mashed mixture to a microwave-safe dish, add your desired topping (marshmallows or pecan crumble), and give them a final zap to warm through and slightly toast the topping if using marshmallows (you may need a quick broil in the oven for a perfectly browned marshmallow crust, but the microwave gets you 90% there). Voilà! A sweet potato casserole that’s as comforting and delicious as the oven-made classic, with none of the scheduling stress or oven juggling. It’s a smart way to ensure this beloved side makes it to your table with ease.
Check out how to microwave sweet potato cubes here!
Well, folks, there you have it – a Thanksgiving that promises to be a little less traditional oven-centric and a whole lot more microwave-friendly. We’ve zapped, softened, pre-cooked, and quick-infused our way to a feast that is not only scrumptious but also remarkably smart and stress-free. As you prepare for the grand holiday meal, remember that your microwave is so much more than just a reheating wonder; it’s a full-fledged, versatile kitchen ally, ready to tackle a surprising array of tasks. By embracing these innovative hacks, you’ll unlock valuable oven space, streamline your cooking process, and save precious time that can be better spent with loved ones, enjoying the festive atmosphere, or simply relaxing before the big meal. So go ahead, give these microwave hacks a try, enjoy the extra moments saved, and give a well-deserved toast to the trusty microwave – your ultimate countertop comrade in culinary efficiency this Thanksgiving. Cheers to a happy, delicious, and wonderfully stress-free holiday season!
Other Thanksgiving Recipe Posts You May Enjoy:
- Thanksgiving On A Budget: Smart Tips for an Affordable Holiday Feast
- An Intimate Thanksgiving Menu For Two: Perfect for Smaller Celebrations
- No-Waste November: A 7-Day Meal Plan for All Your Thanksgiving Leftovers
- 8 Thanksgiving Desserts That Steal The Show: Sweet Endings for Your Feast
