Indulge in Irresistible Turtle Cheesecake Truffles: Your New Favorite Bite-Sized Dessert
There’s a certain magic that happens when you step into a place like The Cheesecake Factory. For my husband and me, it’s not just about the meal; it’s a pilgrimage dedicated solely to the cheesecake. While we might not conquer every single flavor on the menu in one sitting (unless we’re with a very ambitious group!), our ritual involves selecting at least four distinct cheesecakes to share. The strategy is simple: two glorious bites from each slice, and the rest is carefully packaged to be savored later.
However, this strategy often faces a critical test. The moment those coveted to-go boxes are on my lap in the front seat of the car, a plastic fork at the ready, all bets are off. That’s when we’re in for trouble—delicious, decadent trouble. Especially if one of those masterpieces happens to be a chocolatey, caramel-drizzled, nutty turtle cheesecake. Its rich flavors and luxurious texture are simply too enticing to resist, making it a true challenge for anyone attempting “portion control” after a meal.
Mastering Portion Control with Homemade Cheesecake Bites
My love for cheesecake is undeniable, but so is my struggle with portion control when an entire cake is within reach. This delightful dilemma led me to a brilliant solution: transforming my favorite Turtle cheesecake into adorable, bite-sized truffles, balls, and pops. Each one is perfectly portioned, offering about three satisfying bites of pure bliss. These aren’t designed for solo indulgence but rather for sharing—think “take one, pass it along.” Please, promise me there will be no hoarding! These petite treats are the only kind of desserts I allow myself to create, ensuring I can enjoy the rich flavors without the guilt of overindulging.
Creating these mini cheesecake wonders offers several advantages beyond just managing portion sizes. They are incredibly versatile for entertaining, making them a fantastic addition to any party spread or casual gathering. Imagine a platter of these elegant truffles, each one a testament to homemade goodness, ready to be enjoyed without the fuss of slicing a large cake. They also freeze beautifully, allowing you to prepare them in advance and have a delightful dessert on hand whenever a craving strikes or unexpected guests arrive.
Moreover, the process of making cheesecake truffles is surprisingly therapeutic and enjoyable. It’s a hands-on experience that results in a professional-looking dessert, even for novice bakers. The customization possibilities are endless, from experimenting with different chocolate coatings to varying the nuts or drizzles. This recipe for Turtle Cheesecake Truffles embodies the perfect balance of convenience, indulgence, and creativity.
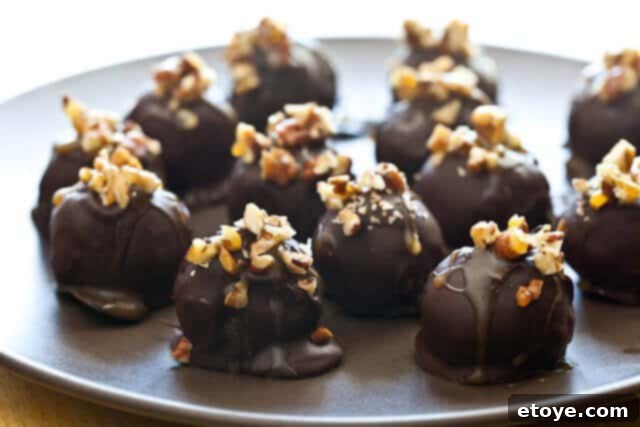
Whether you’re hosting a sophisticated dinner party or simply seeking a delightful treat to enjoy at home, these cheesecake truffles are sure to impress. They offer all the beloved flavors of a classic Turtle cheesecake—rich chocolate, gooey caramel, and crunchy pecans—encased in a creamy, tangy cheesecake base, all in a manageable, irresistible bite.
Crafting the Perfect Turtle Cheesecake Truffles: A Step-by-Step Guide
Creating these delectable Turtle Cheesecake Truffles is a rewarding process, yielding impressive results with relatively little effort. The key to success lies in understanding each step and the role each ingredient plays. Let’s dive into the details of making these delightful treats.
The Foundation: Creamy Cheesecake Base
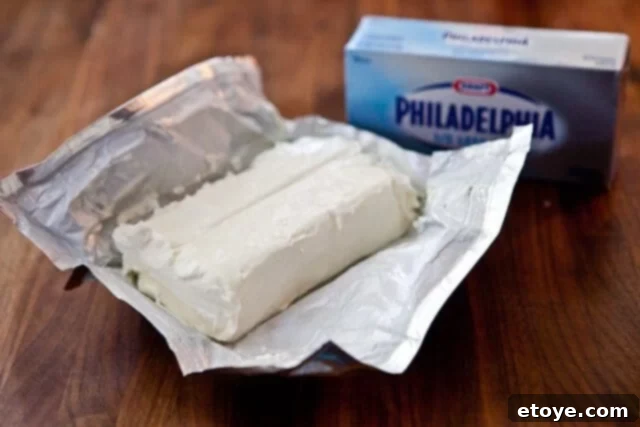
It all begins with the star ingredient: Philadelphia Cream Cheese. I personally opt for the 1/3 Less Fat version to slightly lighten the richness, but the full-fat version works just as beautifully if you prefer. Regardless of your choice, ensure your cream cheese is softened to room temperature. This crucial step allows it to blend smoothly with other ingredients, preventing lumps and ensuring a consistently creamy texture for your truffles. Cold cream cheese will result in a clumpy, difficult-to-work-with mixture.
Next, we introduce the graham cracker crumbs. These crumbs are essential, not only for adding a classic cheesecake flavor but also for providing structure and body to our truffles. You can easily find pre-crumbled graham crackers in a box at most grocery stores, which saves a significant amount of time. Alternatively, if you have whole graham crackers on hand, simply pulse them in your food processor until they form fine crumbs. Make sure they are finely ground to ensure a smooth consistency in your cheesecake mixture.
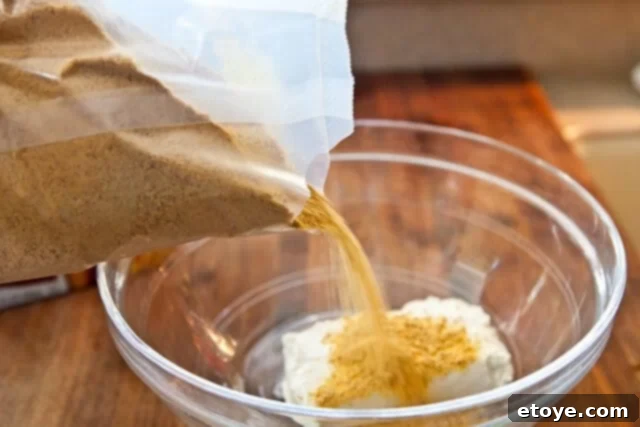
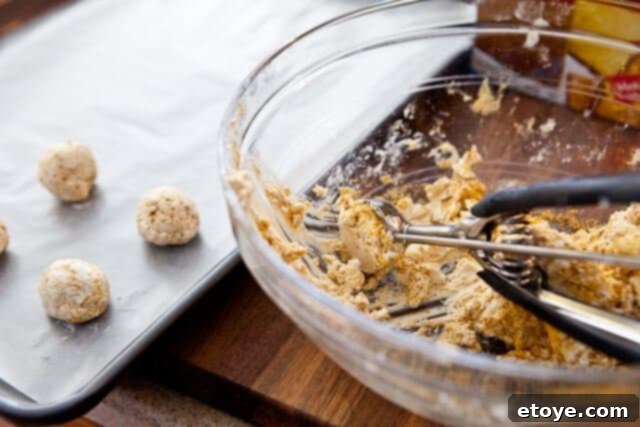
Once your cream cheese and graham cracker crumbs are combined, it’s time to shape them into uniform balls. A melon baller is your best friend here, as it helps create perfectly sized, consistent truffles. Aim for balls that are approximately 1 1/4 inches in diameter. After shaping, arrange them on a wax-paper-lined baking sheet and freeze them for 10-15 minutes. This quick chill time is vital; it helps the cheesecake balls firm up, making them much easier to dip into melted chocolate without falling apart.
The Decadent Coating: Chocolate, Pecans, and Caramel
While your cheesecake balls are firming up in the freezer, prepare your coating ingredients. Start by melting your chocolate. You can use semi-sweet baking chocolate squares for a classic taste, or if you prefer a different sweetness level, milk chocolate or dark chocolate squares work equally well. Candy melts are another excellent option, as they are designed to melt smoothly and set quickly, providing a professional finish. Melt the chocolate slowly and carefully, either in a microwave in 30-second intervals, stirring in between, or over a double boiler, until it is completely smooth and free of any lumps.
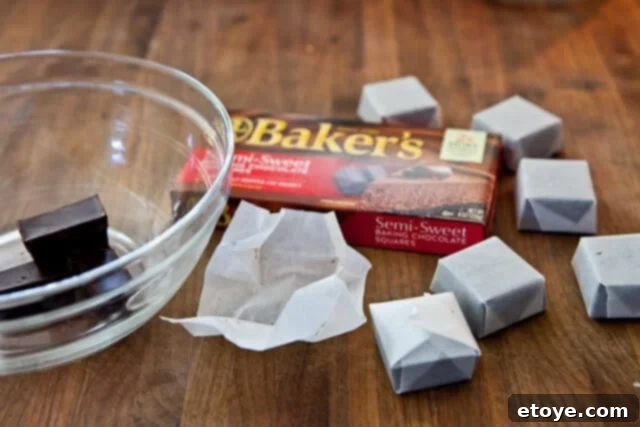
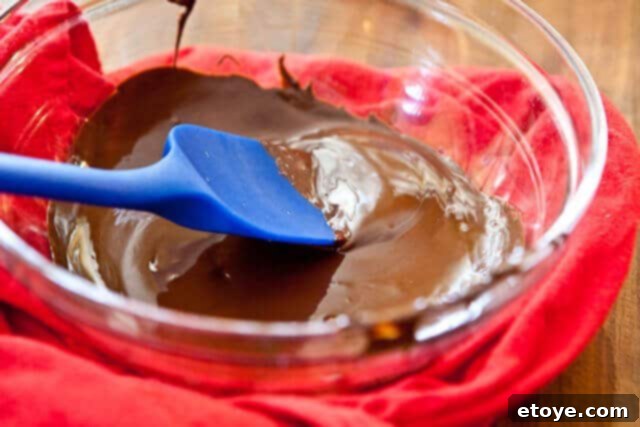
Continue melting until your chocolate is perfectly smooth and glossy. A silky-smooth chocolate coating is essential for a beautiful and evenly coated truffle. Be careful not to overheat the chocolate, as this can cause it to seize and become unusable. If using baking chocolate, a tiny bit of coconut oil or vegetable shortening can help achieve a smoother consistency for dipping.
For the signature “turtle” toppings, you’ll need pecans and caramel sauce. I prefer using a good quality store-bought caramel sauce, the kind you’d typically drizzle over ice cream sundaes. Its smooth consistency makes it perfect for drizzling over the finished truffles. If you’re feeling adventurous, a homemade caramel sauce can elevate the flavor even further.
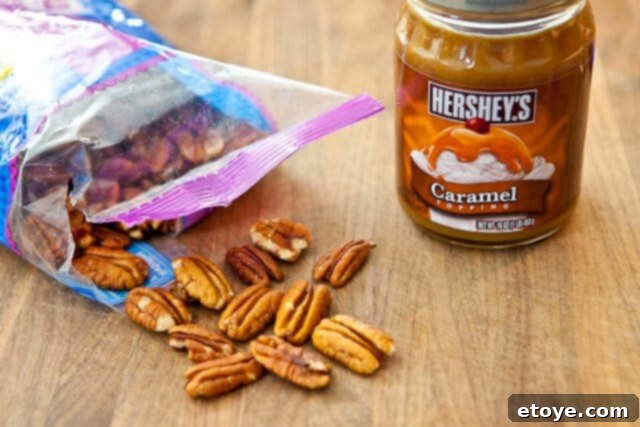
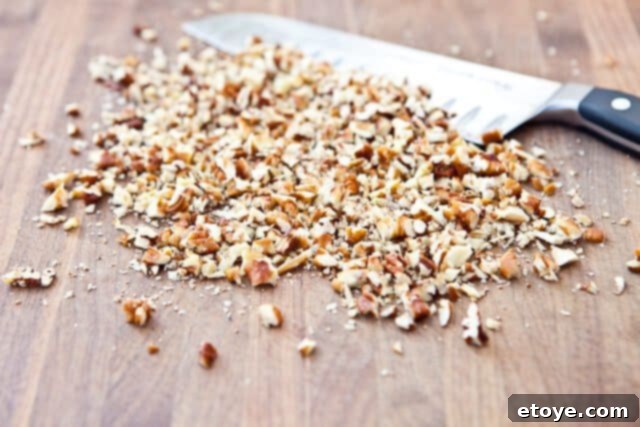
Prepare your pecans by finely chopping them. Uniformly chopped pecans will adhere better to the chocolate coating and provide a pleasant crunch in every bite. For an extra layer of flavor and aroma, you can lightly toast the pecans in a dry pan over medium heat for a few minutes, or in the oven at 300°F (150°C) for about 5-7 minutes, before chopping. Let them cool completely before use.
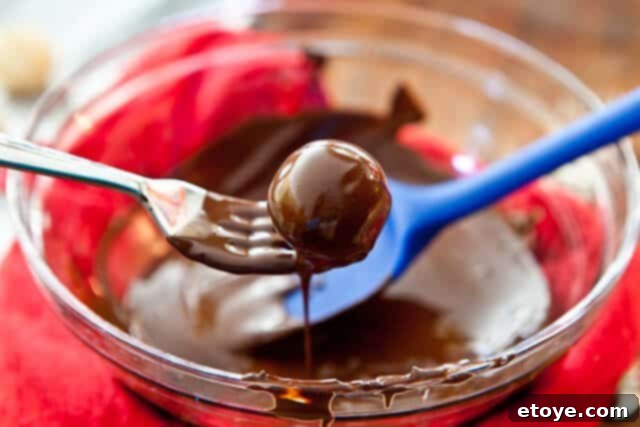
Now comes the fun part: dipping the cheesecake balls. Using one or two forks, carefully submerge each frozen cheesecake ball into the melted chocolate. Gently tap the fork against the side of the bowl to allow any excess chocolate to drip off through the tines. This helps achieve a thin, even coating and prevents pooling at the bottom of the truffle. Place the chocolate-covered balls back onto your wax-paper-lined baking sheet.
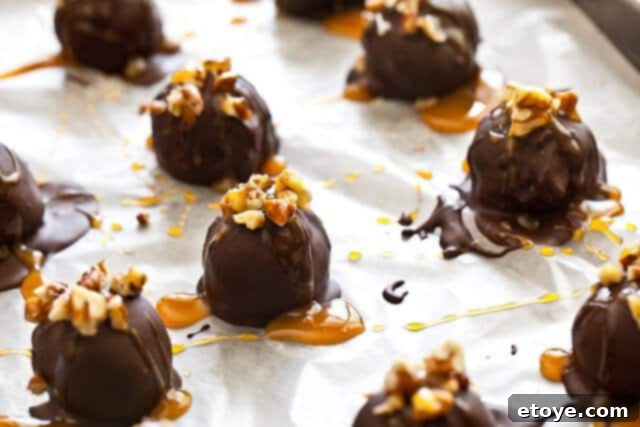
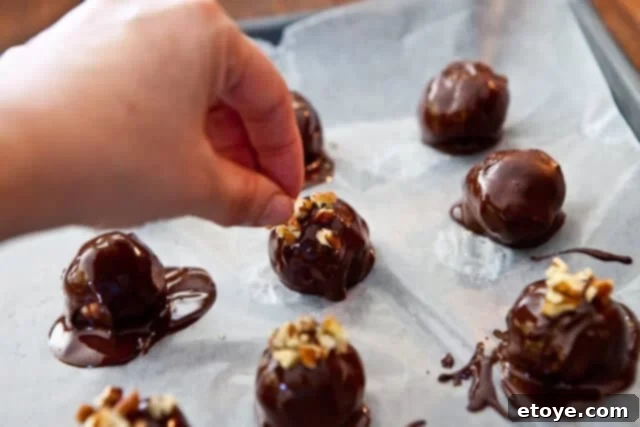
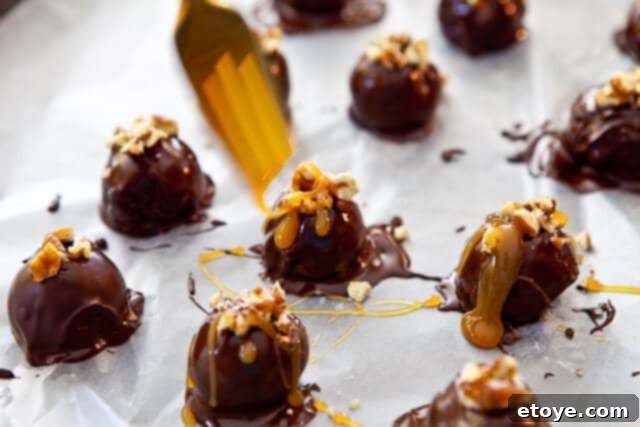
Immediately after dipping each truffle, while the chocolate is still wet, sprinkle a few pieces of chopped pecans on top. Press them gently to ensure they adhere. The wet chocolate will act as an adhesive, securing the nutty topping in place as it sets. This not only adds texture but also gives your truffles that characteristic “turtle” appearance.
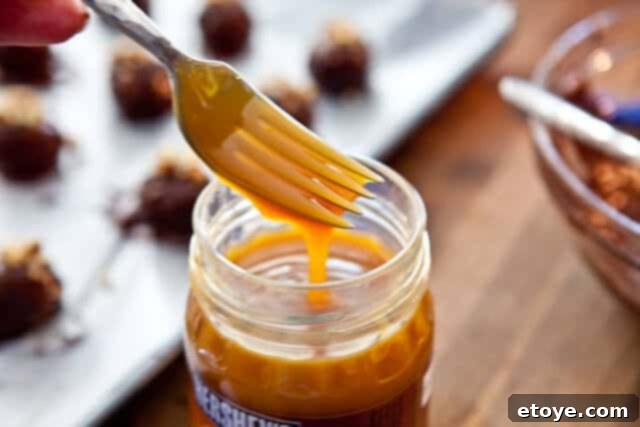
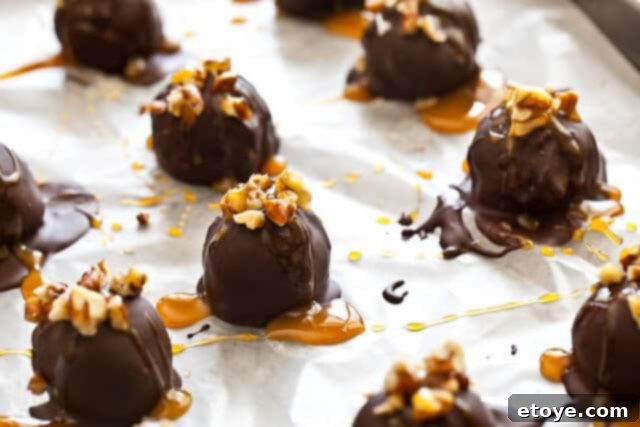
Finally, for the pièce de résistance, the caramel drizzle. Dip your fork into the caramel sauce, ensuring it picks up a good amount. Then, with a graceful movement, drizzle the caramel over the pecan-topped cheesecake truffles. You can create intricate patterns or simple zigzags—whatever strikes your fancy. The contrast of the dark chocolate, green-brown pecans, and golden caramel creates an incredibly appealing visual, hinting at the layers of flavor within.
Final Touches: Chilling, Serving, and Storing
Once all your truffles are coated and decorated, refrigerate them for at least an hour. This allows the chocolate shell to fully set and the cheesecake base to firm up perfectly, making them easier to handle and enhancing their texture. For optimal flavor and firmness, you can even chill them overnight. These truffles are best enjoyed when slightly chilled, offering a delightful contrast between the firm chocolate coating and the creamy cheesecake interior.
When it’s time to serve, arrange them beautifully on a platter. Their elegant appearance makes them perfect for parties, holiday gatherings, or as a sophisticated after-dinner treat. And remember the golden rule: enjoy just one, and then share the rest! That’s the true beauty of these perfectly portioned delights.
Turtle Cheesecake Truffle Recipe
These delightful bite-sized truffles combine the rich flavors of classic turtle cheesecake into an easy-to-share dessert. Perfect for parties or a controlled indulgence!
Details:
- Prep Time: 5 mins
- Cook Time: 30 mins
- Refrigeration Time: 1 hr
- Yields: 15 truffles
Ingredients:
- 1 package Philadelphia Cream Cheese (8 oz), 1/3 Less Fat, softened
- 1 package (8 ounces) semi-sweet baking chocolate squares (or candy melts)
- 1 cup graham cracker crumbs
- 1/4 cup chopped pecans, finely chopped
- 1/4 cup caramel sauce (store-bought or homemade)
Instructions:
- Combine the softened cream cheese with the graham cracker crumbs in a bowl. Mix until well combined and smooth.
- Using a melon baller or a small scoop (approximately 1 1/4 inches), scoop out portions of the cream cheese mixture and roll them into uniform balls. Place them on a wax-paper-lined baking sheet. Repeat until all the cream cheese mixture is used, yielding about 15 balls.
- Place the baking sheet with the cheesecake balls into the freezer for 10-15 minutes to allow them to firm up.
- While the cheesecake balls are freezing, melt the chocolate squares according to package directions. You can use a microwave (in 30-second intervals, stirring) or a double boiler until smooth and completely melted.
- Using one or two forks, carefully dip each frozen cheesecake ball into the melted chocolate. Allow any excess chocolate to drip off between the tines of the fork. Place the chocolate-covered balls back onto the wax-paper-lined baking sheet.
- Immediately after dipping each truffle, sprinkle a few finely chopped pecan pieces on top of the wet chocolate.
- Dip a clean fork into the caramel sauce and artfully drizzle it over each pecan-topped truffle.
- Refrigerate the finished truffles for at least 1 hour (or up to overnight) to allow the chocolate to set completely and the flavors to meld.
- Serve chilled and enjoy!
Exploring Variations: Customize Your Truffles!
The beauty of these Turtle Cheesecake Truffles lies not just in their exquisite taste but also in their adaptability. Once you’ve mastered the basic recipe, the possibilities for customization are endless. Here are a few ideas to inspire your culinary creativity:
- Nutty Alternatives: While pecans are traditional for turtle candies, feel free to experiment with other nuts. Walnuts, almonds, or even a mixed nut blend can add a different dimension to the flavor and texture. Lightly toasting any nuts before chopping will enhance their inherent richness.
- Chocolate Delights: Don’t limit yourself to semi-sweet chocolate. A milk chocolate coating will offer a sweeter, creamier profile, while dark chocolate will provide a more intense, sophisticated bitterness that beautifully contrasts the sweet caramel and tangy cheesecake. White chocolate can also be used, perhaps with a touch of coffee extract for a mocha twist.
- Caramel Creations: For a twist on the caramel, consider using a different flavor drizzle. A salted caramel sauce would add a delightful savory note, cutting through the sweetness. You could also try a butterscotch sauce for a different kind of rich, buttery sweetness.
- Flavor Infusions: Add a few drops of extract to your cream cheese mixture for an extra layer of flavor. Vanilla bean paste, almond extract, or even a hint of rum extract could elevate the truffle experience. Just be mindful not to add too much liquid, which could alter the consistency of the cheesecake base.
- Crumb Variations: Instead of graham cracker crumbs, consider using crushed shortbread cookies, digestive biscuits, or even chocolate wafer cookies for a different base flavor and color.
- Decorative Touches: Beyond pecans and caramel, think about other toppings. A sprinkle of sea salt flakes on top of the caramel would be a gourmet touch. Mini chocolate chips, a dusting of cocoa powder, or even edible glitter could add visual appeal.
These variations not only allow you to tailor the truffles to your personal preferences but also make them suitable for various occasions and dietary considerations. Unleash your inner pastry chef and make these truffles truly your own!
Why Homemade Truffles Are a Must-Try
In a world full of pre-packaged treats, there’s something uniquely satisfying about creating a homemade dessert, especially one as impressive yet approachable as these Turtle Cheesecake Truffles. Beyond the sheer joy of baking, making your own truffles offers several compelling benefits:
- Quality Ingredients: You have complete control over the ingredients, allowing you to choose high-quality cream cheese, real chocolate, and fresh nuts. This invariably leads to a superior taste and texture compared to mass-produced alternatives.
- Freshness: Nothing beats the taste of a freshly made dessert. These truffles, with their creamy center and crisp chocolate shell, are a testament to the difference freshness makes.
- Cost-Effective: While specialty desserts can be pricey, making them at home is often more economical, especially when preparing for a crowd.
- Personal Touch: Gifting a box of homemade truffles speaks volumes. It’s a thoughtful, personalized present that showcases your effort and care.
- Fun for All Ages: The process of rolling balls, dipping them in chocolate, and drizzling with caramel can be a fun activity for families, especially involving children in the decorating phase.
So, next time you’re craving something sweet, or looking for that perfect dessert to share (or perhaps not entirely share!), remember these easy-to-make Turtle Cheesecake Truffles. They are a delightful embodiment of indulgence, portion control, and the simple pleasure of homemade treats. Sit back, kick your feet up, and savor every single bite of your creation!
And remember, while the temptation to devour them all might be strong, these little treasures are truly designed for sharing. Enjoy the process, enjoy the taste, and most importantly, enjoy spreading the joy!
