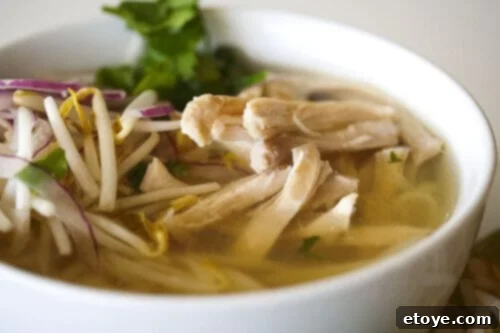
Welcome to the ultimate guide for crafting an authentic bowl of Vietnamese Chicken Pho, affectionately known as Pho Ga. Forget complicated takeout orders; this comprehensive recipe empowers you to create a deeply flavorful, aromatic, and comforting chicken noodle soup right in your own kitchen. While its beef cousin, Pho Bo, often garners more attention, Pho Ga offers a distinctly lighter yet equally rich and satisfying experience, perfect for any time of the year. This recipe focuses on traditional techniques to ensure a crystal-clear broth, incredibly succulent chicken, and a harmonious blend of spices that will transport your taste buds straight to the vibrant streets of Vietnam.
In this detailed journey, you will master the art of homemade Pho Ga by:
- Discovering the essential method for properly cleaning your chicken, a critical step often overlooked, to achieve an exceptionally clear and pure broth.
- Learning the secret to preventing dried, tough chicken meat, ensuring every slice you serve is tender, juicy, and flavorful.
- Uncovering why this chicken-based soup is not only lighter but often easier and quicker to prepare than its more robust counterpart, Vietnamese Beef Pho.
- Exploring the versatility of Pho Ga, including methods to adapt this recipe, such as making Chicken Pho in a slow cooker for hands-off convenience.
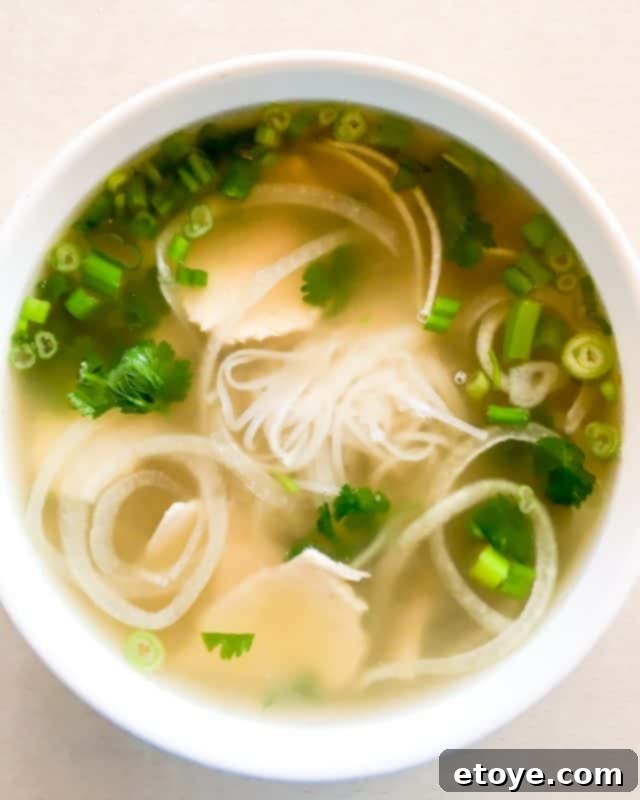
Mastering Vietnamese Chicken Pho: An Authentic Homemade Recipe (Pho Ga)
Homemade Vietnamese Chicken Pho, or Pho Ga, is a culinary delight that promises not just a meal, but an experience. The unparalleled freshness of ingredients, the control over flavor profiles, and the sheer satisfaction of creating such an iconic dish from scratch make it a truly rewarding endeavor. This recipe is designed to guide you through every step, ensuring that even a novice cook can achieve a restaurant-quality Pho that is both authentic and incredibly delicious. Prepare to impress your family and friends with a bowl of comforting warmth and vibrant flavors.
Why Choose Homemade Pho Ga? The Unbeatable Taste and Experience
Embracing the challenge of making Pho Ga at home comes with a multitude of benefits that extend far beyond just taste. It’s an opportunity to connect with your food, understand its components, and tailor it precisely to your preferences.
- Uncompromised Flavor Depth: When you make Pho Ga from scratch, you have complete control over the quality of your ingredients. This means selecting the freshest organic chicken, premium spices, and crisp herbs. The result is a broth that boasts an incredible depth of flavor, far surpassing anything pre-made or hastily prepared.
- Crystal-Clear Broth, Every Time: A hallmark of excellent Pho is its clear, shimmering broth. Our traditional cleaning and parboiling techniques are specifically designed to eliminate impurities, leaving you with a broth that’s not only visually appealing but also pure in taste.
- Perfectly Cooked, Succulent Chicken: One of the biggest challenges in Pho is often overcooking the chicken, rendering it dry and bland. This recipe introduces a clever technique to ensure your chicken meat remains wonderfully juicy and tender, providing a delightful textural contrast to the soft noodles and robust broth.
- A Healthier, Wholesome Choice: By preparing your Pho at home, you can avoid artificial flavor enhancers, excessive sodium, and unwanted additives that are sometimes present in commercial versions. You control the fat content, the amount of sugar, and the salt, making it a truly wholesome and nourishing meal.
- Cost-Effective Culinary Adventure: Enjoying authentic Pho at a restaurant can be quite expensive. Making a large pot of Pho Ga at home allows you to enjoy multiple generous servings for a fraction of the cost, making it an economical choice for feeding a family or meal prepping.
The Foundation of Flavor: Preparing Your Chicken for the Best Pho Broth
The very essence of a great Pho Ga lies in its broth, and the journey to a truly exceptional broth begins with the meticulous preparation of the chicken. The quality of your chicken is paramount here; opting for organic, free-range birds is highly recommended. These chickens typically offer superior flavor and produce a cleaner, more aromatic broth, justifying the slight extra cost. They contribute a richer, more authentic chicken essence that store-bought, conventionally raised chicken often lacks.
The Essential First Step: Thoroughly Cleaning Your Chicken
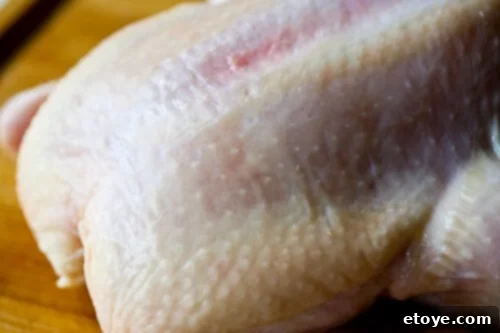
Before any simmering or spice adding begins, a proper chicken cleaning is an absolute non-negotiable. This isn’t just about hygiene; it’s about achieving the pristine clarity and pure flavor that defines authentic Pho broth. Raw chicken skin can harbor various impurities: minuscule feather remnants, surface dirt, loose or peeling skin, and even fine, powdery bone fragments from processing. If these are not meticulously removed, they will inevitably leach into your precious Pho Ga broth, resulting in a cloudy appearance and potentially an off-flavor. This initial, often overlooked, preparation step is the foundational secret to a truly outstanding and visually appealing soup.
Exfoliate for Purity: The Kosher Salt Scrub Technique
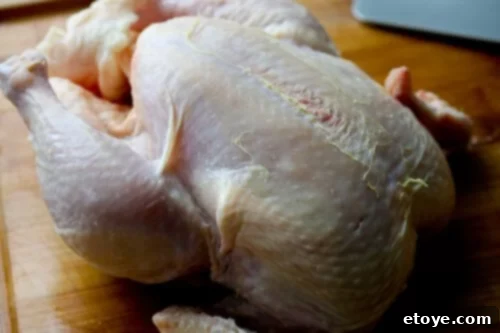
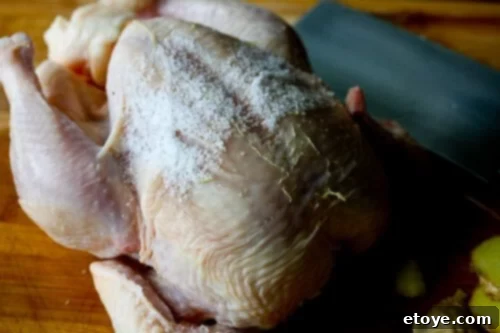
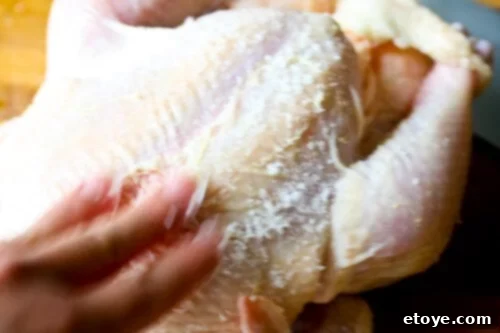
One of the most effective and traditional ways to prepare chicken for Pho broth is by “exfoliating” its skin using kosher salt. The coarse, robust grains of kosher salt provide the perfect abrasive texture, allowing you to thoroughly scrub away surface impurities, excess fat deposits, and any lingering debris that might cling to the chicken’s skin. This simple yet remarkably powerful technique ensures that only the cleanest chicken essence is released into your broth, contributing to its pure flavor and inviting clarity.
To execute this vital purification step, follow these instructions:
- Begin by taking a generous handful of kosher salt. Its larger crystals are ideal for this purpose.

- Vigorously rub the salt all over the entire surface of the chicken. Pay particular attention to the crevices, under the wings, and around the cavity, ensuring every inch is thoroughly scrubbed.

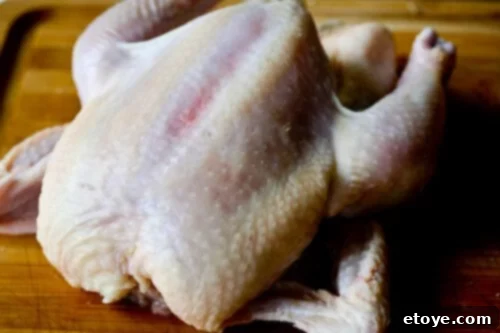
- Once thoroughly scrubbed, rinse the chicken meticulously under cold running water. Ensure all salt, along with any loosened impurities and debris, is completely washed away. This rinsing must be thorough.

- Finally, pat the entire chicken dry with clean paper towels. This prepares it for the next stage of broth making.

This quick, approximately two-minute step, while seemingly minor, is incredibly effective. It sets the crucial groundwork for a profoundly clean and flavorful broth, distinguishing your homemade Pho Ga.
The Double Cleanse: Parboiling for Unrivaled Broth Clarity
Following the salt scrub, an additional parboiling step provides a final, rigorous purification, absolutely guaranteeing a sparkling, transparent Pho Ga broth. This process is instrumental in effectively removing any lingering surface impurities, undesirable fats, and coagulated proteins that might have evaded the initial scrub and could otherwise cloud your finished soup. This double-cleanse method is a hallmark of truly authentic Pho preparation, yielding a broth that is both pure in flavor and visually stunning. Here’s how to execute this critical step:
- Begin by filling a large stockpot (preferably 12-quart or larger) halfway with cold water. Place it on high heat and bring it to a vigorous, rolling boil.
- While the water is heating, prepare your thoroughly cleaned chicken. Carve the whole chicken into its standard parts: drumsticks, thighs, breasts, wings, and the backbone/carcass. This partitioning allows for more uniform cleaning and ensures all parts are properly blanched.
- Once the water has reached a hard, rolling boil, carefully add all the chicken pieces to the pot. It’s also beneficial to add any extra chicken wing tips, bones, or chicken feet you might be using at this stage, as they contribute collagen and flavor.
- Allow the pot to return to a vigorous boil, maintaining high heat. Let the chicken boil intensely and unceasingly for exactly 5 minutes.
- During this brief but crucial period, you will observe grayish and whitish scum, along with some fat, rising prominently to the surface of the water. This is a clear indication of impurities being drawn out, elements that you absolutely do not want to incorporate into your final aromatic broth. Keep a close watch on the pot to ensure it does not boil over due to the vigorous action.
- After precisely 5 minutes, carefully and safely drain the entire contents of the pot into a large colander placed in your sink, ensuring all the chicken parts are securely caught. Discard the foul parboiling water.
- Rinse each individual chicken piece thoroughly under cold running water. This helps to wash away any remaining scum or residue clinging to the surface of the chicken.
- Promptly and meticulously wash the stockpot, scrubbing its sides vigorously to eliminate any residue or scum that might have adhered to it during the parboiling process. The pot must be spotlessly clean before the next step.
- Return the rinsed and cleaned chicken pieces to the now pristine pot. This signifies that you are ready to begin the true broth-making process with a perfectly clean foundation.
These two initial steps—the kosher salt scrub followed by the vigorous parboil—are not merely optional suggestions. They are fundamental, time-honored techniques in Vietnamese cuisine for preparing Pho. They will consistently give you the cleanest, clearest, and most profoundly delicious Chicken Pho broth you’ll ever have the pleasure of experiencing, forming the essential bedrock of your homemade culinary masterpiece.
The Secret to Succulent Chicken: Preventing Dryness in Your Pho Ga
A common culinary dilemma encountered in many homemade Pho recipes is the inevitable dryness and rubbery texture of the chicken meat after it has simmered for hours to develop the broth. While the chicken bones, wing tips, and remaining carcass are indispensable for extracting rich collagen and deep flavor for the broth, the lean meat, particularly the breast, can easily become overcooked, losing its tender texture and delicate taste. Our innovative method cleverly bypasses this issue, ensuring you achieve the best of both culinary worlds: a profoundly flavorful, slow-simmered broth *and* perfectly juicy, succulent chicken slices to adorn your Pho bowls.
Instead of subjecting the entire chicken to the lengthy two-hour simmering process required for optimal broth development, we employ a strategic timing technique designed specifically to preserve the meat’s coveted succulence:
- After the initial 20 minutes of simmering the chicken in the broth (following the cleaning and parboiling steps), carefully remove the chicken breasts. If you prefer the slightly richer texture of dark meat for serving, you can also remove the thighs at this point.
- Transfer these removed chicken pieces to a clean plate or cutting board and allow them to cool for a few minutes. This makes them much easier and safer to handle.
- Once cool enough, proceed to remove and discard the chicken skin from these pieces. By this point, the skin has already contributed its desirable flavors and fats to the broth during the initial simmering stage.
- Gently debone the meat from the breasts and thighs. Using a sharp knife, slice this tender meat into thin, elegant, bite-sized pieces. Set these slices aside. This perfectly cooked chicken will be the star protein in your finished Pho bowls.
- Crucially, return the now-bare chicken bones and any remaining carcass from the breasts and thighs back into the simmering broth. This allows these skeletal components to continue simmering for the full duration, extracting maximum flavor, collagen, and nutrients for the remaining 1.5 hours, without compromising the exquisite texture of your eating meat.
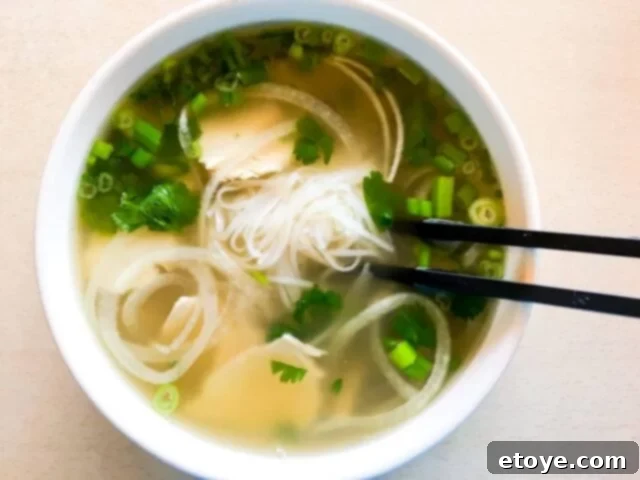
This strategic approach to cooking the chicken meat ensures that your breast and thigh pieces are cooked just enough to be wonderfully tender and flavorful, rather than becoming tough, dry, or stringy. The result is a delightful textural experience, perfectly complementing the comforting rice noodles and the aromatic, deeply flavorful broth, elevating your homemade Pho Ga to an unparalleled level of deliciousness.
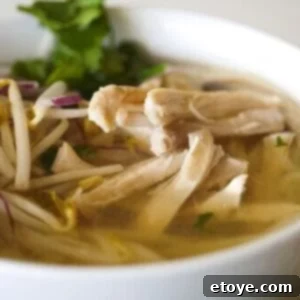
Authentic Vietnamese Chicken Pho Recipe (Pho Ga)
Author: Jaden
Rating: 4.72 from 7 votes
Print Recipe |
Pin Recipe
Prep Time: 30 mins | Cook Time: 2 hrs | Total Time: 2 hrs 30 mins
Course: Main Course | Cuisine: Vietnamese | Servings: 6 people
Ingredients
For the Chicken Pho Broth
- 1 unpeeled onion, halved
- 4 inch piece unpeeled fresh ginger, sliced into 1/4″ slices
- 1/2 cup kosher salt (for cleaning chicken)
- 3 1/2 pounds whole chicken, organic preferred
- 2 pounds chicken wing tips, bones or chicken feet (for extra richness)
- 4 tablespoons fish sauce
- 1 tablespoon sugar (or 1″ chunk of rock sugar)
- 3 whole cloves
- 2 tablespoons whole coriander seeds
For the Chicken Pho Bowls
- 1 1/2 pounds dried rice noodles (flat wide noodles work best)
- 1/2 onion, very thinly sliced (shaved)
- 2 stalks green onion, chopped
- 1/2 cup fresh cilantro, leafy tops only
For the Table (Garnishes)
- 1 pound bean sprouts
- 1-2 jalapeño chiles, sliced (adjust to taste)
- 1 lime, cut into wedges
- 1 bunch fresh Thai basil
- Asian sriracha chile sauce (optional, for heat)
- Hoisin sauce (optional, for sweetness and depth)
Instructions
Make the Chicken Pho Broth
- Place an oven rack on the upper 1/3 position and preheat the oven to broil (low setting). Arrange the unpeeled ginger slices and onion halves on a baking sheet. Roast for 10-15 minutes, or until they become softened and lightly browned/charred. This charring process is crucial for adding a deep, smoky undertone to your broth.
- Fill a large 12-quart (or larger) pot halfway with cold water and bring it to a vigorous, rolling boil. In the meantime, using the 1/2 cup of kosher salt, thoroughly exfoliate the whole chicken, rubbing the salt vigorously all over its skin to clean it and remove impurities. Rinse all of the salt off completely under cold running water. Once cleaned, cut the whole chicken into its primary parts: thighs, drumsticks, breasts, and wings.
- Once the water in the pot is boiling intensely, carefully add all the chicken pieces, including the 1 pound of supplementary wing tips, bones, or chicken feet if using. Allow the water to return to a hard boil and maintain high heat. Boil vigorously for 5 minutes. During this time, you will observe grayish and white scum rising to the top. Carefully drain all the water into a sink, using a large colander to catch all the chicken parts. Rinse each piece of chicken with cool water to remove any clinging scum. Thoroughly wash the pot, scrubbing away any scum residue, ensuring it is spotless. Return the cleaned chicken to the pot.
- Add the roasted ginger and onion, the whole coriander seeds, and the cloves to the pot with the chicken. Refill the pot with approximately 6 quarts of fresh, clean, cold water.
- Bring the water to a boil over high heat, then immediately reduce the heat to low to maintain a steady, gentle simmer. Use a fine-mesh skimmer or ladle to carefully remove any remaining scum that rises to the surface during the initial simmering. Simmer for 20 minutes. After 20 minutes, carefully remove the chicken breasts and thighs from the pot. Transfer them to a clean plate and let them cool for a few minutes.
- When the removed chicken pieces are cool enough to handle, remove and discard the skin. Carefully debone the meat from the breasts and thighs. Slice this tender meat into thin, bite-sized pieces and set it aside to be reserved for serving in your Pho bowls. Return the now-bare bones from the breasts and thighs back into the simmering broth to continue extracting maximum flavor.
- Continue to simmer the broth gently for an additional 1 1/2 hours. During this simmering period, it’s an excellent time to prepare your dried rice noodles and arrange all the fresh herbs and garnishes for the table. This helps streamline the final assembly process.
- Once the broth has finished simmering (a total of 2 hours of simmering after the initial parboil), use tongs or a spider strainer to carefully remove and discard all the chicken parts, onion, ginger, and spices from the pot. Strain the entire chicken Pho broth through a fine-mesh sieve lined with cheesecloth into a clean pot or large container. This critical step ensures a perfectly clear and clean broth. Return the strained broth to the pot.
- Season the clear broth with the fish sauce and sugar (or rock sugar). Taste the broth and adjust the seasoning as needed. You may add more fish sauce for additional savory depth, sugar for a touch of sweetness, or a pinch of salt if desired. Once seasoned to your liking, turn the heat to low to keep the soup hot until you are ready to serve.
Soak the Noodles and Prepare for the Table
- Soak the dried rice noodles in hot tap water for approximately 10-15 minutes. The noodles should soften slightly and become more opaque but should not be fully cooked. Drain the noodles thoroughly. In a separate, smaller pot, bring a generous amount of fresh water to a rolling boil specifically for cooking the soaked noodles just before serving.
- Arrange all the traditional Pho garnishes neatly on a platter or in individual small bowls for the table. This includes fresh bean sprouts, a generous bunch of fresh Thai basil, thinly sliced jalapeño chiles (adjust quantity to desired spice level), and fresh lime wedges. Also, prepare optional sauces like Asian sriracha chile sauce (for heat) and hoisin sauce (for sweetness and depth) for guests to customize their bowls.
Assemble Your Authentic Pho Ga Bowls
- Before you begin serving, ensure all components are meticulously prepared and easily accessible:
- The pot of aromatic, hot chicken Pho broth, kept on low heat, with a large soup ladle nearby.
- The thinly sliced, reserved succulent chicken meat.
- A pot of vigorously boiling water for the noodles, with the soaked and drained rice noodles ready for their quick cook. Have tongs and a small sieve or spider strainer readily available.
- Six large serving bowls lined up and ready for assembly.
- Divide the very thinly shaved onions, finely chopped green onions, and fresh cilantro leaves equally among the prepared bowls.
- All the table garnishes and sauces should be neatly arranged and presented for diners to customize their individual bowls.
- You will cook the noodles in individual batches, one batch per bowl, to ensure they achieve the perfect al dente texture. Add a portion of soaked noodles to your spider strainer or sieve. Carefully lower the strainer into the vigorously boiling water for precisely 20 seconds. It is crucial not to overcook them, as any longer will result in gummy, mushy noodles.
- Lift the strainer, shake off any excess water, and immediately transfer the hot, perfectly cooked noodles into one of the prepared bowls.
- Arrange a generous portion of the thinly sliced chicken meat on top of the noodles in the bowl.
- Using the ladle, generously pour the aromatic, hot chicken Pho broth over the noodles and chicken, ensuring everything is submerged and heated through.
- Serve immediately, allowing each diner the joy of adding their preferred fresh garnishes and sauces to personalize their exquisite bowl of homemade Vietnamese Chicken Pho. Enjoy this labor of love!
We sincerely hope you thoroughly enjoy the process of preparing and savoring this authentic Vietnamese Chicken Pho (Pho Ga). This recipe is designed to not only deliver an incredible depth of flavor but also to provide a fulfilling and rewarding culinary experience. Remember, the beauty of Pho lies in its customization – feel free to personalize your bowl with extra fresh herbs, a generous squeeze of lime, or a dash of your favorite sauces to truly make it your own. Happy cooking, and bon appétit!
Tried this recipe? Let us know how it was!
