Mastering DIY Mongolian BBQ at Home: Your Ultimate Guide to Interactive Stir-Frying
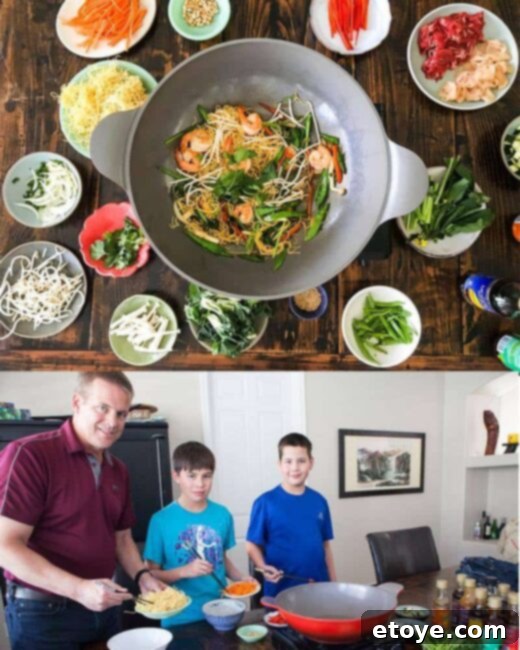
Embark on a culinary adventure right in your kitchen with a **DIY Mongolian BBQ**! This highly interactive and customizable meal transforms dinner into a captivating experience where everyone gets to be their own chef. Imagine your family and friends gathering around the table, each selecting their favorite ingredients, then performing a quick, five-minute stir-fry to craft a personalized, mouth-watering dish. This comprehensive guide will walk you through everything you need to know, from essential equipment and ingredient preparation to crafting the perfect sauce, ensuring a fun and delicious dining event. We even feature fantastic ready-to-use sauces like San-J’s Mongolian BBQ, Orange, Szechuan, Teriyaki, Thai Peanut, Sweet & Tangy, and Asian BBQ, alongside their premium Tamari.
What Exactly is Mongolian BBQ? A Culinary Misnomer Explained
Image: Ang Sarap – review of The Khan Mongolian BBQ restaurant in New Zealand. Discover more photos from this incredible feast by clicking the image!
Despite its name, **Mongolian BBQ** is neither truly Mongolian nor a form of traditional barbecue. This beloved culinary concept was ingeniously invented by the Taiwanese in 1951, cleverly blending the sizzling techniques of Japanese Teppanyaki with the robust flavors and quick cooking of Chinese stir-frying. It gained popularity as an all-you-can-eat buffet where diners choose from an extensive array of fresh ingredients to create their custom bowls.
Typically, the journey begins with a base of noodles, though you can easily opt for a low-carb alternative by focusing solely on proteins and vegetables. Guests pile their bowls high with an assortment of crisp vegetables, succulent seafood, and tender meats. The chosen ingredients are then handed over to skilled chefs who masterfully stir-fry the concoction on a large, flat iron griddle. The dish is usually finished with a sprinkle of fresh herbs or toasted sesame seeds, resulting in a unique and satisfying meal.
Why DIY Mongolian BBQ is Perfect for Home Dining
At home, interactive meals like fondue, raclette, Chinese hot pot, or Korean BBQ always bring a special kind of joy and engagement. **DIY Mongolian BBQ** perfectly embodies this spirit, offering a dynamic and engaging dining experience that appeals to all ages. The freedom to select individual ingredients and cook them right at the table fosters creativity and ensures everyone gets exactly what they crave. It’s a fantastic way to introduce diverse flavors and textures, making mealtime both entertaining and educational for kids and adults alike.
Essential Equipment for Your Mongolian BBQ Setup
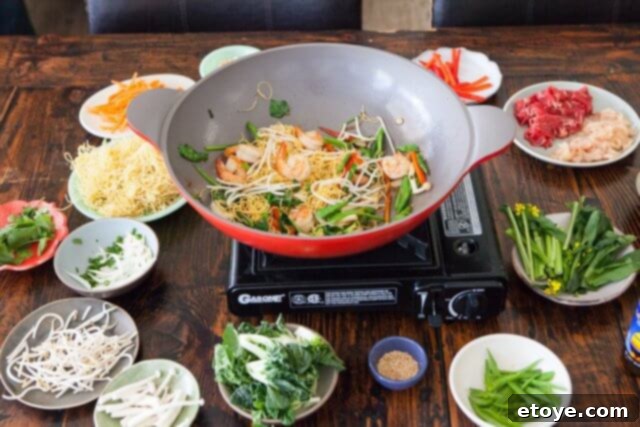
Creating your own **Mongolian BBQ station** at home is surprisingly simple and requires just a few key pieces of equipment. The heart of your setup will be a reliable heat source and a suitable cooking vessel.
The Portable Butane Stove: Your Tabletop Sizzler
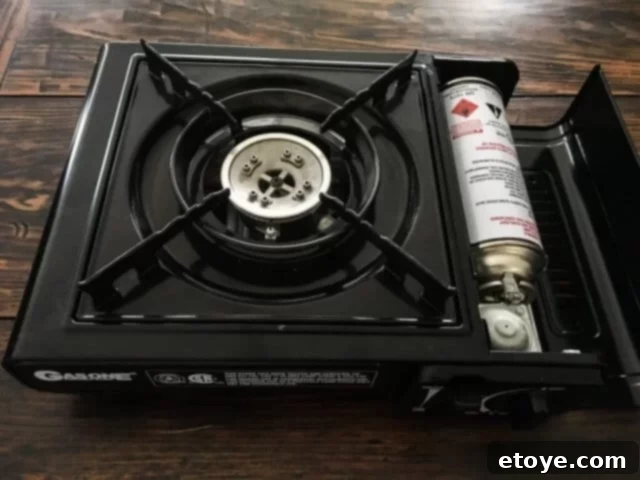
A **portable butane stovetop** is an indispensable tool for interactive dining. We often rely on ours for emergencies, camping trips, and all our favorite tabletop meals. While many brands exist, we highly recommend the Iwatani stove. Though it might be a few dollars more than some alternatives, its superior build quality, sturdiness, and a powerful 12,000 BTU output make it a worthwhile investment for consistent and efficient cooking.
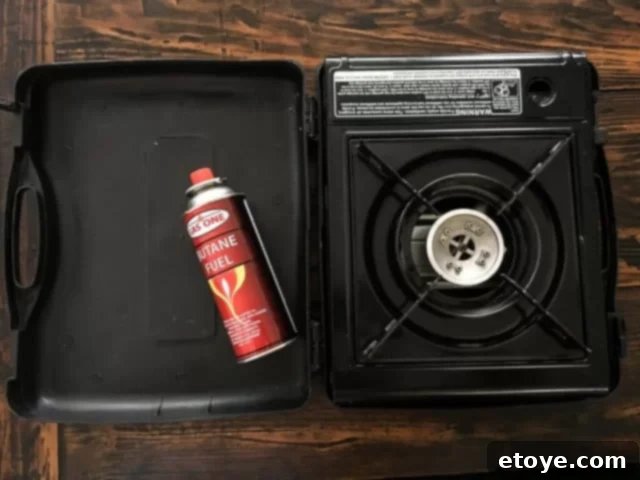
Butane canisters offer a surprisingly long burn time. Typically, one canister is sufficient for an entire evening of cooking, but keeping a spare or two on hand is always a good idea. A four-pack of butane can often be found for around $12 on Amazon, which can be significantly more economical than purchasing them from general retail or camping supply stores.
Setting up the stove is straightforward: simply insert the butane canister, push down the safety lever to lock it securely, and ignite the burner. Should a canister run out during your meal, the flame will cease. Just unlock the safety lever, replace the empty canister, and re-lock it to resume cooking.
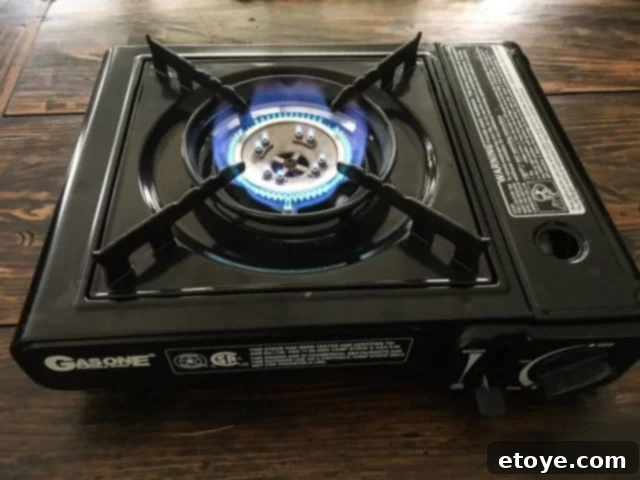
Choosing Your Cooking Vessel and Utensils
Alongside your portable stove, you’ll need a suitable pan for stir-frying. A **wok** is the traditional choice due to its high sides and even heat distribution, but a large frying pan or a deep sauté pan (a frying pan with straight, high sides) will also work effectively. For stirring and tossing ingredients, a spatula or tongs are essential. Many home cooks prefer tongs as they offer better control for grabbing ingredients and managing longer, tangly noodles.
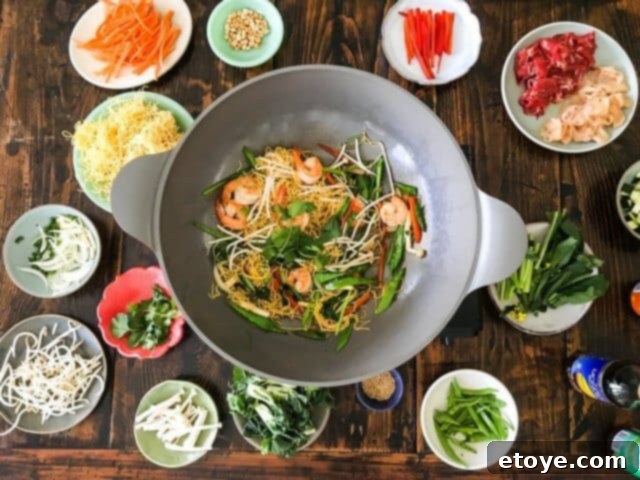
Finally, arrange all your prepped ingredients and a selection of cooking sauces neatly around the table, creating an inviting and organized DIY station for everyone to enjoy.
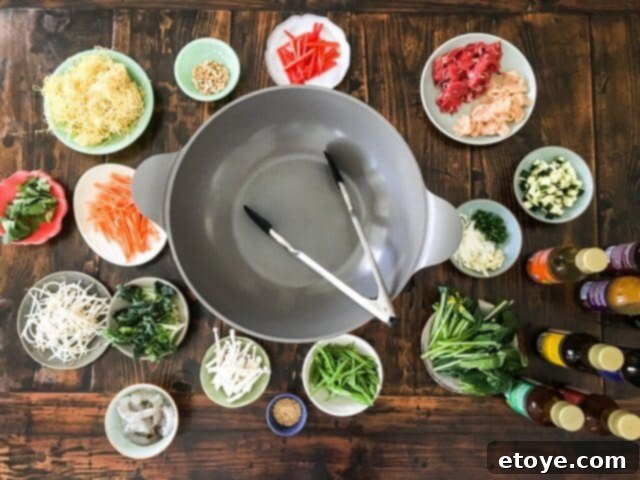
Curating Your Mongolian BBQ Ingredients
The beauty of **Mongolian BBQ** lies in its versatility. While you can include almost any ingredient, adhering to a few general guidelines will ensure a smooth and successful stir-frying experience.
Mastering Vegetables for Mongolian BBQ
The key to a perfect stir-fry is ensuring all vegetables cook evenly and quickly. This means careful preparation, particularly for denser vegetables. Tougher options like carrots should be sliced very thinly, and some, like cauliflower, might benefit from a quick par-boil beforehand. Remember, cooking times vary; onions will take slightly longer than delicate bean sprouts. We’ll show you how to manage this with strategic layering in the wok.
- Cabbage: Opt for finely shaved or shredded cabbage. Using a large chef’s knife to create long, thin shreds works best. Avoid the large holes of a box grater, as this can make the cabbage mushy and watery, which is undesirable for a crisp stir-fry.
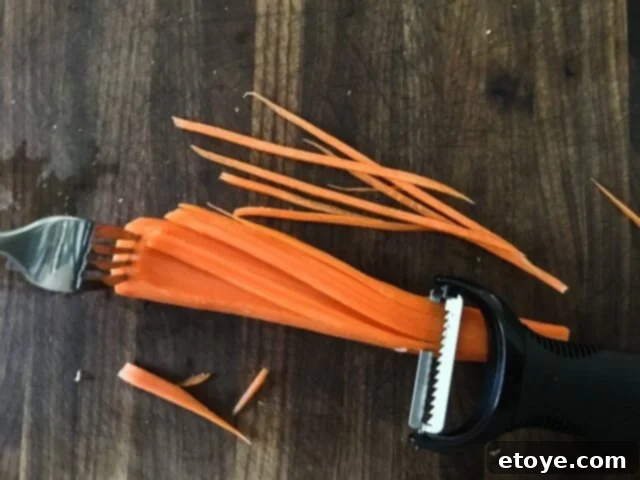
- Carrots: Save time by purchasing pre-cut julienne strips, or use a julienne peeler. The $10 Oxo tool is a fantastic choice. For safety, anchor the thick end of the carrot with a fork (never hold directly with fingers) and swipe with the peeler.
- Bean Sprouts: These can be left whole. While some prefer to pinch off the root tails, leaving them on is perfectly fine for ease and adds a natural touch.
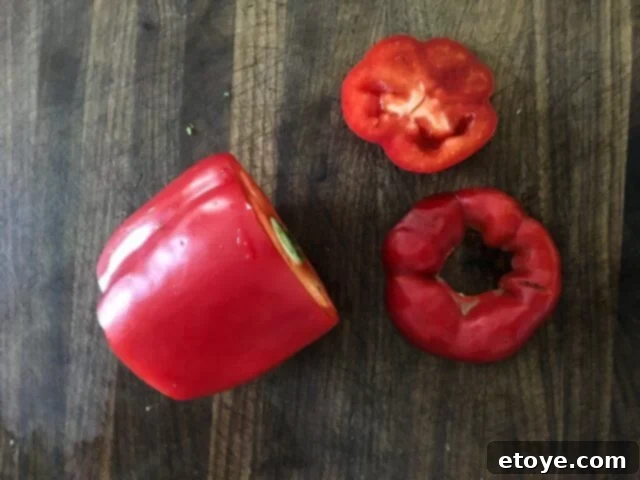
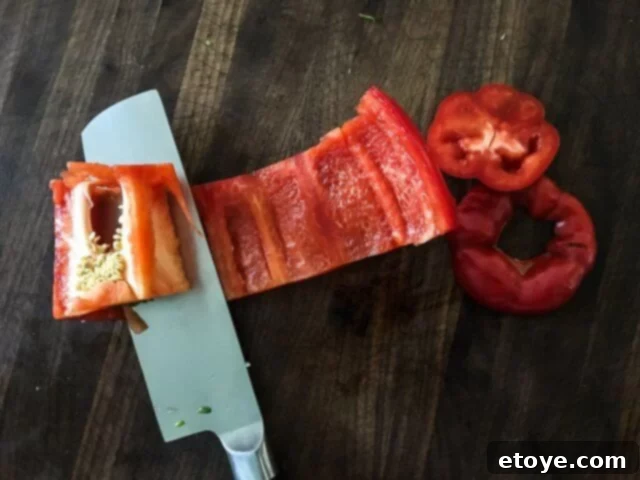
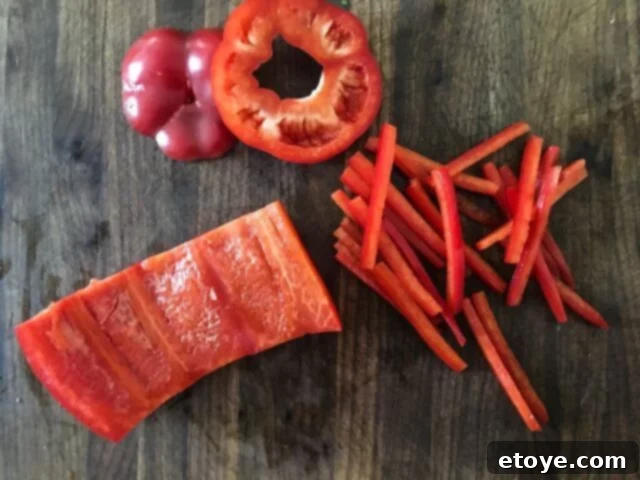
- Bell Peppers: For thin, even strips, first lop off the top and bottom (these pieces can be saved for salads or snacking). Use your knife to carefully remove the core and ribs. Then, slice the bell pepper into fine julienne strips.
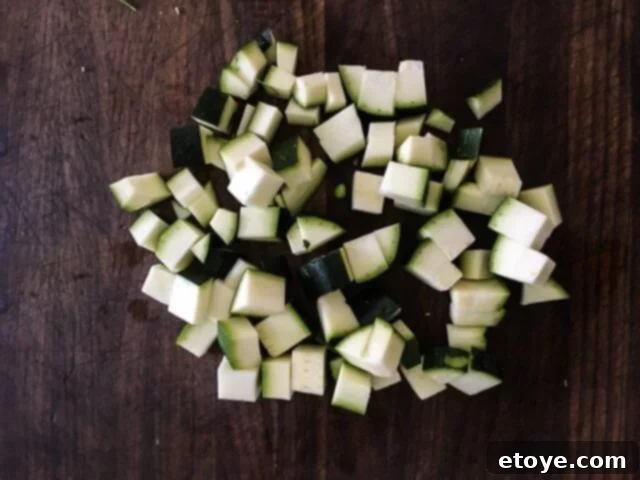
- Zucchini: Unlike many other vegetables in a noodle dish, zucchini performs better when cut into larger dice or half-moons (about 1/2″ dice). This is because zucchini can quickly become soggy and mushy if overcooked, and larger pieces help maintain its texture.
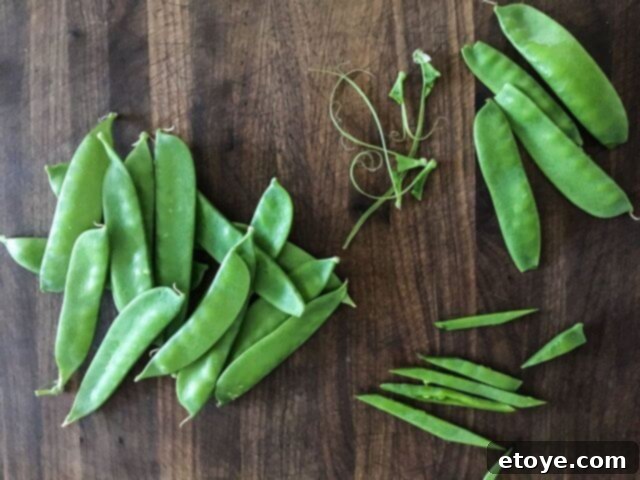
- Snow Peas or Sugar Snap Peas: Begin by pinching the stem end and peeling off the stringy part—it unzips easily. While you can leave snow peas whole, cutting them diagonally into long strips enhances their visual appeal and ensures even cooking.
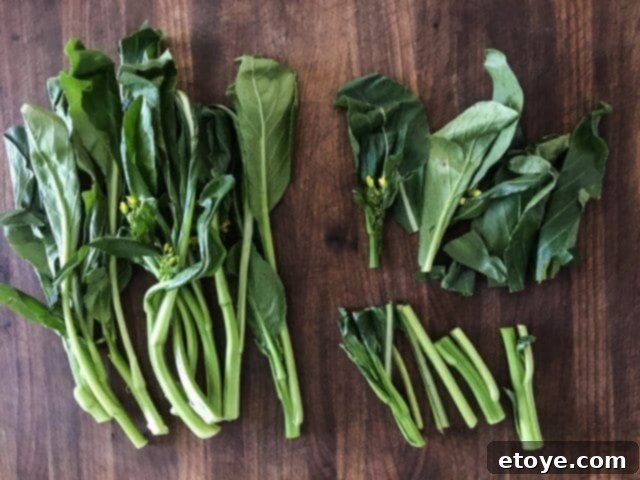
- Chinese Greens (Yu-Choy): A favorite leafy green, yu-choy is tender, sweet, and cooks quickly. When selecting, look for fresh, young greens with almost translucent, milky-white, moist stems. Dry stems with a hole in the center indicate older, potentially bitter greens. For stir-frying, separate the stems from the leaves; add the stems to the wok first for about a minute, then follow with the leaves.
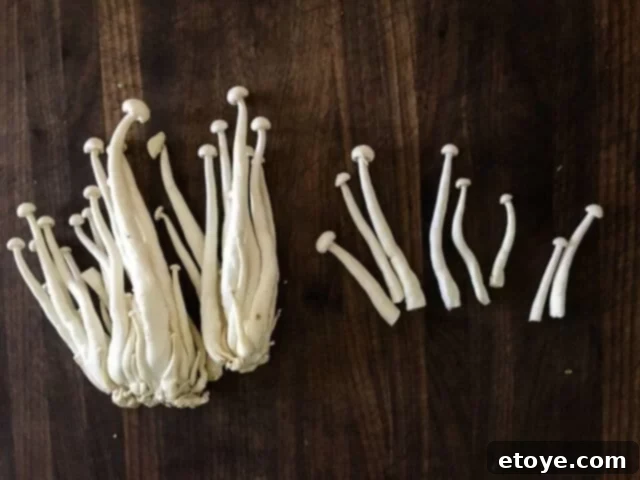
- Mushrooms: Straw mushrooms, often sold canned, simply need to be halved. Fresh button mushrooms can be sliced. For an exotic touch, explore Japanese mushroom varieties, such as shiitake, enoki, or shimeji, which add distinct flavors and textures.
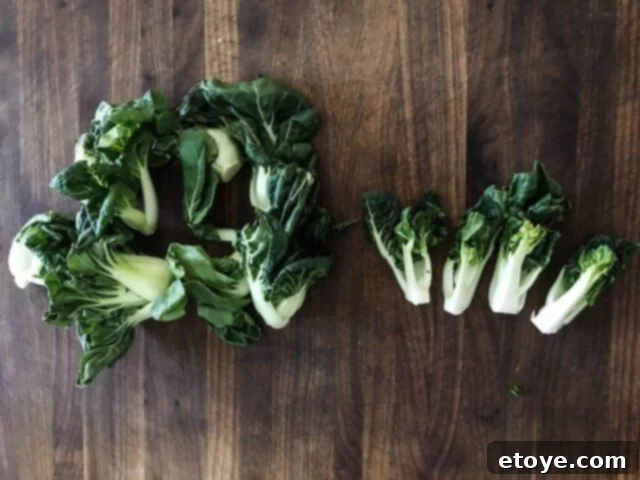
- Bok Choy: Separate the leaves of larger bok choy and slice them lengthwise, as they are too thick to cook whole quickly. Baby bok choy is even better, being smaller and more tender. Dwarf bok choy or tatsoi are also excellent choices; their small size means you can simply cut them in half or quarters.
- Other Versatile Vegetables:
- Tofu: Use extra-firm tofu for stir-frying. To prevent it from breaking apart, drain excess water by pressing the tofu block between several layers of paper towels, weighted down by a plate for 20 minutes. This firms it up considerably.
- Corn & Peas: Fresh, canned, or frozen options work well. Frozen varieties are often surprisingly convenient and flavorful.
- Tomatoes: Cut into large dice. To avoid excess moisture in your stir-fry, try to drain the liquid and seeds (save them for a morning smoothie!).
- Bamboo Shoots & Baby Corn: Canned varieties, pre-cut into julienne strips or smaller pieces, offer a convenient crunch.
- Green Beans & Broccoli: These benefit from a quick par-boil or steam to soften them partially before stir-frying, ensuring they cook through evenly with other ingredients. For broccoli, finely cut florets are also an option.
- Spinach: Fresh spinach leaves wilt quickly and add a burst of green at the end of the cooking process.
Selecting Meats & Seafood for Your Stir-Fry
For quick cooking, thinly sliced proteins are paramount. Asian markets often carry pre-sliced meats specifically packaged for hot pot, teppanyaki, or **Mongolian BBQ**. These are typically frozen and shaven by a butcher, resulting in paper-thin slices that cook in mere seconds. Chicken and ribeye are excellent choices for their flavor and texture.
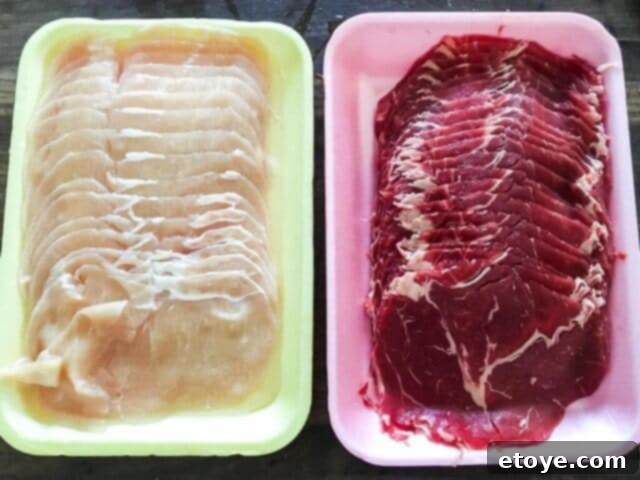
If an Asian market isn’t accessible, check your regular grocery store’s frozen section for “shaved beef” intended for Philly Cheesesteak sandwiches. If slicing meats at home, partially freeze them first, then use a sharp knife to cut them against the grain into long, thin strips.
For seafood, shrimp and small bay scallops are fantastic additions, cooking quickly and absorbing flavors beautifully. While firmer fish can be stir-fried, it requires careful handling. Always ensure all seafood is well-drained and patted very dry before cooking to achieve a good sear.
Building Flavor with Aromatics
Aromatics are the foundation of flavor in any good stir-fry, providing depth and fragrance.
- Onion: Slice onions very thinly to ensure they cook down and caramelize quickly, releasing their sweet essence without overpowering the dish.
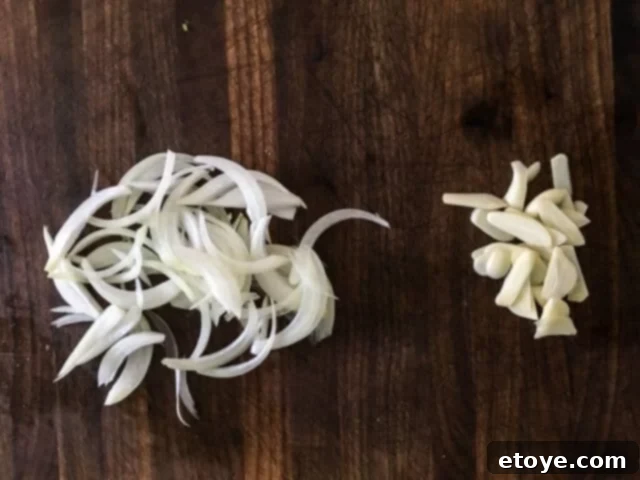
- Garlic: Instead of mincing with a crusher, which can make garlic prone to burning and turning bitter, slice it thinly. Sliced garlic offers more leeway during the fast-paced stir-fry process, allowing its fragrant notes to infuse without scorching.
- Green Onion: Cut into 1-inch lengths or simply chopped, green onions add a fresh, pungent kick.
- Ginger: Fresh ginger is a stir-fry essential, but like garlic, it can turn bitter if burnt. First, easily peel the brown skin by scraping it with a spoon. Then, you have several options:
- Grate fresh ginger with a rasp grater and mix about 1/4 teaspoon into your cooking sauce.
- Peel very thin slices with a vegetable peeler, then julienne finely with a chef’s knife and mince.
- For just a subtle hint, grate ginger and squeeze its juice (about 1 teaspoon) into your cooking sauce.
- Cilantro Stem: Don’t discard cilantro stems! Minced finely, they can be added to the wok at the same time as garlic, green onion, and ginger. This method infuses a gentle, consistent cilantro flavor throughout the dish, rather than sporadic bursts from leaves.
A Variety of Toppings for Texture and Freshness
Adding a final flourish of crunchy toppings or fresh herbs elevates your **Mongolian BBQ** with diverse textures and vibrant flavors. Some of our favorites include:
- Chopped, roasted, unsalted peanuts for a nutty crunch.
- Toasted sesame seeds for aroma and a slight chew.
- Crunchy fried noodles for an extra layer of texture.
- Almond slivers for a delicate crunch and buttery note.
- Freshly chopped herbs: cilantro leaves, green onion, or Thai basil for a burst of freshness.
Choosing the Perfect Noodles for Your Mongolian BBQ
The noodle choice is highly personal, and almost any type can be adapted. Don’t hesitate to use thin spaghetti pasta if Asian varieties are hard to find! For health-conscious diners, numerous gluten-free options exist, such as rice noodles or Korean sweet potato noodles. Other popular choices include egg noodles, zucchini noodles (a lighter alternative), thick Japanese udon noodles, and ramen noodles. The possibilities are endless!
When preparing noodles, boil them according to package instructions but reduce the cooking time by approximately 45 seconds. This slight undercooking is crucial, as the noodles will continue to cook in the wok during the stir-fry, preventing them from becoming overcooked and mushy. Immediately after cooking, drain and rinse the noodles thoroughly with cool water to halt the cooking process. A light drizzle of Asian sesame oil or regular cooking oil will keep them from sticking and clumping together.
Today, we’re showcasing fresh Chinese noodles, readily available in the refrigerated section of Asian markets. These noodles are typically par-cooked, requiring only a quick soak in very hot water for about 30 seconds to heat through.
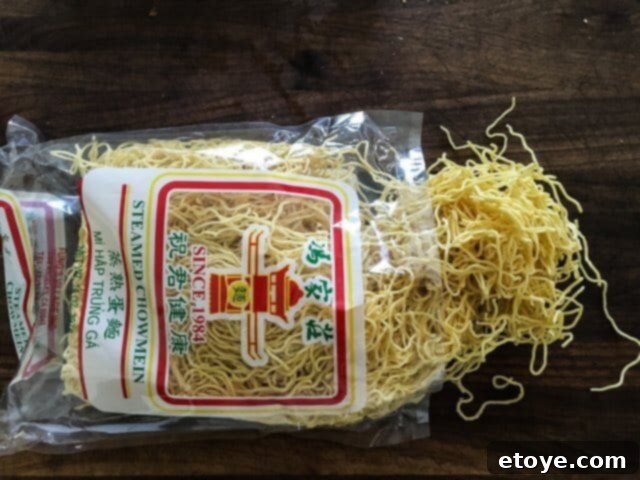
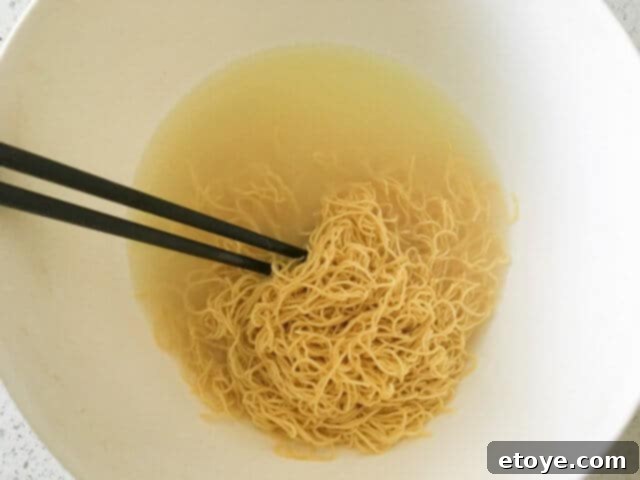
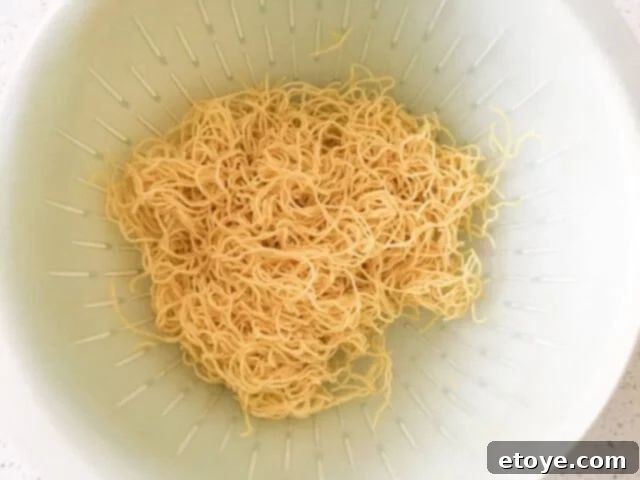
After heating, drain them immediately and toss with a small drizzle of sesame oil to ensure they remain loose and easy to stir-fry.
Crafting the Perfect Cooking Sauces
The sauce is the soul of your **Mongolian BBQ**, tying all the flavors together. You have a plethora of options! Brands like San-J offer a convenient range of ready-to-use cooking sauces, including Mongolian BBQ, Orange, Szechuan, Teriyaki, Thai Peanut, Sweet & Tangy, and Asian BBQ. These provide a quick and flavorful solution for busy evenings.
Alternatively, for a homemade touch, try our delightful **Ginger Sweet Tamari Sauce** recipe, perfect for approximately four noodle stir-fries:
Ginger Sweet Tamari Sauce Recipe
- 1/3 cup San-J Tamari Soy Sauce (or other high-quality soy sauce)
- 3 tablespoons water
- 1/2 teaspoon grated fresh ginger
- 2 tablespoons honey
- 1 teaspoon Asian sesame oil
- 1/2 teaspoon sesame seeds
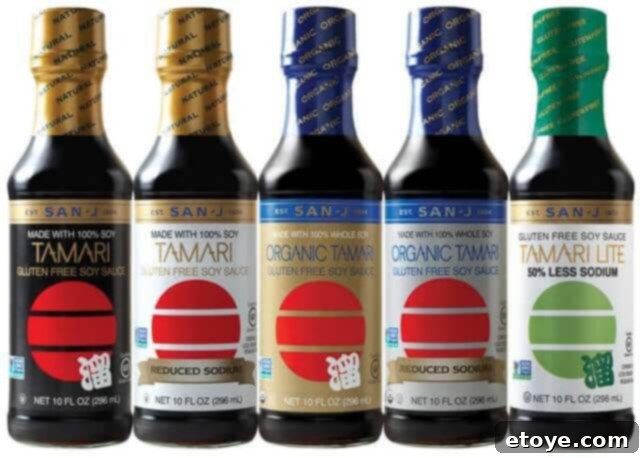 What is Tamari? Tamari is a distinct Japanese soy sauce, renowned for being made from 100% soybeans and undergoing a natural brewing fermentation process. It is considered a premium soy sauce, often thicker and with a richer, less salty flavor profile than standard soy sauce. San-J’s Tamari is particularly noteworthy for being made from non-GMO soybeans, and is vegan, gluten-free, and kosher. You can learn more about Tamari here.
Step-by-Step Guide: How to Stir-Fry Your DIY Mongolian BBQ
Now that your ingredients are prepped and your station is set, it’s time to unleash your inner chef! Follow these simple steps for a perfect, light stir-fry every time. While there are many photos, the entire cooking process for each batch takes only about 7 minutes!

Step 1: Sear Your Proteins (Meat or Seafood)
Every great stir-fry begins with the proteins. Heat your wok or pan over high heat, then add a generous amount of cooking oil. Wait until the oil shimmers, indicating it’s perfectly hot but not smoking, before adding your meat or seafood. This initial high heat allows for a beautiful sear, locking in juices and flavor without steaming the protein.
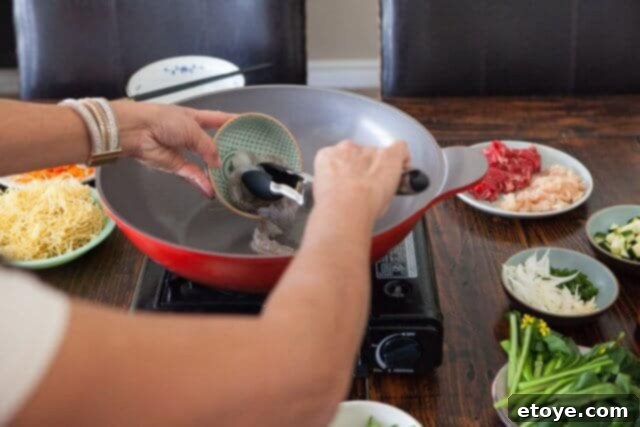
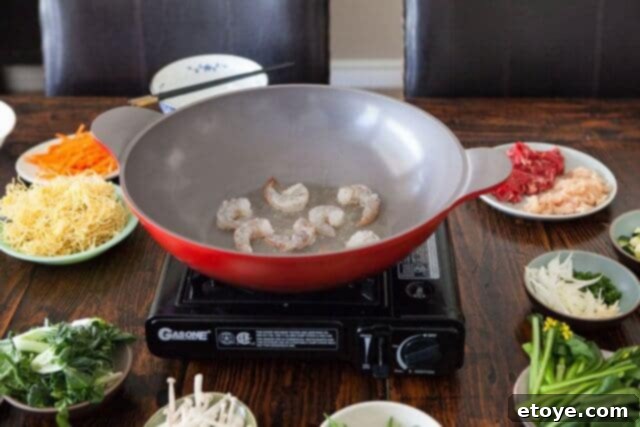
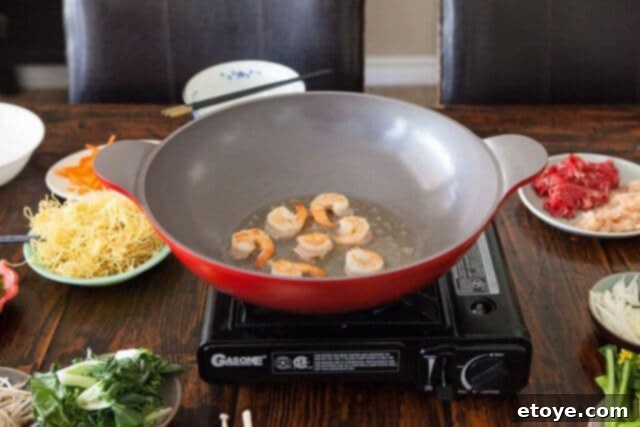
Ensure you don’t overcrowd the pan; leave plenty of space for each piece to make direct contact with the hot oil. Cook the protein on one side until nicely browned, then flip to sear the other side. Once it’s about halfway cooked through, remove it from the wok and set it aside. It will finish cooking later with the other ingredients.
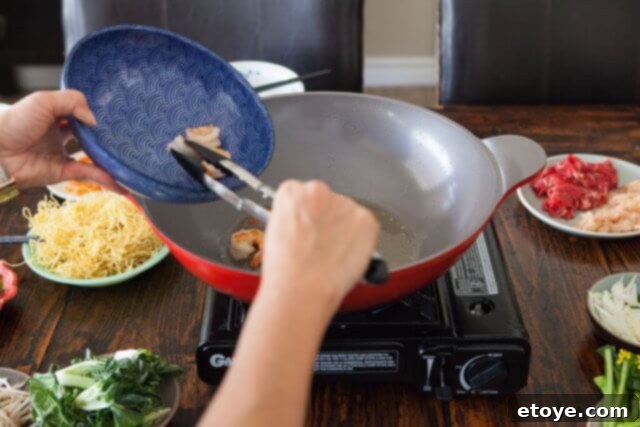
Step 2: Sauté Aromatics
There should still be some oil remaining in the wok. If not, add a small amount and let it heat until it shimmers again. Now, add your chosen aromatics. For a classic flavor base, include thinly sliced onion and garlic. Stir-fry them until they become wonderfully fragrant, signaling they’re ready for the next step.
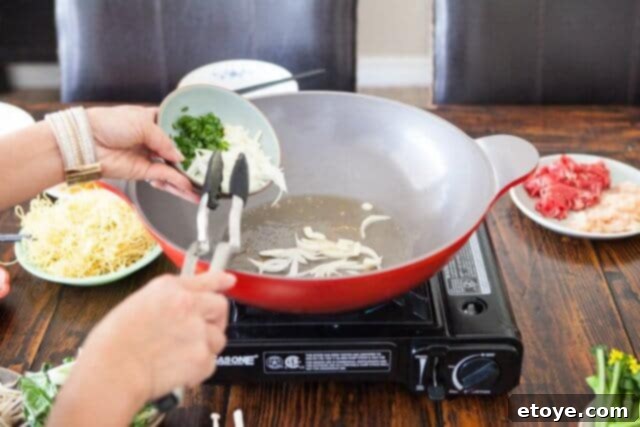
Step 3: Introduce Vegetables Strategically
Timing is everything when adding vegetables to a stir-fry. Introduce them in the order of how long they take to cook, from longest to shortest. Start with denser vegetables like the stems of Chinese leafy greens, bell peppers, and carrots. Continue to stir-fry for a minute or two, then add quicker-cooking items such as soft leafy vegetables, mushrooms, and snow peas.
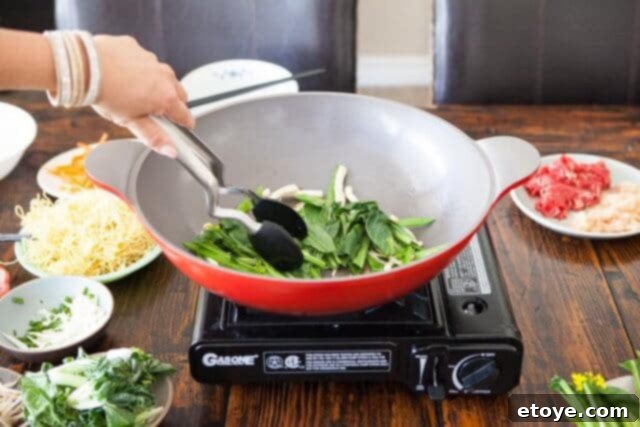
Step 4: Incorporate Noodles
Once your vegetables are nearly cooked to your desired tenderness, add the pre-cooked noodles to the wok. Introduce about 1 tablespoon of water at this stage; the water will create steam, helping the noodles warm through and finish cooking without becoming dry.
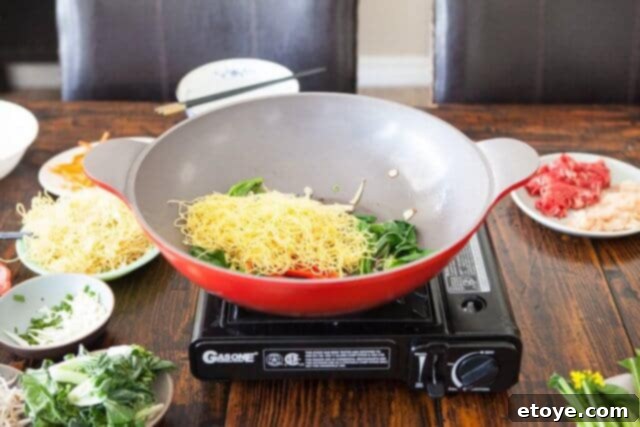
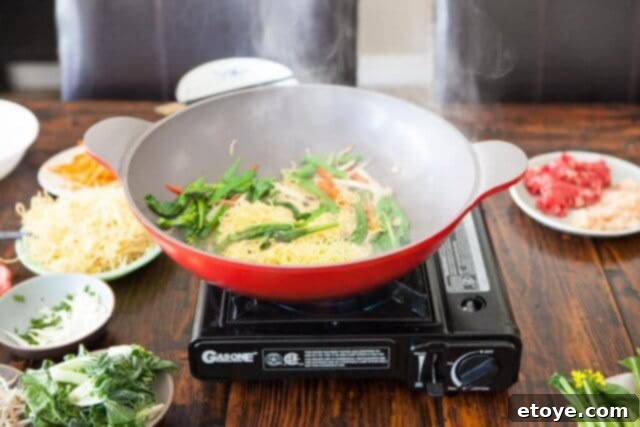
Step 5: Drench in Cooking Sauce
It’s time to infuse your stir-fry with flavor! Add approximately 2 tablespoons of your chosen cooking sauce. For this example, we’re using San-J Mongolian BBQ Cooking Sauce. Toss everything together to ensure the noodles and vegetables are evenly coated in the rich, savory sauce.
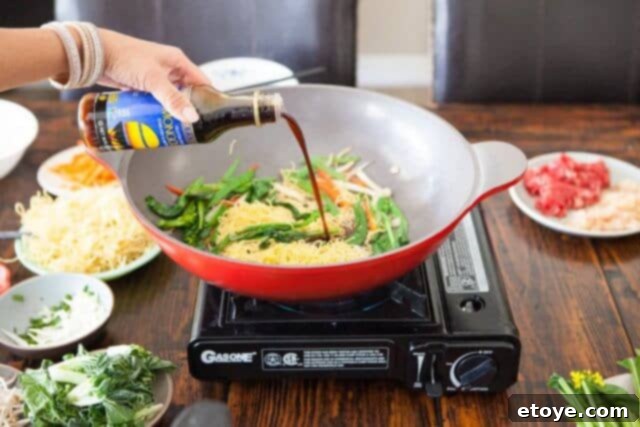
Step 6: Finish with Proteins and Fresh Touches
Bring back the meats or seafood that you seared earlier. They will now finish cooking perfectly within the saucy mix. This is also the ideal time to add quick-cooking ingredients like bean sprouts if you prefer them crunchy – a brief toss is all they need. Finish your masterpiece with a sprinkle of roasted sesame seeds for added flavor and texture. In just a few minutes, your personalized **Mongolian BBQ** bowl is complete!

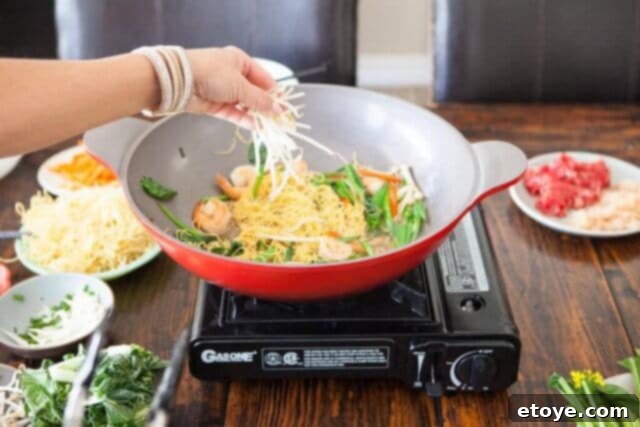
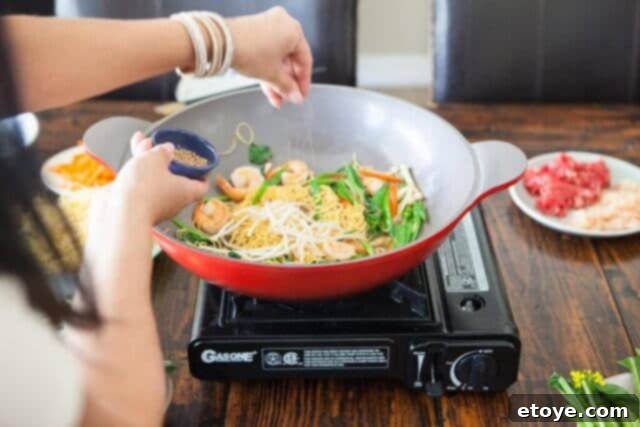
Before cooking another batch, remember to quickly wipe down the wok with a paper towel. This prevents burnt bits from tainting the next creation and keeps your cooking surface clean for optimal results. Enjoy your delicious, custom-made **Mongolian BBQ**!
Support Steamy Kitchen & Enhance Your Cooking Experience!
We appreciate your support for Steamy Kitchen! By starting your Amazon shopping here, you contribute to our small family business. We earn a modest commission from Amazon, which helps us keep this site running and continue providing free recipes and guides. Thank you for being a part of our community!
