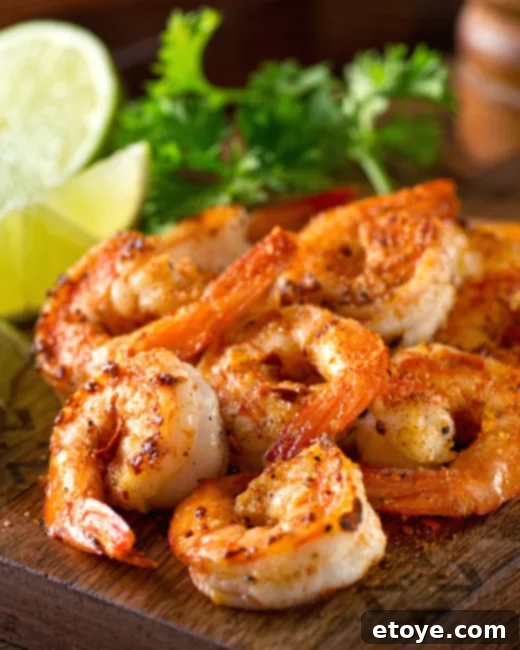
Have you ever found yourself in the kitchen, a handful of raw shrimp glistening, and wondered, “How can I transform these into a truly unforgettable dish?” You’re not alone! Shrimp is a culinary chameleon, incredibly versatile, yet often intimidating for those aiming for that perfect, succulent texture without overcooking. Whether your goal is to gently poach them for a light salad, roast them for a hands-off meal, achieve a beautiful sear in a hot pan, or infuse them with smoky flavor on the grill, this comprehensive guide has you covered. Join us as we dive deep into the art and science of cooking shrimp, equipping you with the knowledge to achieve a perfectly tender, flavorful bite every single time. Master these techniques, and you’ll effortlessly elevate your weeknight dinners and impress guests, perhaps even tossing perfectly cooked shrimp into your favorite Buddha Bowls like a seasoned chef.
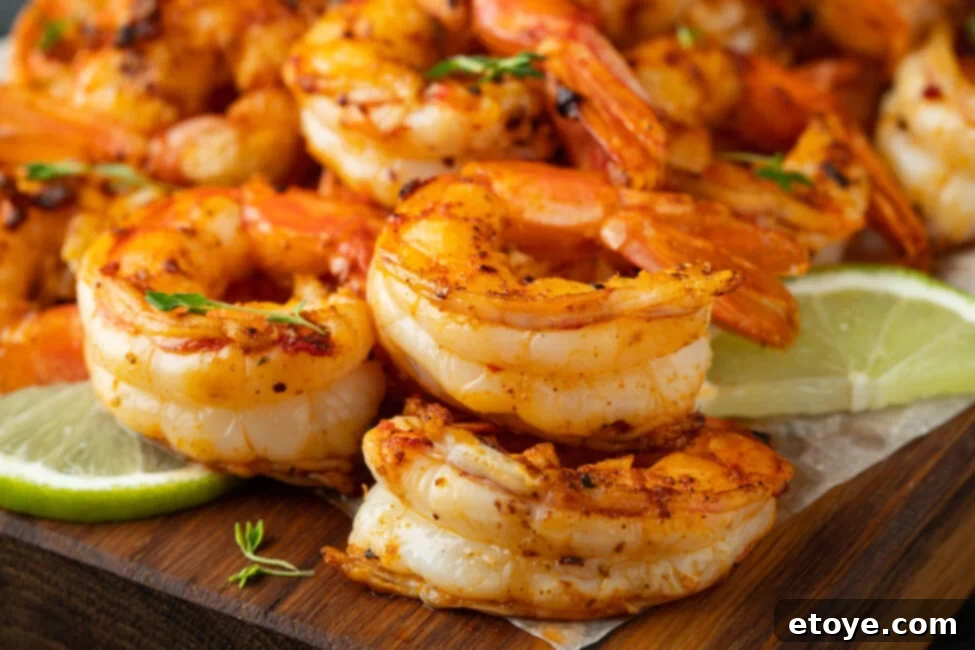
Shrimp: A Nutritional Powerhouse on Your Plate
Beyond their undeniable appeal in countless delicious dishes, shrimp offer a remarkable array of health benefits, making them a true nutritional superstar. These small crustaceans are not just a treat for your taste buds; they’re also packed with essential nutrients that contribute to overall well-being. Let’s explore the impressive nutritional profile of shrimp and why they deserve a regular spot in your healthy diet.
- Lean Protein Source: Shrimp are an excellent source of high-quality, lean protein. A modest 3-ounce serving delivers approximately 18 grams of protein, crucial for muscle repair and growth, supporting metabolic functions, and keeping you feeling full and satisfied. This makes them an ideal choice for anyone looking to increase protein intake without adding excessive calories or unhealthy fats.
- Rich in Essential Vitamins and Minerals: Don’t let their size fool you; shrimp are brimming with vital micronutrients. They are particularly rich in selenium, a powerful antioxidant that helps protect your cells from damage caused by free radicals and supports thyroid function. Additionally, shrimp provide significant amounts of vitamin B12, essential for nerve function and red blood cell formation, as well as iodine, critical for hormone production. Phosphorus also abounds, playing a key role in bone health and energy metabolism.
- Beneficial Omega-3 Fatty Acids: While not as concentrated as in fatty fish like salmon, shrimp do contain beneficial omega-3 fatty acids. These healthy fats are well-known for their anti-inflammatory properties and their role in promoting heart health, brain function, and overall cellular well-being.
- Low-Calorie and Satiating: For those mindful of calorie intake, shrimp are a fantastic option. A 3-ounce serving typically contains only about 84 calories, making them a guilt-free addition to meals. Their high protein content further contributes to satiety, helping to prevent overeating and support weight management goals.
- Addressing the Cholesterol Myth: Historically, shrimp received a bad rap due to their cholesterol content. However, modern scientific research has largely debunked the myth that dietary cholesterol directly translates to high blood cholesterol for most people. The cholesterol in shrimp has a minimal impact on blood cholesterol levels compared to saturated and trans fats. Furthermore, shrimp contain beneficial fats that can help balance your overall lipid profile, making them a heart-healthy choice when consumed as part of a balanced diet.
- A Source of Astaxanthin: This often-overlooked nutrient is a potent carotenoid antioxidant responsible for shrimp’s beautiful pink hue. Astaxanthin has been linked to numerous health benefits, including supporting skin health by reducing signs of aging, boosting immune function, and aiding in muscle recovery for active individuals.
So, the next time you savor a plate of perfectly cooked shrimp, remember that you’re not just enjoying a delightful culinary experience, but also nourishing your body with a wealth of incredible health benefits.
How to Poach Raw Shrimp for Ultimate Tenderness
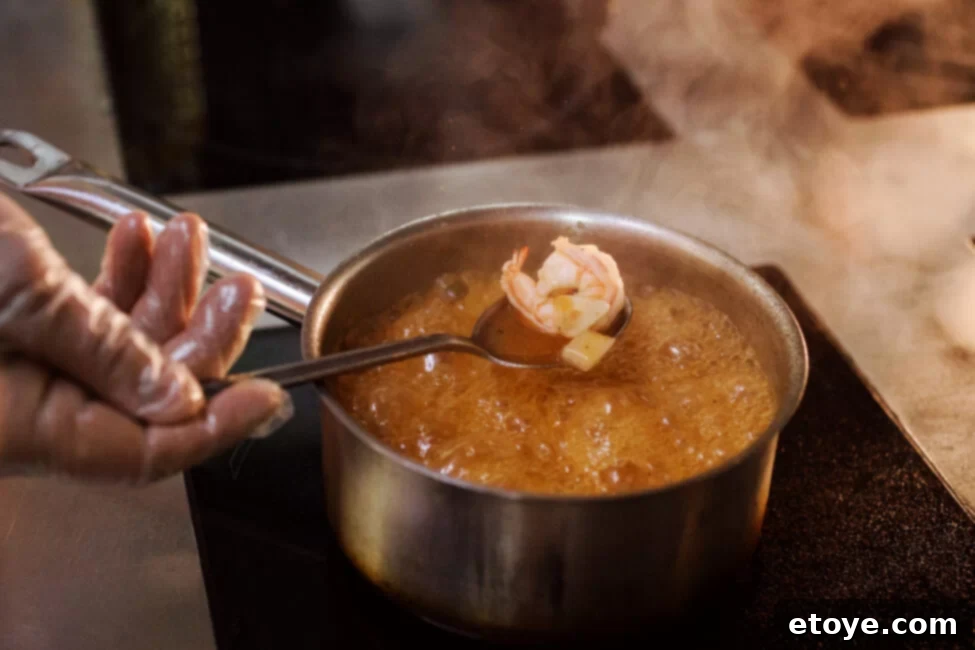
Poaching is a gentle cooking method that truly allows shrimp’s delicate flavor and tender texture to shine. It’s the secret to achieving succulent, juicy shrimp that melt in your mouth, perfect for light salads, pasta dishes, or as a standalone appetizer. This method involves slowly cooking shrimp in a flavorful liquid just below simmering, ensuring they retain their natural sweetness without any risk of becoming tough or rubbery. It’s a foolproof technique for both novice and experienced cooks alike.
- Prepare Your Poaching Liquid: In a medium saucepan, bring 3 cups of broth (chicken, vegetable, or seafood), water, or even a light Buddha bowl sauce, or a mixture of these, to a gentle simmer over medium heat. You’re looking for small bubbles to appear, not a rolling boil. For added flavor, consider infusing the liquid with aromatics like lemon slices, garlic cloves, peppercorns, or fresh herbs.
- Add the Shrimp: Once the liquid is simmering gently, add your thawed raw shrimp in a single layer. Ensure they are fully submerged. If your pan is too small to comfortably fit all the shrimp in one layer, cook them in batches to avoid overcrowding, which can lower the temperature of the liquid too quickly and result in uneven cooking.
- Cook Until Pink: Poach the shrimp for approximately 2 to 4 minutes, depending on their size. Shrimp cook very quickly! They are done when they curl into a loose “C” shape and turn opaque and pink all the way through. If they form a tight “O,” they are likely overcooked. If the shrimp aren’t entirely covered by the liquid, gently flip them once halfway through the cooking process to ensure even cooking.
- Serve or Chill: Promptly remove the cooked shrimp from the poaching liquid with a slotted spoon. Serve them warm immediately in your favorite Buddha bowl, with pasta, or alongside a dipping sauce. Alternatively, if you plan to use them in a cold dish like a shrimp salad, transfer them to an ice bath (a bowl of ice water) to stop the cooking process and cool them rapidly, preserving their tender texture. Then, drain and refrigerate until ready to use.
How to Roast Raw Shrimp for Effortless Flavor
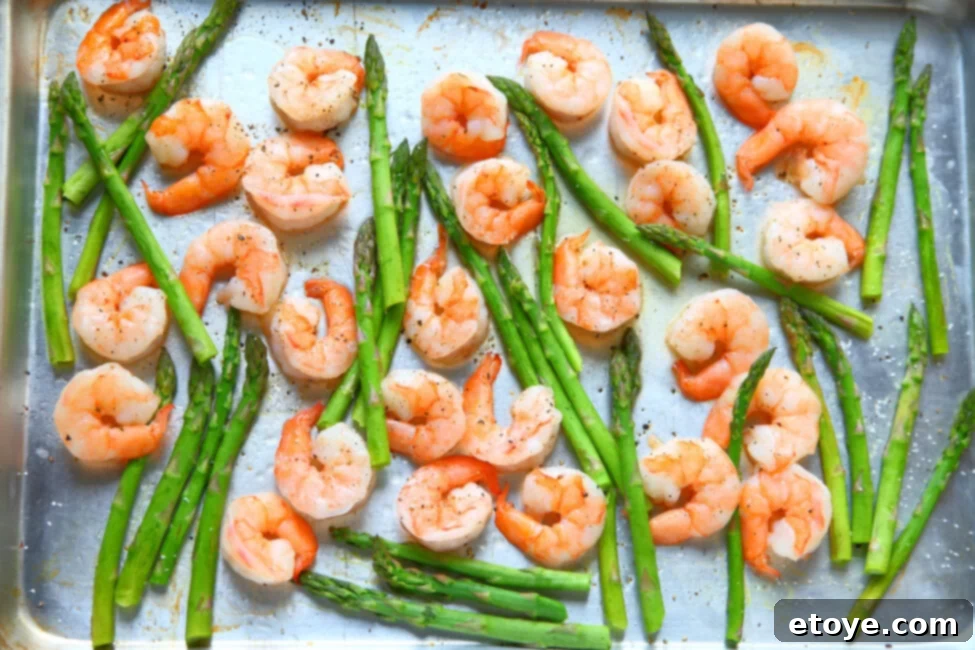
Roasting shrimp in the oven is a surprisingly simple yet incredibly effective method that yields perfectly cooked, flavorful shrimp with minimal effort. While pan-searing often gets the spotlight for shrimp, oven roasting provides a consistent, even heat that locks in moisture and flavor, preventing the dreaded rubbery texture. It’s an ideal technique for meal prepping, feeding a crowd, or simply when you want a hands-off approach to cooking these delightful crustaceans. Say goodbye to guesswork and hello to consistently delicious, tender shrimp!
- Preheat and Prepare: Preheat your oven to 400°F (200°C). Line a baking sheet with parchment paper or aluminum foil for easy cleanup. This also helps prevent sticking and ensures even cooking.
- Season the Shrimp: Place your thawed raw shrimp in a single layer on the prepared baking sheet. Drizzle them lightly with about 1 tablespoon of olive oil, avocado oil, or your preferred cooking oil. Then, generously sprinkle with salt, freshly ground black pepper, and any other seasonings you love – think garlic powder, paprika, chili flakes, or a blend of your favorite herbs like dried oregano or thyme. Toss gently to ensure all shrimp are evenly coated.
- Roast to Perfection: Cook the shrimp in the preheated oven for 8 to 12 minutes, depending on their size. Shrimp are done when they turn opaque, pink, and firm to the touch. They will also curl into a gentle “C” shape. Avoid overcooking, as this is the primary cause of rubbery shrimp. For an extra boost of flavor, you can toss the hot, roasted shrimp with your favorite Buddha bowl sauce, a squeeze of fresh lemon juice, or a dollop of garlic butter immediately after removing them from the oven.
How to Pan-Sear Raw Shrimp for a Quick and Crispy Finish
When you’re short on time but craving restaurant-quality shrimp, pan-searing is your go-to method. This technique delivers shrimp with a beautifully golden-brown, slightly crispy exterior and a juicy, tender interior in a matter of minutes. The key to successful pan-searing lies in a very hot pan and quick, decisive cooking. It’s an incredibly satisfying way to prepare shrimp, transforming them into a gourmet meal with impressive speed.
- Heat the Skillet: Place a large skillet (cast iron or stainless steel works best) over medium-high heat. Add 1 tablespoon of olive oil, avocado oil, or butter to the hot pan. You want the oil to shimmer but not smoke, indicating it’s ready for the shrimp. A hot pan is crucial for achieving that desirable sear without overcooking the inside.
- Sear the Shrimp: Add the thawed raw shrimp to the hot skillet in a single layer. Avoid overcrowding the pan; if necessary, cook in batches to maintain the pan’s high temperature and ensure even searing. Cook the shrimp for approximately 1 minute 15 seconds to 2 minutes on each side. During this time, the shrimp will turn pink and develop a lovely golden crust.
- Finish and Serve: As soon as the shrimp are opaque and pink all the way through, immediately remove them from the pan. Overcooking by even a minute can lead to a rubbery texture. For an extra layer of flavor, you can toss the hot, pan-seared shrimp with a vibrant Buddha bowl sauce, a simple garlic butter, a squeeze of fresh lemon juice, or a sprinkle of fresh parsley before serving. Enjoy them immediately for the best texture and taste.
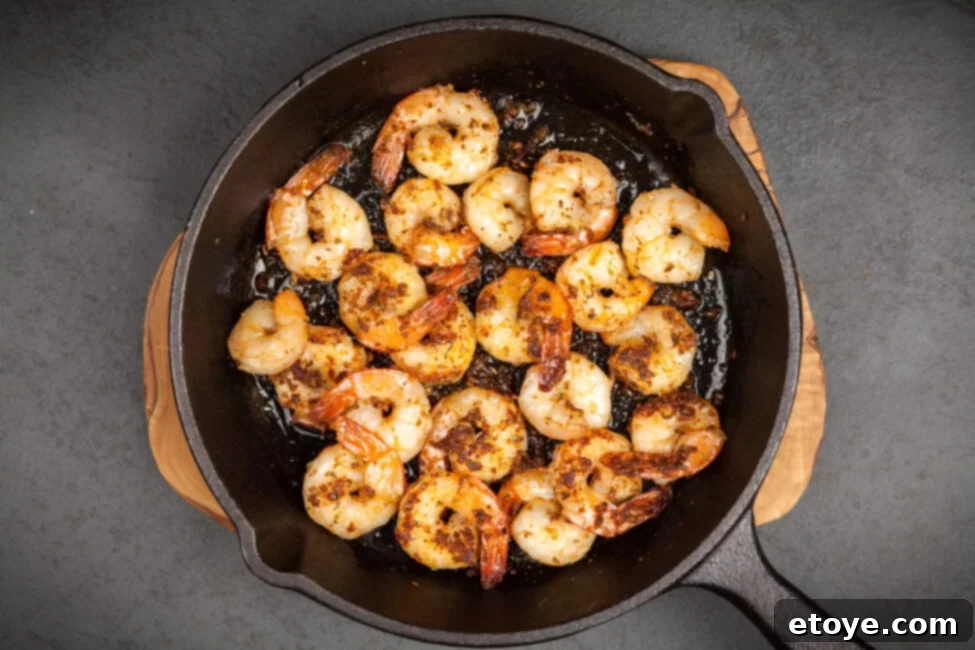
Shrimps in a cast iron skillet
How to Grill Raw Shrimp for Smoky Perfection
There’s an undeniable magic to grilled shrimp. The slight char, the smoky aroma, and the joy of outdoor cooking elevate these crustaceans to a new level. Grilling imbues shrimp with a depth of flavor that’s hard to achieve with other methods, making them perfect for summer gatherings, backyard BBQs, or simply a delicious weeknight meal. Whether you marinate them for extra zest or keep it simple, grilled shrimp are always a crowd-pleaser.
- Prepare Skewers (Optional): If you’re using wooden skewers, soak them in water for at least 30 minutes prior to grilling. This prevents them from burning on the grill. Alternatively, you can opt for reusable metal skewers, or simply grill the shrimp directly on the grates if they are large enough to not fall through.
- Marinate for Flavor: For an enhanced flavor profile, marinate your thawed raw shrimp. A quick 15-30 minute marinade in a Buddha bowl sauce, a lemon-garlic-herb mixture, or a spicy chili lime blend works wonders. Be cautious with acidic marinades (like those with lemon or lime juice); limit marinating time to 30 minutes to prevent the shrimp from “cooking” in the acid and becoming tough.
- Preheat the Grill: Preheat your grill to medium-high heat. While it’s heating, clean the grill grates thoroughly with a wire brush. This ensures food doesn’t stick and helps create beautiful grill marks.
- Oil and Thread: Lightly brush the clean grill grates with a high-smoke-point oil (like avocado or grapeseed oil) using an oil-soaked paper towel held with tongs. Thread the marinated shrimp onto your prepared skewers, making sure not to pack them too tightly. Leave a small space between each shrimp for even cooking.
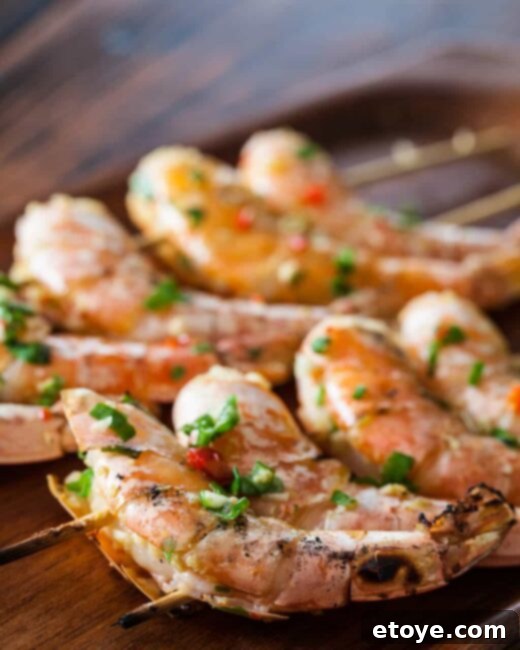
- Grill to Pink Perfection: Place the skewers on the preheated grill. Cook for approximately 2-3 minutes per side, for a total of 4-6 minutes. The exact timing will depend on the size of your shrimp and the heat of your grill.
- Check for Doneness: Remove the shrimp from the grill when they are bright pink, opaque throughout, and have a slight curl. They should be firm but still tender. Overcooked grilled shrimp can become rubbery quickly, so keep a watchful eye. Serve immediately and enjoy the smoky, savory flavors!
How to Reheat Leftover Cooked Shrimp Without Overcooking
While fresh, hot shrimp are undoubtedly delicious, sometimes you end up with leftovers. Reheating cooked shrimp can be tricky, as they are prone to becoming rubbery if not handled correctly. The key is to warm them through gently and quickly, bringing them back to a pleasant temperature without cooking them further. Think of it as merely reviving their warmth rather than re-cooking them.
- Prepare Your Skillet: Heat a skillet (preferably non-stick) over medium heat. Add about 1 teaspoon of olive oil or butter to the pan. You don’t need much fat, just enough to prevent sticking and aid in even heating.
- Add Shrimp in a Single Layer: Once the oil or butter is shimmering, add your leftover cooked shrimp to the skillet in a single layer. Ensure there’s enough space for each shrimp to make contact with the pan. Avoid overcrowding, as this can steam the shrimp instead of gently reheating them.
- Gently Warm Through: Cook the shrimp for approximately 1 to 2 minutes per side, or until they are just warmed through. They should feel warm to the touch and regain some of their plumpness. Watch them closely; as soon as they are heated, remove them from the pan. Overcooking here will definitely lead to a tough, rubbery texture. Reheated shrimp are fantastic for adding to quick pasta dishes, stir-fries, or atop a fresh salad.
Mastering Cocktail Shrimp and Frozen Pre-Cooked Shrimp
Whether you’re dealing with a bag of pre-cooked frozen shrimp from a bulk purchase or making classic chilled cocktail shrimp, knowing the best thawing and warming methods is essential. Pre-cooked shrimp offer incredible convenience, but proper handling is crucial to maintain their quality and flavor. And as a golden rule: always skip the microwave for thawing or reheating shrimp – it’s a fast track to rubbery disappointment!
- Thawing Frozen Cooked Shrimp (Slow Method): For the best texture and flavor, thaw frozen cooked shrimp slowly in the refrigerator. Transfer the frozen shrimp to a covered bowl and place it in your fridge overnight. This gradual thawing process helps preserve their moisture and tender texture.
- Thawing Frozen Cooked Shrimp (Quick Method): If you need to thaw shrimp quickly, place the frozen shrimp in a colander and run cold tap water over them. Gently toss the shrimp occasionally to ensure all pieces thaw evenly. Continue until the shrimp are soft enough to bend and are no longer icy. This typically takes 5-10 minutes. Crucially, never use warm or hot water, and absolutely avoid the microwave for thawing, as this will prematurely cook the outer layers and lead to a rubbery consistency.
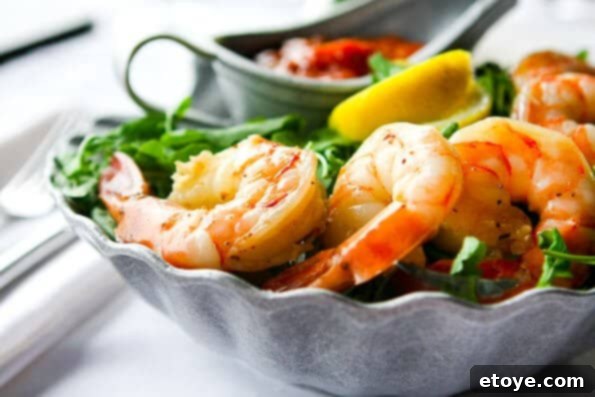
- Warming or Serving Chilled: Once thawed, if you plan to serve the shrimp warm, you can gently heat them. In a pot or deep pan over medium heat, add 3 cups of broth or water. Once shimmering, add the thawed shrimp and cook for just 1-2 minutes, until they are warmed through. Remember, they are already cooked, so you’re just heating them. If you prefer them chilled for a cold Buddha bowl, a salad, or classic cocktail shrimp, simply drain them thoroughly after thawing and serve. For cocktail shrimp, pair with a zesty sauce and lemon wedges for a refreshing appetizer.
FAQ: Your Most Common Shrimp Questions Answered
Getting shrimp just right can sometimes feel like a delicate dance. Here are answers to some of the most frequently asked questions about cooking and preparing shrimp, helping you achieve consistently perfect results every time.
- Why are my shrimp turning out rubbery? This is the most common issue, and the answer is almost always overcooking. Shrimp proteins denature and tighten very quickly. As soon as they turn opaque pink and curl into a loose “C” shape, they are done. Remove them from the heat immediately. A minute too long can make all the difference between tender and tough.
- Fresh or frozen shrimp – which is better? You might be surprised to learn that most “fresh” shrimp displayed at the seafood counter were previously frozen and then thawed. Unless you live right on the coast and are buying shrimp directly from a fishing boat, buying individually quick-frozen (IQF) shrimp is often the superior choice. Flash-frozen shrimp are processed right after being caught, locking in freshness and preventing spoilage, giving you more control over the thawing process and ensuring quality.
- Do I really need to devein shrimp? Deveining shrimp is primarily an aesthetic choice. The “vein” is actually the shrimp’s digestive tract, and while harmless to eat, it can sometimes contain grit or appear unappetizing, especially in larger shrimp. For smaller shrimp, or if you’re making a dish where the appearance isn’t critical (like a curry or a heavily sauced stir-fry), you can often skip it. For larger, jumbo shrimp or elegant presentations, deveining is recommended.
- My shrimp is still undercooked. Can I save it? Absolutely! If your shrimp look translucent or greyish in the middle, they need a bit more cooking. Simply return them to the pan or oven for another minute or two, checking frequently. Remember, they cook quickly, so keep a close eye on them to avoid going from undercooked to overcooked.
- How long can I store cooked shrimp in the fridge? Cooked shrimp can be safely stored in an airtight container in the refrigerator for 3 to 4 days. However, for optimal taste and texture, it’s always best to enjoy them as fresh as possible. If they develop any off-odors, a slimy texture, or change color, it’s safest to discard them.
- Can I marinate shrimp overnight? Shrimp are delicate and their flesh can be “cooked” by acids. If your marinade contains acidic ingredients like lemon juice, lime juice, or vinegar, limit marinating time to 30 minutes to an hour. Longer than that, and the acid will start to denature the proteins, resulting in a rubbery, ceviche-like texture. For non-acidic marinades (like oil and dry spices), a couple of hours is generally fine, but overnight is usually unnecessary and can sometimes over-tenderize.
- Why are my grilled shrimp sticking to the grates? There are usually two main culprits: insufficient oil and impatience. Ensure your grill grates are clean and well-oiled before placing the shrimp. You can also lightly toss the shrimp themselves in a little oil before threading them onto skewers. Additionally, don’t try to flip them too soon; wait until they naturally release from the grates, which happens when a good sear has formed.
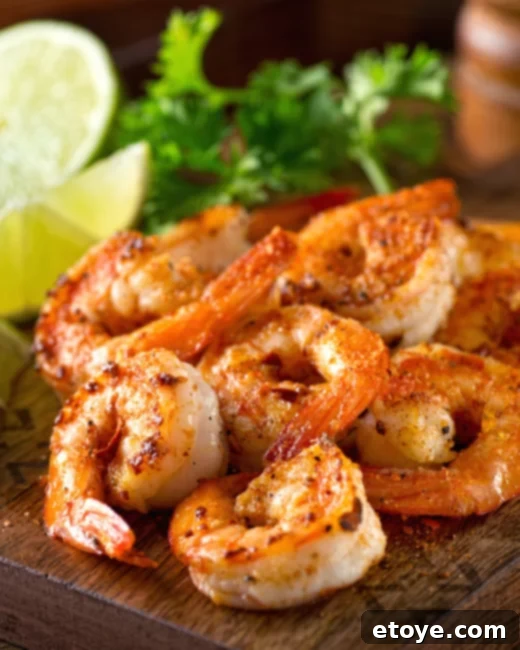
For the Love of Shrimp: Dive into These Delicious Dishes
Now that you’ve mastered the art of cooking shrimp, it’s time to put your skills to delicious use! If you’re hungry for more inspiration and eager to explore the diverse world of shrimp cuisine, dive into these fantastic recipes. From vibrant Asian-inspired creations to creamy, savory delights, there’s a shrimp dish here to satisfy every craving and expand your culinary horizons. Get ready to impress your taste buds and those of your loved ones!
- Asian Shrimp Recipes Extravaganza: Explore a world of umami-rich and aromatic shrimp dishes.
- Shrimp Teriyaki Stir Fry: A quick, flavorful, and complete meal perfect for any night.
- 3-Ingredient Firecracker Shrimp: Unleash bold flavors with minimal effort for a fiery treat.
- Miso Butter Shrimp: Indulge in the rich, savory depth of this creamy and comforting dish.
- Quick Garlic Shrimp in the Microwave: A super-fast solution for perfectly garlicky shrimp when time is of the essence.
