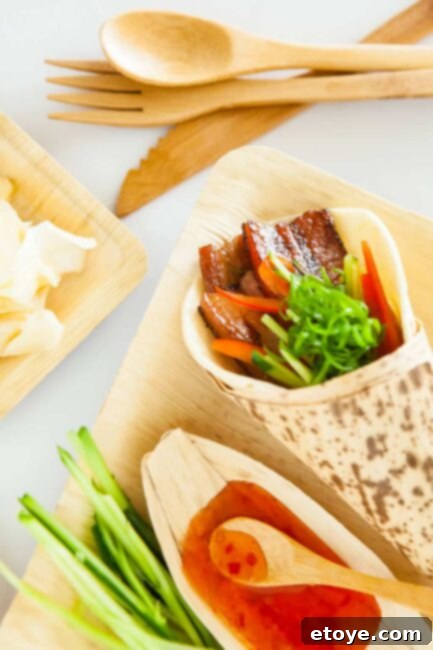
Embark on a culinary journey into the remarkable world of Sous Vide, a cooking method renowned for its precision, patience, and consistently achieving extraordinarily delicious results. Today, we’re unveiling the secrets to crafting a truly stunning Sous Vide Pork Belly, specifically designed to be the star of your next taco night. This recipe promises not only a delightful meal but also an engaging cooking experience that takes the guesswork out of achieving perfectly tender pork belly, every single time. Whether you’re a newcomer eager to explore Sous Vide or a seasoned enthusiast looking to refine your technique, this comprehensive guide will undoubtedly elevate your pork belly game to an unparalleled level.
Unveiling Sous Vide: The Secret to Culinary Perfection
Sous Vide, a French term meaning “under vacuum,” is a sophisticated yet accessible cooking technique that involves vacuum-sealing food and cooking it in a precisely temperature-controlled water bath. This innovative method guarantees that your food reaches an exact internal temperature from edge to edge, ensuring perfect doneness without the risk of overcooking. Imagine steaks cooked to an impossibly perfect medium-rare throughout, brisket so tender it pulls apart with a fork, or pork belly so velvety smooth it literally melts in your mouth. Sous Vide achieves this remarkable consistency by preventing temperature fluctuations, gently cooking ingredients to their ideal state, and locking in moisture and flavor that often escape through traditional cooking methods. It’s the ultimate tool for achieving consistent, restaurant-quality results in your home kitchen, transforming ordinary meals into gourmet experiences and removing the stress of timing and guesswork from your cooking.
Why Sous Vide is a Game-Changer for Pork Belly
Pork belly, a rich and flavorful cut, is celebrated for its perfect balance of succulent meat and luscious fat layers. However, traditionally cooking pork belly to achieve that melt-in-your-mouth tenderness while maintaining its appealing structure can be quite challenging, often resulting in dry spots or unevenly cooked textures. This is precisely where Sous Vide truly excels. The extended, low-temperature cooking process allows the tough collagen in the pork belly to slowly break down into tender gelatin. This transformation yields an incredibly tender, juicy texture that traditional high-heat methods often struggle to achieve without drying out the meat. Furthermore, the vacuum seal ensures that all the natural juices, along with any applied marinades or seasonings, are deeply infused into the pork, intensifying its flavor profile dramatically. With Sous Vide, you’re guaranteed a consistent, moist, and fall-apart tender pork belly that’s perfectly prepped for its glorious final sear, locking in that irresistible crispiness and caramelization that makes pork belly so sought after.
Mastering Sous Vide: Expert Class Recommendations
For those looking to deepen their understanding and proficiency in Sous Vide cooking, I cannot recommend the online classes from ChefSteps enough. I’ve been aware of ChefSteps for some time, initially encountering them through Tim Ferriss’s influential book, The 4-Hour Chef (where, incidentally, Tim gave a shout-out to our steak salting method in the steak chapter: check it out!). It was only recently, however, that I fully delved into one of their online courses, and I was genuinely impressed. This is a completely unpaid endorsement; I’m simply a massive fan of their educational content.
What’s even better, ChefSteps offers a beginner Sous Vide class for free! This is an invaluable resource for anyone just starting out or looking to broaden their Sous Vide repertoire beyond common items like steak and salmon. Their comprehensive approach and clear explanations make complex techniques approachable and fun, truly enhancing your culinary skills and confidence in the kitchen.
Here’s a video that offers a concise explanation of the fundamental Sous Vide technique, perfect for beginners:
Essential Equipment: The Anova Precision Cooker and Beyond

For this exquisite Sous Vide Pork Belly recipe, we utilized the Anova Culinary Precision Cooker. This device, though possessing a fancy name, is essentially a highly efficient and remarkably user-friendly Sous Vide appliance. We particularly appreciated its intuitive interface and easy-to-use dials, which simplify the process of setting and maintaining precise temperatures for extended periods. While the exact model used for this demonstration might no longer be available on the market, Anova consistently innovates their product line, introducing updated models with enhanced features. You can explore and find their latest precision cookers here, which continue to set the standard for home Sous Vide cooking.
When selecting a Sous Vide circulator, consider factors like power (for faster water heating), connectivity (Bluetooth or Wi-Fi for remote control and recipe integration), and overall user reviews to find the best fit for your kitchen. Beyond the circulator itself, a reliable vacuum sealer is an invaluable tool for ensuring an airtight seal, especially crucial for long cooking times, preventing water ingress, and maintaining optimal food quality. Alternatively, for shorter cooks or if you’re just starting, the water displacement method using heavy-duty sealable freezer bags can also be an effective way to remove air from your food bags.
How to Sous Vide Pork Belly: A Step-by-Step Guide to Perfection
1. Selecting and Preparing Your Pork Belly Cut
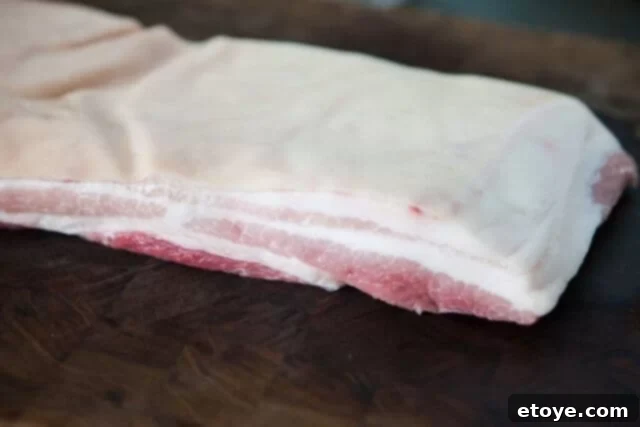
Begin your culinary adventure by selecting a high-quality piece of pork belly from your butcher or local grocery store. Look for a cut with a good balance of lean meat and fat layers. Remember, this rich cut is where delicious bacon originates! For optimal results, especially when aiming for incredibly crispy skin after the Sous Vide process, I highly recommend a preparatory step I like to call “exfoliating” the pork skin. This involves taking a generous handful of coarse kosher salt and vigorously scrubbing the skin side of the pork belly. Discover more about why this simple yet effective method is so beneficial, particularly with poultry, here. While not strictly mandatory, this process helps to thoroughly clean the skin, remove any impurities, and can significantly contribute to a more even, crisper, and more appealing finish when the pork belly is finally seared.
2. Crafting Your Flavor Profile: Two Delicious Marinade Options
To provide versatility and cater to different palates, I’ve prepared two distinct versions of this Sous Vide pork belly. Each marinade offers a unique and delightful flavor journey:
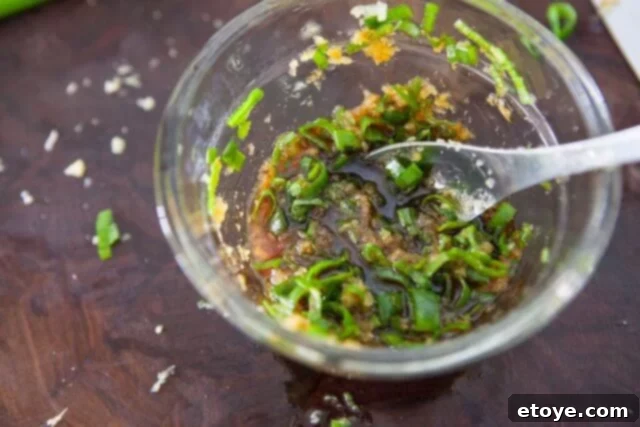
- Version 1: Homemade Aromatic Marinade – This carefully crafted blend features a harmonious combination of freshly minced garlic, grated ginger, vibrant green onion, subtle orange peel zest, savory soy sauce, and a touch of sweet honey. This marinade infuses the pork belly with layers of complex, aromatic flavors that are both bright and deeply satisfying, offering a fresh, Asian-inspired profile.
- Version 2: Authentic Char Siu Sauce – For those craving the classic, robust taste of Chinese BBQ, this version utilizes a high-quality prepared Char Siu (Chinese BBQ) sauce. This ready-to-use sauce delivers a signature sweet, sticky, and intensely savory profile with characteristic hints of five-spice, transforming the pork belly into a rich, succulent delicacy reminiscent of traditional Cantonese cuisine.
Choose the version that best suits your preference, or even prepare both for a delightful culinary comparison!
3. Sealing in the Flavor: The Vacuum Packing Process
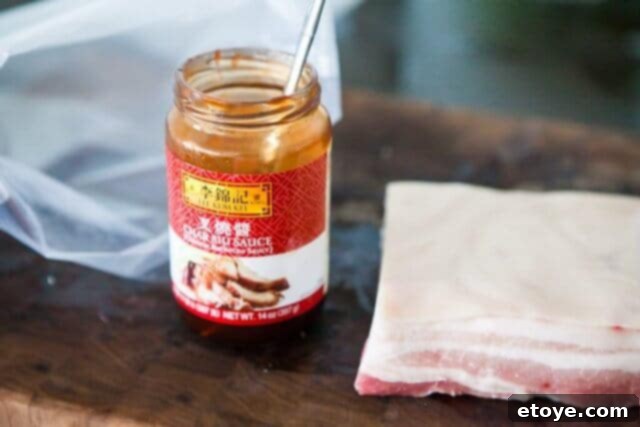
Regardless of the marinade you choose, the next crucial step in the cooking process remains consistent. Carefully place your pork belly into a high-quality vacuum seal bag, ensuring there’s enough room at the top for a secure seal. Then, pour your selected sauce generously over the pork belly, making sure it’s evenly distributed across all surfaces. The goal here is to maximize contact between the meat and the flavorful marinade, allowing for optimal flavor penetration. Once the sauce is added, use your vacuum sealer to remove all air from the bag and create a tight, impermeable seal. This critical step is fundamental for Sous Vide cooking; it ensures maximum flavor infusion, prevents any water from entering the bag during the water bath, and maintains the integrity of the food.
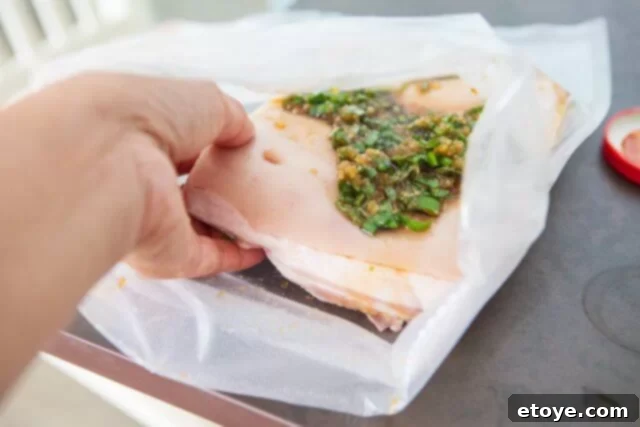
After sealing, take a moment to gently “schmush” or massage the sauce around within the bag. This manual distribution helps to further ensure that every surface of the pork belly is thoroughly coated, leading to an even and profound flavor infusion throughout the entire cut of meat.
4. The Sous Vide Bath: Precise Temperature and Extended Time
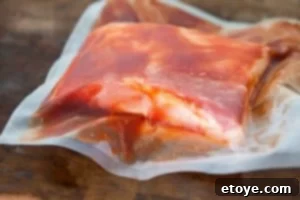
Fill a large pot or a dedicated Sous Vide container with enough water to fully submerge your pork belly bags. Submerge your Anova Sous Vide circulator and set the temperature to a precise 158°F (70°C). Once the water reaches and stabilizes at the target temperature, carefully place the sealed bags containing the pork belly into the water bath. To ensure optimal water circulation around each bag and prevent them from floating, clustering, or touching the heating element, use sturdy clips to secure the bags to the sides of the pot. This allows for even heat distribution, which is fundamental to the Sous Vide method and guarantees uniform cooking. Cook the pork belly for a substantial 16 hours. This extended period at a controlled, relatively low temperature is the key to slowly breaking down the tough connective tissues and collagen within the pork belly, transforming it into an incredibly tender, succulent, and utterly delicious masterpiece.
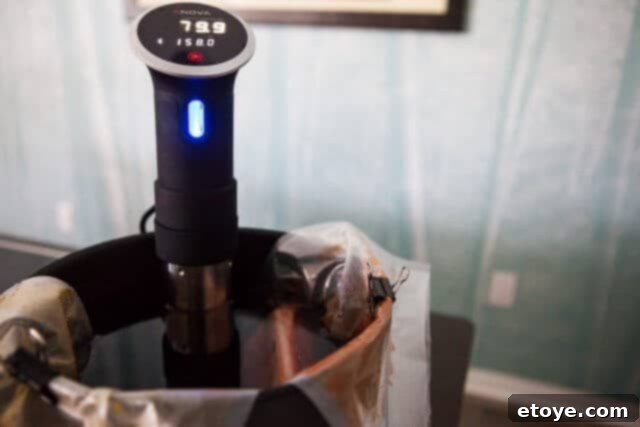
Sous Vide Pitfalls: Avoiding Water Loss and Ensuring Safety
When cooking Sous Vide for extended periods, especially over 8 hours, minimizing water loss due to evaporation is crucial to maintaining a consistent temperature and ensuring the circulator doesn’t run dry, which could halt cooking. In an attempt to address this, I once covered the pot with tin foil and, misguidedly, added a couple of dish towels on top to secure the foil. This proved to be an inefficient and messy approach.
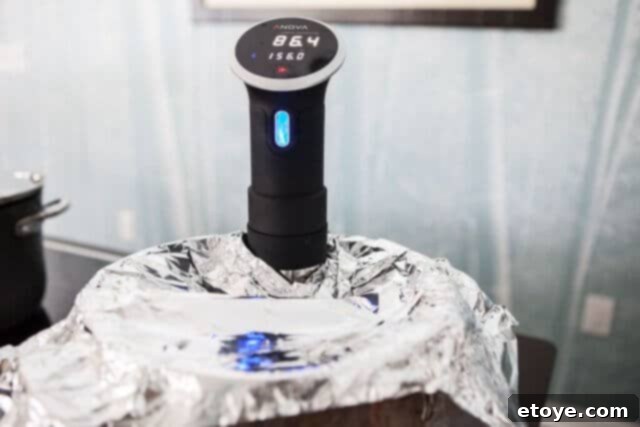
After about 8 hours, significant condensation built up on the underside and edges of the tin foil. The dish towels, positioned on top, began to absorb this moisture, eventually becoming saturated and dripping water onto my counter. This not only created an unnecessary mess but also failed to efficiently deal with the evaporation issue.
A far more effective and cleaner solution is to still use tin foil, but instead of draping it over the pot, fit it *inside* the pot, directly on top of the water. Gently crumple the edges of the foil so it fits snugly within the rim of your cooking vessel, effectively floating on the water’s surface. While this method won’t create a perfect, hermetic seal, it significantly minimizes evaporation by reducing the exposed water surface area, without the risk of water absorption by external coverings or messy drips onto your countertop.
Additionally, for long cooks, ensure your water bath is in a stable location, away from drafts and curious pets or children. Always use a container large enough to comfortably accommodate the food bags and allow for proper water circulation, and make sure your circulator is securely clamped to the side of the container.
Expert Sous Vide Tips for Flawless Results
- Bag Selection for Extended Cooks: For any Sous Vide cooking lasting over 8 hours, a high-quality vacuum seal bag is your best friend. These bags offer superior air removal capabilities and a more robust, long-lasting seal, significantly reducing the risk of water ingress, which can compromise both food safety and texture. While heavy-duty sealable freezer bags can be effectively used for shorter periods, it’s wise to double-bag them for extended cooks to provide an extra layer of protection against potential leaks and ensure complete food safety.
- Strategic Bag Placement: Always cut your vacuum bag approximately 6 inches longer than what’s strictly necessary for the food itself. This excess material is invaluable for clipping the bag securely to the side of your pot or container. This simple yet effective technique keeps the bag fully submerged and stationary, ensuring even exposure to the circulating water and thus promoting uniform cooking. Furthermore, it acts as a crucial safeguard: should the vacuum seal not be absolutely perfect, the extra material above the waterline helps prevent any accidental spillage or water intrusion into your precious water bath.
- Maintaining Water Levels: Sous Vide relies on a consistent and precise water temperature for its effectiveness. Periodically check your water level, especially during longer cooking sessions, as evaporation, even with covers, is inevitable over many hours. If the water level drops too low, parts of your pork belly might become exposed to air, leading to uneven cooking, potential temperature deviations, and ultimately compromising the texture and safety of your food. Always top off the water as needed, ensuring it fully covers your food and the minimum water level for your circulator is maintained.
- Understanding Temperature and Time: The Art of Texture: Is cooking for a full 16 hours, as specified in this recipe, absolutely indispensable? Not necessarily, but understanding the intricate relationship between time, temperature, and desired texture is paramount in Sous Vide. Generally, the longer meat is cooked Sous Vide at a specific temperature, the more its tough collagen breaks down into tender gelatin, resulting in an increasingly fork-tender texture. However, there’s a delicate balance: cooking for too short a period will yield chewy and tough meat, while cooking for excessively long can lead to a mushy, undesirable consistency, as the cellular structure might degrade too much. Consider a strip steak, for instance: typically, 1 hour per inch of thickness at around 130-135°F (54-57°C) is ideal for a beautifully meaty texture. If that same steak were cooked for 12 hours, you’d find it easily cut with a fork, a texture I might enjoy for a braised pork shoulder but not for a firm steak. For pork belly, 16 hours at 158°F (70°C) strikes a perfect balance. It ensures the pork is incredibly delicate and tender, yet it retains enough structure to be sliced cleanly and efficiently seared without falling apart. There’s also some forgiving “wiggle room” with pork belly; anywhere between 12 to 20 hours will still produce excellent results, depending on your desired level of tenderness and the initial thickness of your cut.
The Grand Reveal: Post-Sous Vide Perfection
Once your pork belly has completed its 16-hour Sous Vide journey, signaling its transformation into culinary gold, carefully remove it from the water bath. Gently open the vacuum seal bag, and be sure to reserve the intensely flavorful juices – they are liquid gold, brimming with concentrated essence, and can be used to enrich other dishes, create a delectable sauce base, or even be incorporated into your taco assembly. Carefully take out the pork belly and marvel at its remarkable transformation. At this stage, it will be incredibly smooth to the touch, beautifully infused with flavor from your chosen marinade, and still surprisingly firm in its overall structure, yet unbelievably tender when gently pressed. The ultimate goal is a pork belly that you can gently bite into, offering a delightful and satisfying resistance before melting in your mouth, rather than instantly dissolving into a mushy texture.
With careful precision, slice the pork belly into uniform pieces, approximately 1/4 inch thick. This consistency in slicing is vital as it aids in achieving an even and desirable sear in the final step, contributing to both elegant presentation and a superior eating experience.
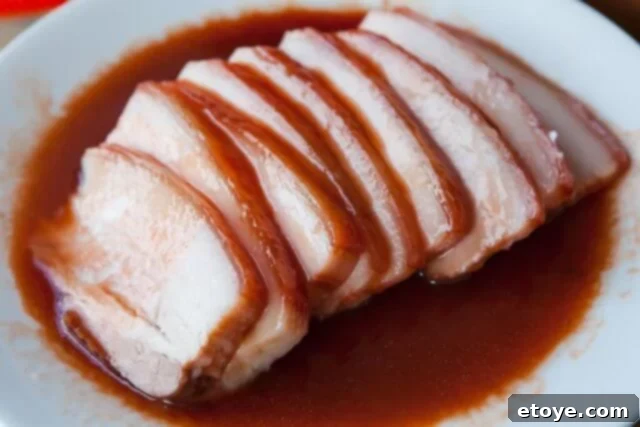
The Crucial Final Step: Searing for Ultimate Flavor and Texture
The last, and arguably most crucial, step to achieving pork belly perfection is the exhilarating sear. Heat a sauté pan or a sturdy cast-iron frying pan over medium-high heat. I personally prefer a sauté pan due to its higher sides, which effectively contain any inevitable fatty splatter and mess. Place the precisely sliced Sous Vide pork belly pieces into the hot pan, ensuring not to overcrowd it, which could lower the pan’s temperature and result in steaming rather than searing. You’ll immediately notice the pork belly slowly caramelizing, and its rendered fat beginning to crisp, creating an intoxicating aroma as it heats up. Cook each side until it achieves a beautiful, deep golden-brown crust and a satisfying crispness, typically about 2 minutes per side. This rapid searing process is essential as it activates the Maillard reaction, developing irresistible complex flavors and creating a delightful crispy texture that contrasts wonderfully with the tender, succulent interior achieved through Sous Vide. This step is where all that patience truly pays off!
Crafting the Perfect Sous Vide Pork Belly Tacos
To truly appreciate the inherent richness and savory depth of the Sous Vide pork belly, it’s absolutely essential to pair it with complementary flavors that offer lightness, brightness, and acidity. Think of it like a rich, dense chocolate cake – while incredibly delicious, you can only enjoy a few bites before its intensity becomes overwhelming. The right accompaniments cut through the inherent richness of the pork, creating a perfectly balanced and refreshing culinary experience that keeps you coming back for more.
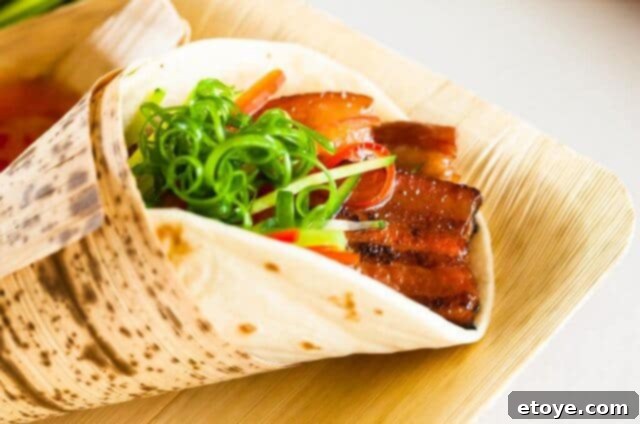
Fresh and Zesty Accompaniments to Complete Your Tacos:
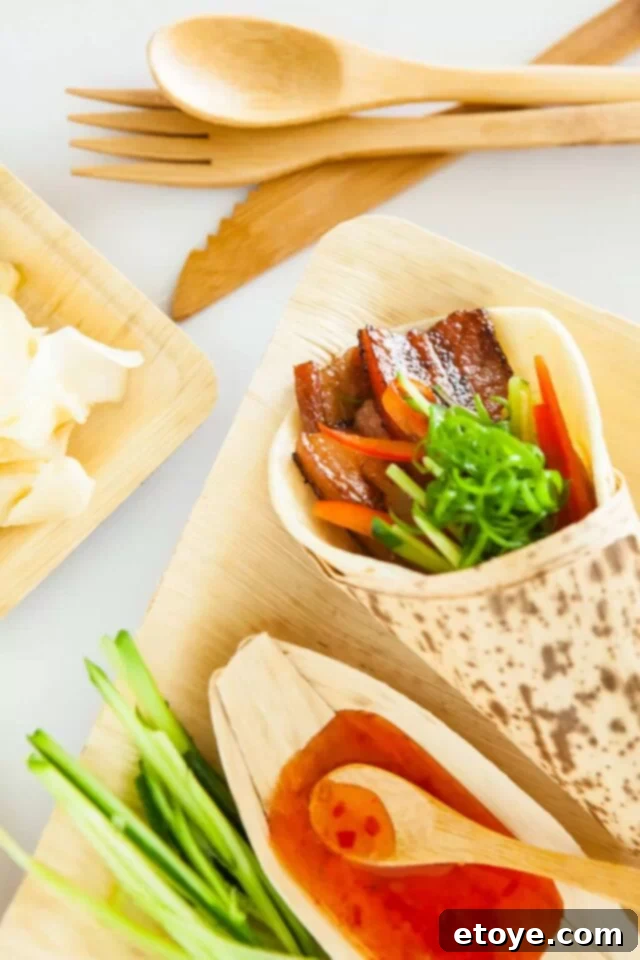
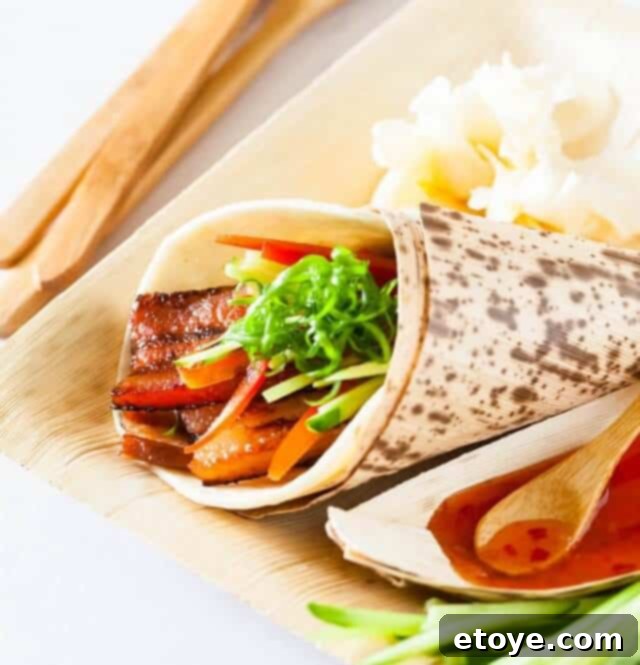
- Quick Pickle Slaw: I love serving pork belly with a super quick, vibrant pickle. Simply julienne fresh, crisp bell peppers (any color works, but red or yellow add beautiful contrast) and refreshing cucumbers, then toss them generously with a little seasoned rice vinegar. This creates a vibrant, tangy slaw that provides a delightful crunch and a much-needed acidic counterpoint to the rich pork belly.
- Crisp Green Onion Curls: For an extra touch of visual appeal and a refreshing, mild onion bite, create super curly, crisp-crunchy green onion slivers. Achieve this by thinly slicing green onion stalks as finely as possible at a steep angle. Immediately transfer these delicate slivers to a small bowl filled with ice water. Allow them to soak for about 15-20 minutes, which will cause them to beautifully curl and become wonderfully firm and crisp.
- Warm Tortillas: Serve the star pork belly and vibrant slaw in warm flour or corn tortillas for a simple, yet satisfying handheld meal. The warmth and softness of the tortillas perfectly complement the other elements, bringing the taco together beautifully.
- Chili Sauce and Pickled Ginger: On the side, offer a dollop of your favorite Asian chili sauce for those who crave a spicy kick, and some refreshing pickled ginger to cleanse the palate between bites, enhancing the overall complex flavor profile of your tacos.
This thoughtful combination ensures that each bite of your Sous Vide Pork Belly Taco is a symphony of textures and tastes, creating a truly unforgettable meal that’s both gourmet and incredibly satisfying.
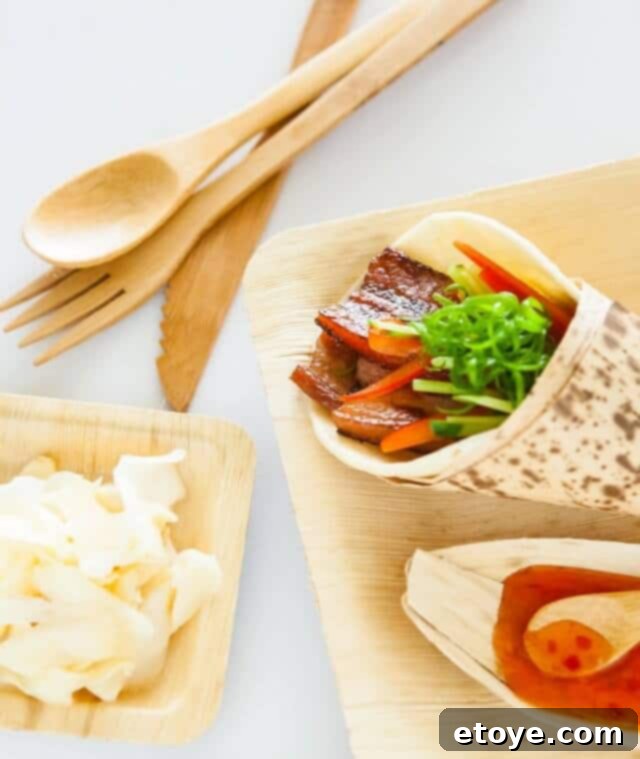
Sustainable Serving: Eco-Friendly Dinnerware
For those mindful of their environmental impact and looking for stylish yet responsible serving solutions, these charming eco-friendly bamboo plates are an excellent choice. Sourced from RestaurantWare, these plates and dishes are not only sturdy and aesthetically pleasing, adding a natural touch to your presentation, but also thoughtfully designed to be reusable. A simple hand wash after each use makes them a sustainable and practical option for your regular culinary presentations, reducing waste without sacrificing elegance.
Masterful Sous Vide Pork Belly Tacos Recipe
Ingredients
- 1 pound pork belly, skin on (for best results)
- 16 small flour or corn tortillas, warmed
- 1 large cucumber, julienned
- 1 bell pepper (red or yellow recommended), cored and julienned
- 2 tablespoons seasoned rice vinegar
- 2 stalks green onion (scallions), thinly sliced
VERSION 1: (Char Siu Marinade)
- 1/4 cup prepared Char Siu sauce
VERSION 2: (Soy & Honey Marinade)
- 2 stalks green onion, minced
- 2 teaspoons grated fresh ginger
- 2 cloves garlic, minced
- 2 tablespoons light soy sauce
- 2 tablespoons honey
Instructions
- Prepare and Sous Vide the Pork Belly: Begin by scrubbing the pork belly skin with kosher salt (optional but recommended for crispier skin). Place the pork belly in a vacuum seal bag. Generously slather your chosen sauce (either the rich Char Siu or the aromatic Soy/Honey blend) onto both sides of the pork belly, ensuring even coverage. Seal the bag tightly using a vacuum sealer. Set up your Sous Vide machine in a large pot or container to operate at a precise 158°F (70°C). Once the water reaches temperature, immerse the sealed pork belly bag, using clips to secure it and ensure full submersion and water circulation. Cook for a total of 16 hours. Throughout the cooking period, periodically check and top off the water as necessary to maintain the proper level. Once Sous Vide cooking is complete, carefully remove the bag, open it, and reserve the flavorful juices for later use. Slice the incredibly tender pork belly into even 1/4-inch thick pieces, ready for searing.
- Prepare the Slaw and Green Onion Garnish: To make the refreshing slaw, combine the julienned cucumber and bell pepper in a medium-sized bowl. Drizzle with the seasoned rice vinegar and toss gently to ensure an even coating. For the delightfully curly green onion garnish, slice the green onion stalks as thinly as possible at a steep angle. Immediately transfer these delicate slivers to a small bowl filled with ice water. Allow them to soak for 15-20 minutes, which will cause them to curl beautifully and become crisp. Drain well before serving.
- Sear the Pork Belly: When you are ready to serve, heat a frying pan or a sauté pan (recommended for high sides) over medium-high heat. Add the sliced Sous Vide pork belly to the hot pan in a single layer, being careful not to overcrowd. The pork belly will slowly caramelize, and its fat will render, creating a delicious crispy exterior. Cook until both sides are beautifully browned and crisp, which typically takes about 2 minutes per side.
- Assemble and Serve Tacos: Drain the green onion from the ice water. To assemble your gourmet tacos, warm your flour or corn tortillas. Fill each tortilla generously with the seared pork belly, a spoonful of the tangy slaw, and a sprinkle of the curly, crunchy green onion. Serve immediately with optional chili sauce and pickled ginger on the side, and enjoy the explosion of flavors!
Notes
We hope this detailed guide empowers you to confidently create exceptional Sous Vide Pork Belly Tacos in your own kitchen. Embrace the journey of precision cooking and savor the incredible flavors you’ll achieve!
