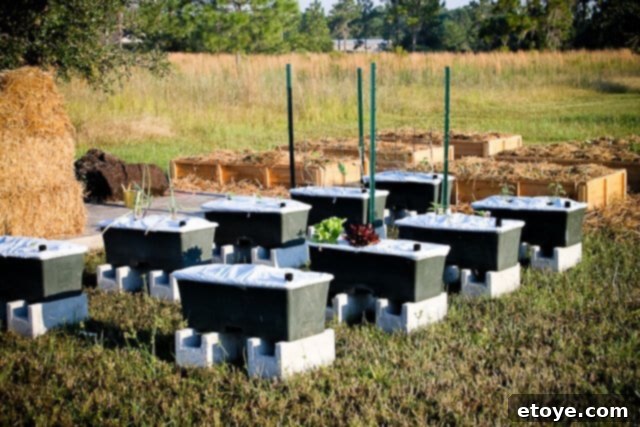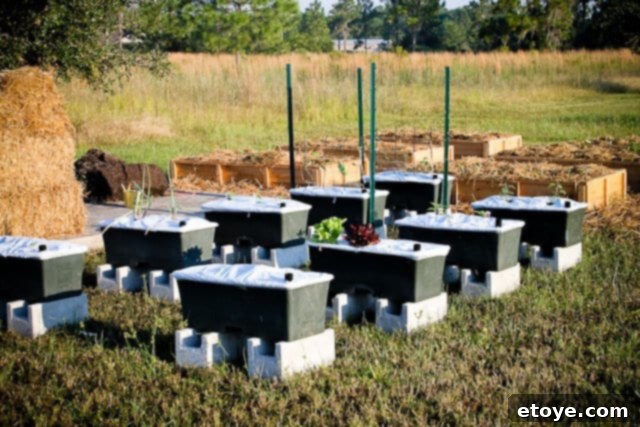
In a world often filled with turmoil, finding peace and purpose in everyday actions can be incredibly grounding. On a poignant 9/11 weekend, rather than observing remembrance solely through screens, our family chose a more hands-on approach to honor the brave souls lost, the heroes who saved lives, and those steadfastly fighting the war on terrorism. We embarked on a journey to cultivate our very first family garden in our new home. We believed there was no more profound way to pay tribute to humanity and resilience than by nurturing a fruitful garden, a living testament that would not only nourish our family but also extend its bounty to cherished friends and neighbors.
The spirit of togetherness and creation permeated the air as we worked outdoors. Despite the relentless Florida heat – it was hot, hot, hot! – our enthusiasm remained undimmed. We strategically alternated between the intense labor in the garden and refreshing plunges into the cool embrace of the swimming pool, enjoying a revitalizing dip almost every hour. This rhythm of work and refreshment made the weekend enjoyable, though I confess my sunscreen reapplication efforts were less than perfect. The result? An amusingly crooked tan line, prominently etched where my work boots met my mid-calf.
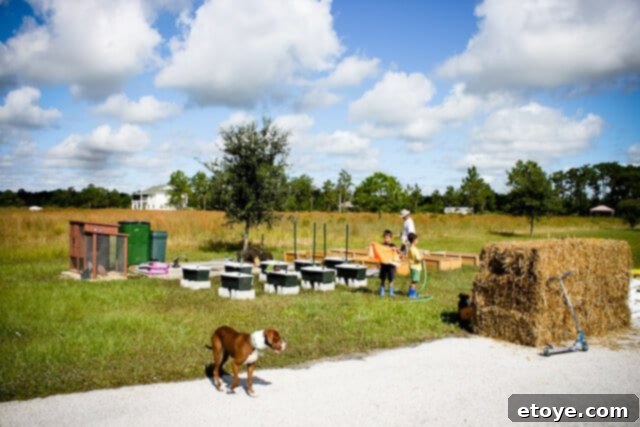
Having previously gardened at our old residence, we were no strangers to the challenges and rewards of growing our own food. A constant feature of our former home was a thriving collection of EarthBox self-watering planters. These ingenious systems made gardening virtually foolproof, a crucial advantage, especially given the notoriously challenging soil conditions here in Western Florida. The local soil, primarily sandy, struggles to retain vital nutrients, which are quickly washed away or drain too rapidly for plants to fully absorb. This prevalent issue leads many local gardeners to adopt alternative methods like creating raised beds or utilizing container gardening systems. For us, the EarthBox was the clear winner. Our connection to this innovative product is further strengthened by the fact that its inventor, Blake Whisnant, resides in the adjacent town, and his dedicated EarthBox Research Center is merely minutes away. (Incidentally, I’ll be sharing details about Scott’s fascinating no-dig lasagna gardening experiments in our raised beds in a future post – stay tuned for our adventures in sustainable gardening!)
Photo from EarthBox Research Center
Blake Whisnant, an inspiring figure now in his 90s, continues to dedicate himself to his passion, arriving at the Research Center daily. You can often find him amidst the vibrant garden area, sharing invaluable wisdom with customers, teaching them the finest techniques for cultivating robust tomatoes, or simply relaxing in his rocking chair inside the shop. The genius of the EarthBox system lies in its entirely enclosed design, where the soil ingeniously sits above a water reservoir. This innovative sub-irrigation technique leads to remarkable benefits: significantly less water consumption, reduced need for fertilizer, virtually no soil erosion, and a complete absence of pesky weeds. It’s a truly efficient and sustainable way to grow. And just to be clear, this glowing endorsement is entirely unsolicited; this is certainly NOT a paid post. Our family has been faithfully using EarthBoxes for seven years, ever since a wonderful recommendation from our dear friend, Jan Small, who herself is recognized as the Expert Heirloom Gardener for Zone 9 with the Fabulous Beekman Boys’ World’s Largest Community Garden. Her expertise further validated our choice, and we haven’t looked back.
The self-contained nature of the EarthBox ensures that all the essential components – the potting mix, fertilizer, and water – are protected and optimized within the system. A durable plastic cover shields the box, preventing water evaporation, maintaining consistent soil temperature, and deterring weed growth. The simplicity of maintenance is another key advantage: watering is only required every few days. You simply insert the end of a hose into the black watering tube, and the water efficiently makes its way directly to the bottom reservoir, where the plants can access it as needed. This unique sub-irrigation method minimizes water waste and ensures deep, consistent hydration for plant roots.
While the original EarthBox units are undoubtedly effective, their cost (around $30 each, plus potential shipping expenses) can add up, especially for those looking to establish a larger garden. However, the underlying principles of the EarthBox system are easily replicated. Enthusiastic DIY gardeners can construct their own versions using readily available materials like plastic storage tubs or even 5-gallon buckets. The critical element to successful DIY EarthBoxes is the implementation of a soil wicking system. This design allows the soil to act as a “wick,” drawing water upwards from the reservoir as the plants require it, ensuring they receive precise hydration without being overwatered or underwatered. This ingenious method perfectly balances moisture levels, leading to healthier, more productive plants.
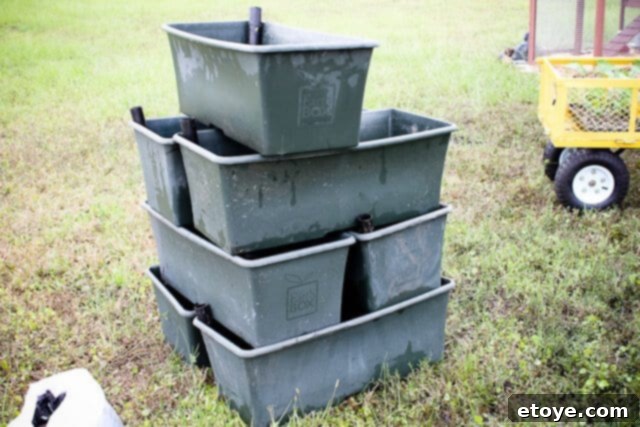
Allow us to guide you through the straightforward process of setting up your very own EarthBox, ensuring a thriving garden with minimal effort.
How to Garden in EarthBox: A Step-by-Step Guide for Bountiful Harvests
The journey to a successful EarthBox garden begins with preparing your potting mix. First, procure a sizable container – a large bucket or even a wheelbarrow works perfectly. Into this, add approximately half of a 40lb bag of quality potting mix. It’s crucial to thoroughly moisten this portion of the potting mix, blending it until it achieves a consistently damp texture. You’ll know it’s ready when you can squeeze a handful, and it holds its shape without dripping excessively, indicating adequate moisture retention.
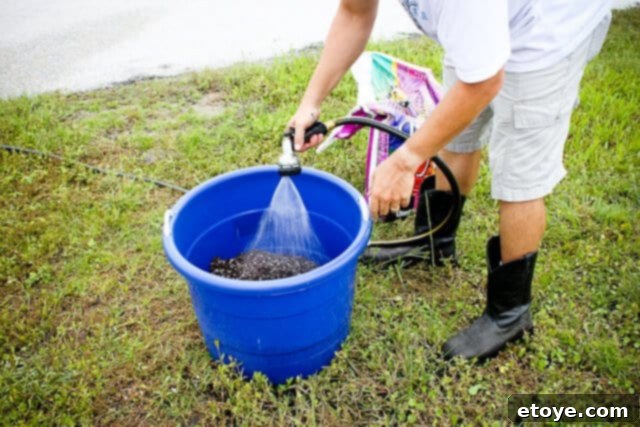
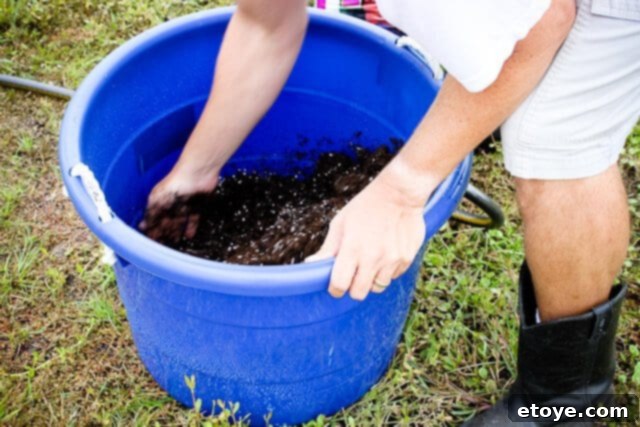
Ensure the potting mix is thoroughly and evenly blended. This critical step guarantees uniform moisture distribution and helps break up any dry clumps, creating an ideal environment for root development and nutrient uptake within the EarthBox system.
Now, carefully position the aeration screen and the watering tube within the EarthBox. The screen should rest a few inches above the bottom, creating the water reservoir below. The key to the wicking system lies in the corners: pack generous handfuls of the moistened potting mix into the designated corner openings of the EarthBox, ensuring they are compressed very tightly. These densely packed sections of potting mix act as vital “wicks,” drawing water from the reservoir up into the main soil bed, providing continuous hydration to your plants.
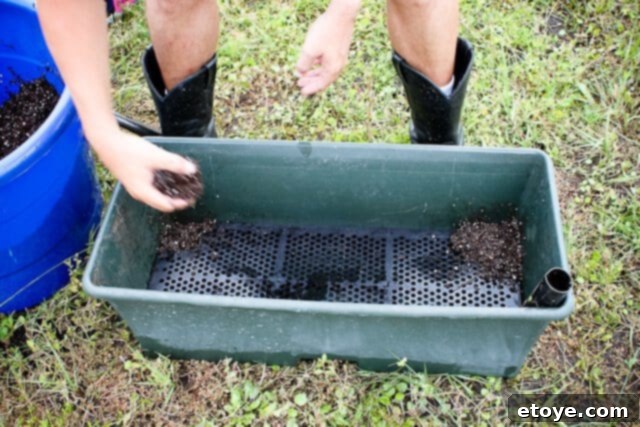
Continue to pack the potting mix down firmly into the wick areas. This compaction is essential; it eliminates air pockets and creates the necessary capillary action for the wicks to effectively draw water upwards, ensuring your plants remain consistently hydrated.
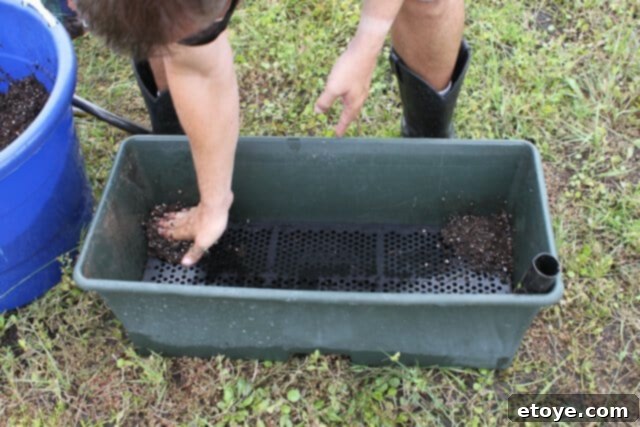
Once the wicks are established, proceed by adding a two-inch layer of the moistened potting mix by hand across the entire surface. This layer should also be packed down tightly to create a stable foundation for the remaining soil and to further optimize the wicking process throughout the system.
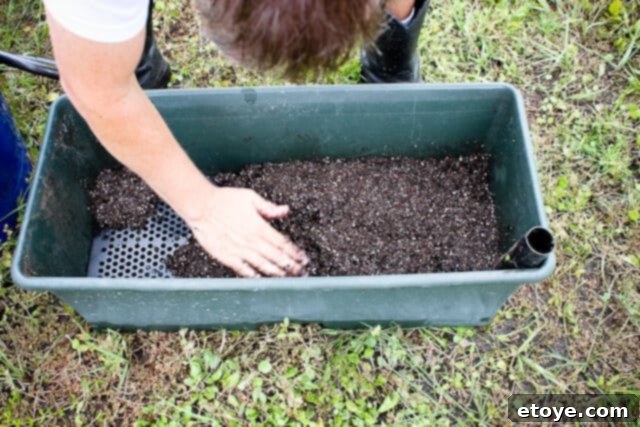
With the base layer securely in place, pour in the remainder of your thoroughly wet potting mix, filling the EarthBox cavity above the screen. Distribute it evenly across the surface.
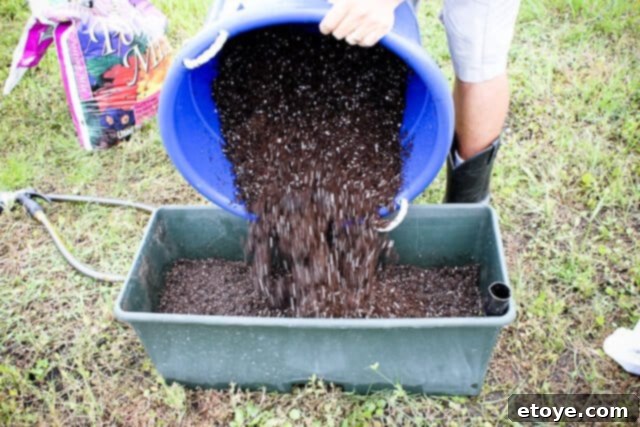
Firmly pack down the newly added potting mix. This crucial step eliminates air pockets, ensures good contact between soil particles, and creates a dense, stable growing medium that maximizes water retention and nutrient availability for your plants.
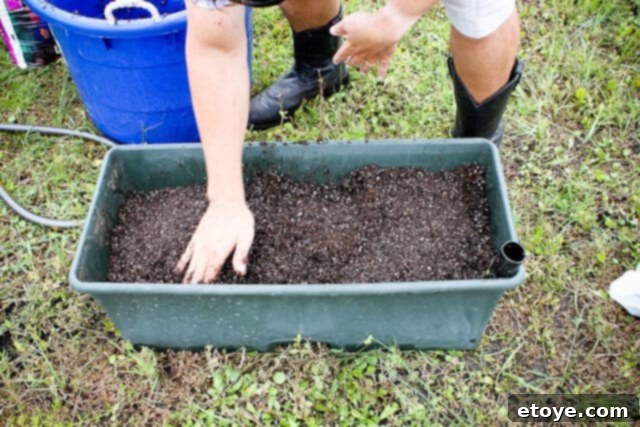
Next, take the other half of your 40lb bag of potting mix and transfer it into a separate bucket. This portion will be used to top off the EarthBox and will be kept dry for specific layering purposes.
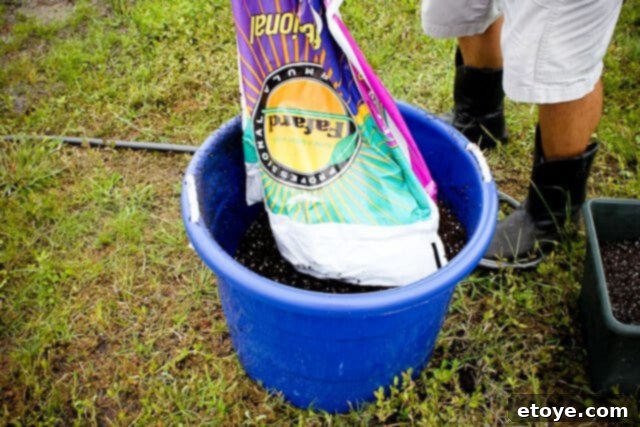
For those looking to optimize their soil’s pH balance, adding dolomite or garden lime is an excellent, yet optional, step. These amendments help neutralize acidic soil, creating a more favorable growing environment for a wide range of vegetables, which often prefer slightly alkaline to neutral conditions.
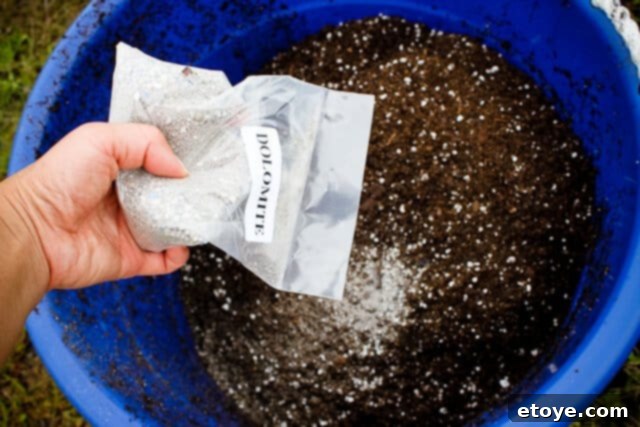
If you choose to add dolomite or garden lime, ensure it’s thoroughly mixed into the dry potting mix in the bucket. An even distribution ensures that the pH adjustment is consistent throughout the soil, benefiting all parts of the plant’s root system.
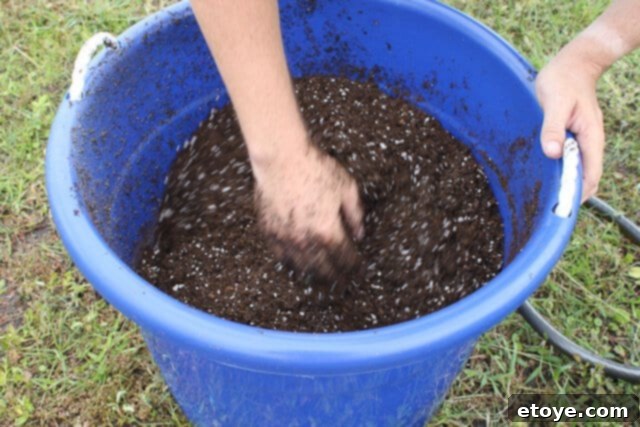
Unlike the initial batch, this bucket of potting mix should remain dry. You’ll now take approximately one-third of this dry, pH-balanced mix and pour it over the previously moistened soil in the EarthBox. This layering technique helps in slow-release nutrient availability and maintains soil structure.
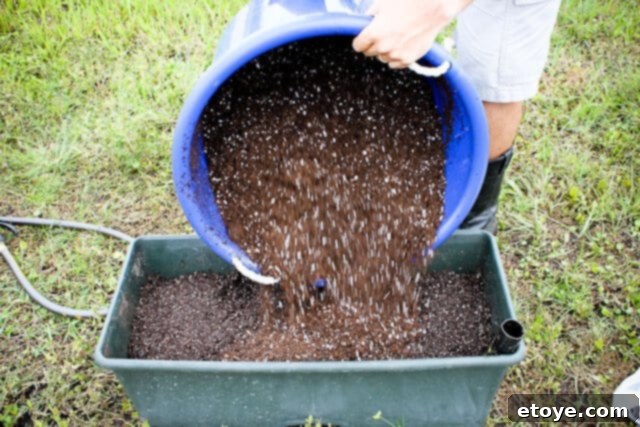
Gently pack down this newly added layer of potting mix to ensure an even surface and then lightly water the soil. This watering helps settle the dry mix, integrates it with the moist layers below, and begins the process of activating any amendments like dolomite.
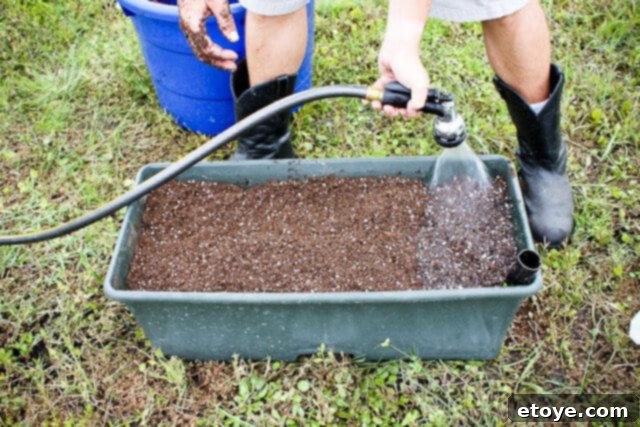
Proceed by adding the next one-third portion of the dry potting mix from your bucket onto the surface. Continue to build up the soil layers incrementally, maintaining a consistent and even distribution.
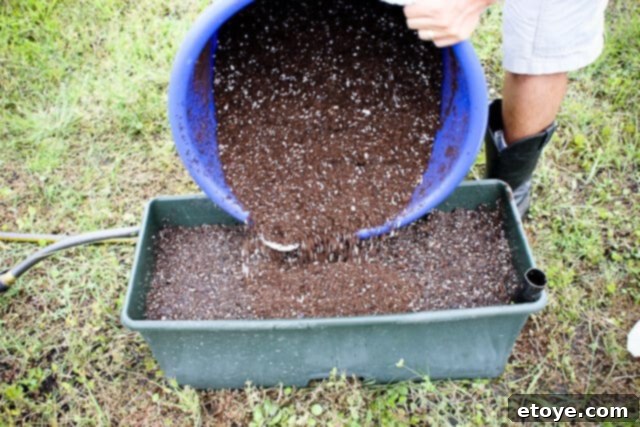
Once again, gently pat down this layer to ensure it’s even and free of significant air pockets. This careful layering and compacting are crucial for establishing a uniform growing medium within the EarthBox.
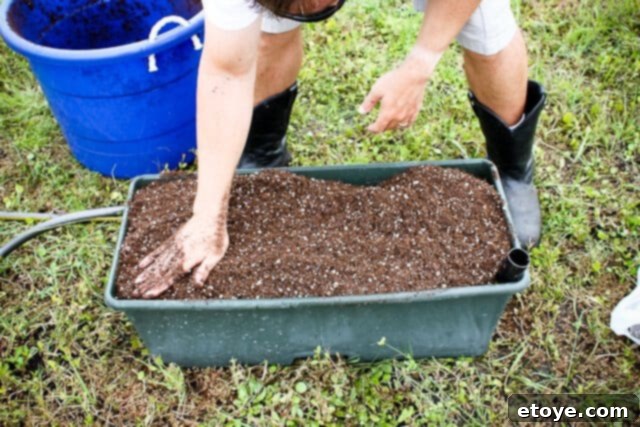
Provide another light watering to this layer. The alternating dry mix and watering steps help to slowly saturate the entire soil column, preventing any dry spots and ensuring the wicking system can function optimally from the start.
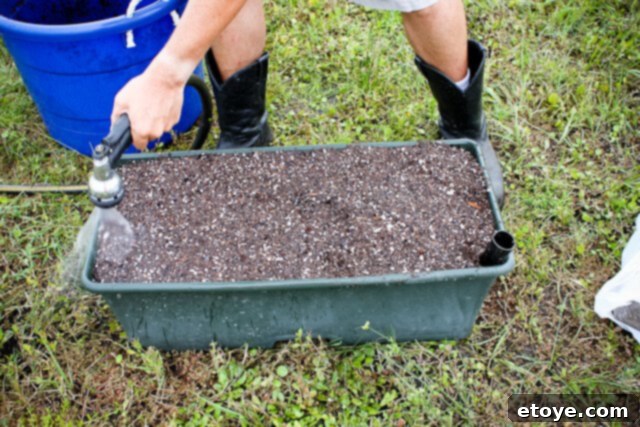
Continue to pack down the soil with gentle but firm pressure. It might appear as though there’s no more room, but keep watering and compressing until the soil level is approximately one inch below the top rim of the EarthBox. This space is essential for holding the plastic cover and for providing adequate air circulation.
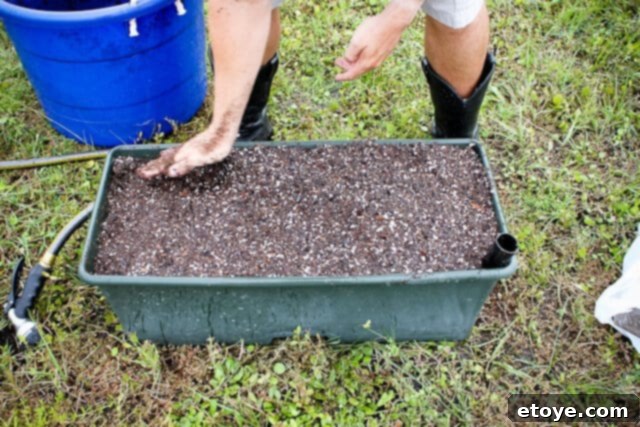
Finally, add the last remaining portion of the potting mix from your bucket. This top layer will house your plants and their initial root development, providing a nutrient-rich and stable environment.
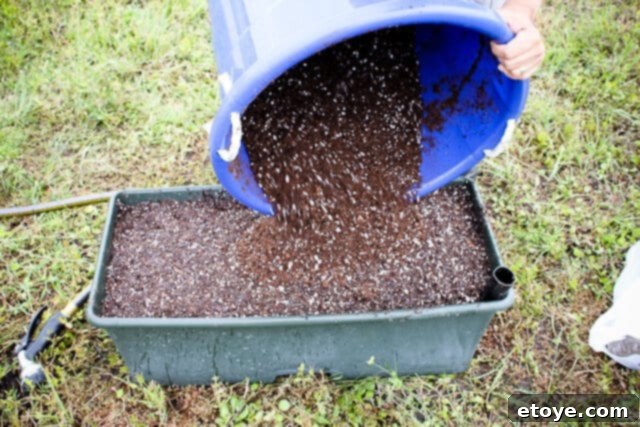
Perform a final watering and gentle packing of the top layer. This ensures the soil is thoroughly settled, providing a perfect bed for planting and initiating the full functionality of the EarthBox’s self-watering mechanism.
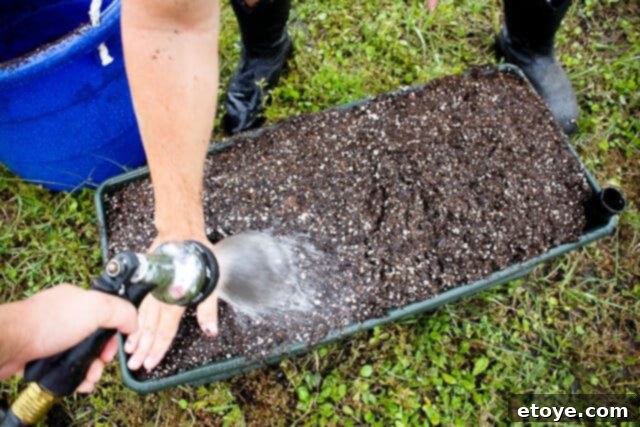
Now, the EarthBox is perfectly prepared for the application of organic fertilizer. The placement of this fertilizer is crucial and depends entirely on the type of plants you intend to grow. For small, leafy greens such as lettuce or spinach, where you might plant six to eight per box, the fertilizer strip should be laid directly down the middle. Conversely, for larger, more demanding plants like tomatoes or beans, which typically occupy two spots per box, the fertilizer should be placed along one side, as illustrated below. This strategic placement ensures that the roots can access nutrients efficiently as they grow, without being overwhelmed by concentrated fertilizer when they are young.
Using your hand, create a shallow trench or ditch along the designated fertilizer placement area. This channel will securely hold the organic fertilizer, ensuring it remains concentrated where the plants can best utilize it.
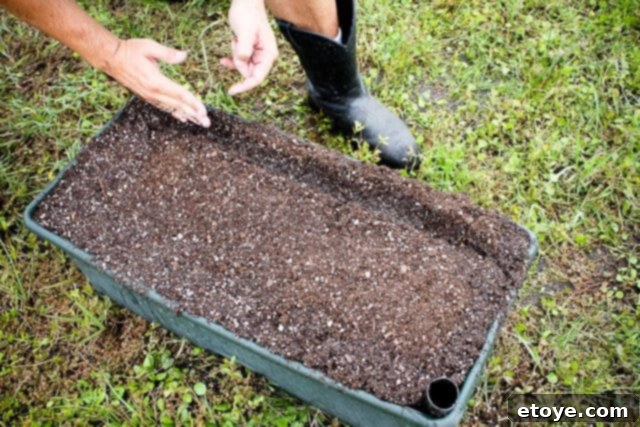
Carefully add your chosen organic fertilizer into the trench. Organic fertilizers release nutrients slowly, providing a steady supply to your plants without the risk of burning them, a common issue with synthetic alternatives. The precise placement helps target root growth.
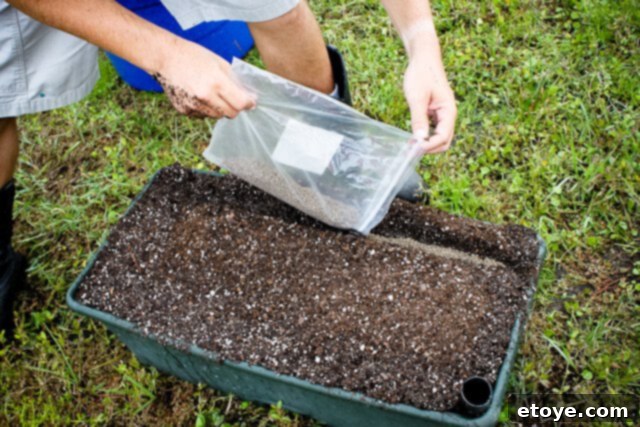
Gently cover the organic fertilizer with potting mix, ensuring it is fully encapsulated. This prevents direct contact with young roots, allowing the nutrients to leach into the soil gradually and safely, promoting healthy and robust plant development.
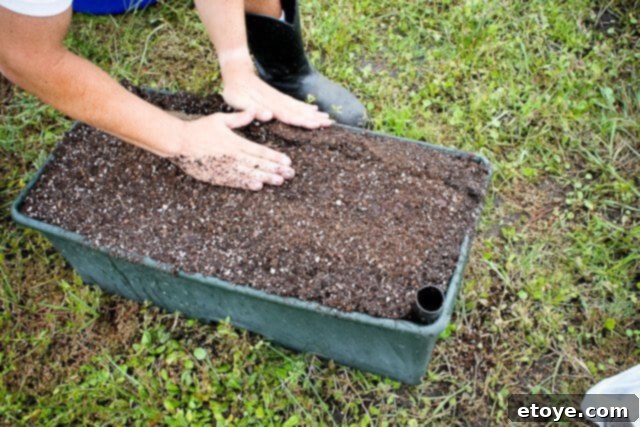
The final, essential step is to place the plastic cover over your EarthBox. This cover serves multiple critical functions: during warmer seasons, position the white side facing upwards to reflect sunlight and keep the soil cool. In contrast, for winter gardening, orient the black side upwards to absorb maximum heat from the sun, helping to warm the soil. This versatile cover is instrumental in maintaining optimal growing conditions, conserving moisture, and suppressing weeds.
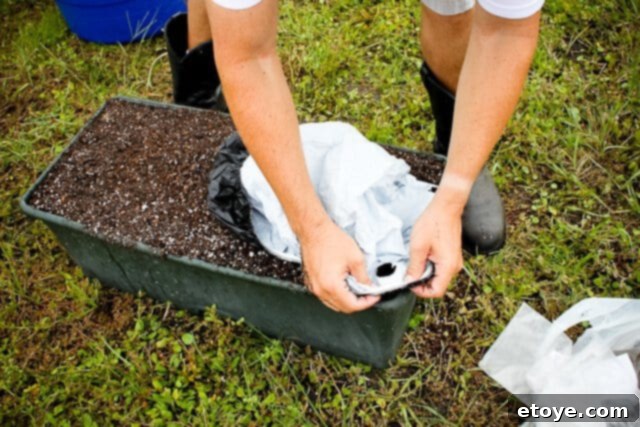
Think of this plastic cover as a protective hat for your garden box. It diligently works to prevent precious water from evaporating, shields the soil from erosion caused by wind or heavy rain, locks essential nutrients within the confines of the box, and, most importantly, acts as an impenetrable barrier against weeds. This simple yet effective feature significantly reduces maintenance, allowing you to focus on growing healthy, vibrant plants.
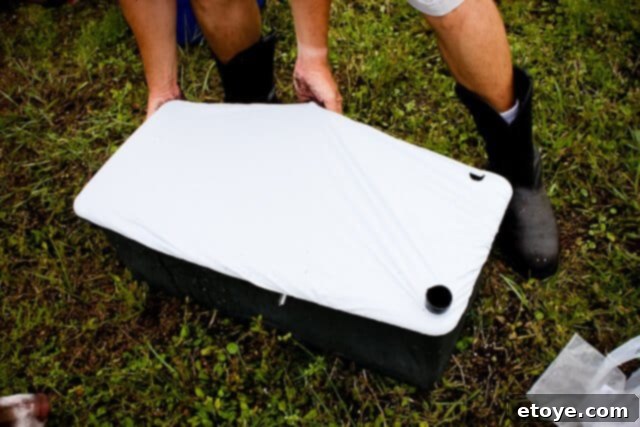
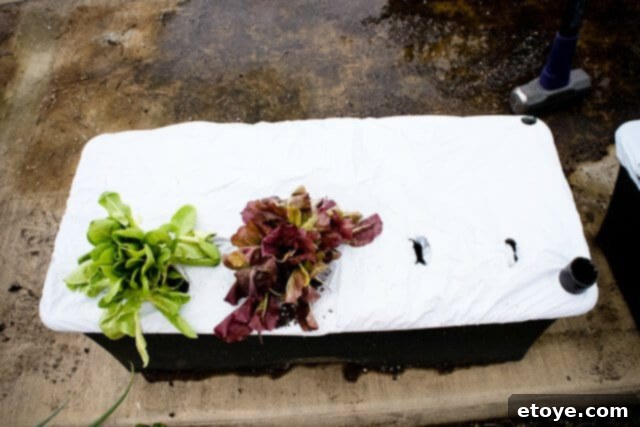
With the cover in place, you are ready to plant! Carefully poke holes through the plastic cover at your desired planting locations. Gently snuggle in your chosen plants or seedlings, ensuring their roots are well-established in the prepared potting mix. For instance, in this particular EarthBox, I’ve planted two thriving lettuce plants on the left side, and I’ll soon be adding some nutritious Chinese broccoli (gai lan) on the right, utilizing the box’s capacity for diverse cultivation.
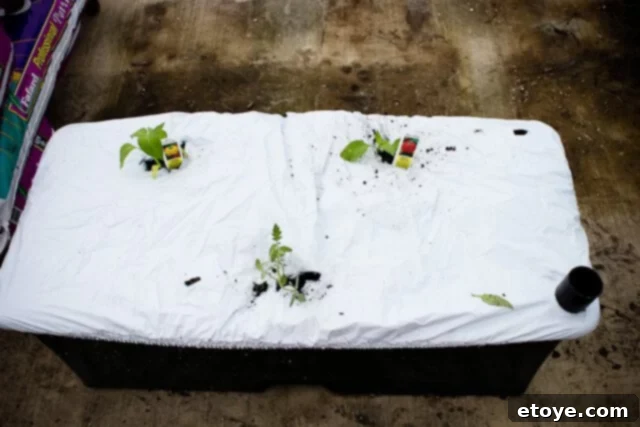
Here’s another example illustrating plant arrangement: in this EarthBox, I have two vibrant bell pepper plants alongside a prolific cherry tomato plant. Notice how the fertilizer line runs strategically down the middle of the box, catering to the needs of these larger, fruit-bearing plants and providing them with sustained nourishment throughout their growing cycle. This thoughtful placement ensures even nutrient distribution and robust growth for all plants within the system.
As we conclude this detailed guide on setting up your EarthBox, I want to take a moment to express immense gratitude. A heartfelt round of applause goes to my wonderful husband, whose unwavering support and participation throughout this gardening weekend made it truly special. Despite his personal disinterest in gardening and a notable lack of enthusiasm for eating vegetables, he dedicated his time and effort to help me realize our family garden. His assistance was invaluable, proving that sometimes, the greatest acts of love are found in shared endeavors, even outside one’s comfort zone. This garden, born from collaboration and love, stands as a testament to family, growth, and the simple joy of creating something beautiful and bountiful together.
