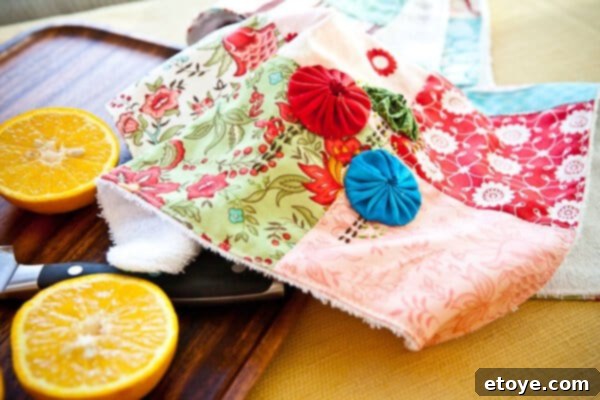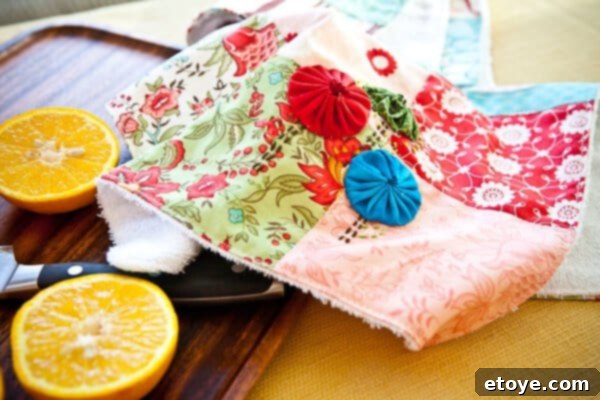
Transform a simple afternoon into a productive crafting session by creating these charming and highly functional kitchen towels! Perfect for beginners and seasoned crafters alike, this project utilizes readily available quilt quarters, plush terry cloth, and delightful fabric yo-yo embellishments that even children can help make. Imagine the satisfaction of crafting a useful item for your home or a heartfelt, handmade gift for someone special. This guide simplifies the process, making it accessible to anyone with a basic sewing machine and a desire to create something beautiful.
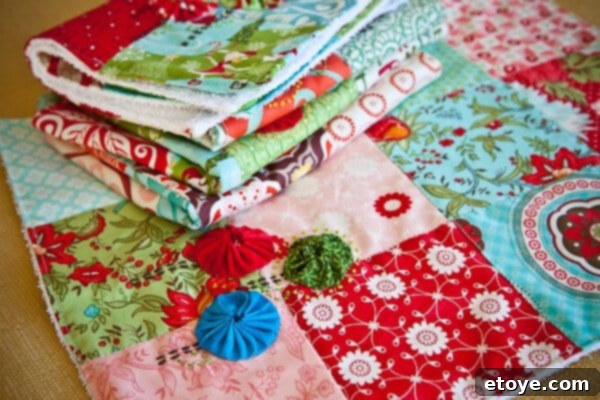
These customizable kitchen towels make truly thoughtful presents for any occasion. My children and I recently enjoyed crafting a batch of these for their teachers and a few close friends as Christmas gifts. The personal touch of a handmade item always stands out, conveying warmth and care that store-bought items simply can’t replicate. While the joy of giving is paramount, the process of creating them together also becomes a cherished memory.
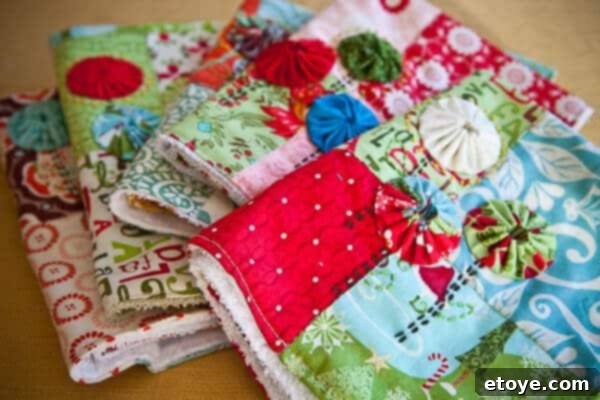
Don’t let the thought of sewing intimidate you! If you can sew a straight line, you possess all the necessary skills to complete this project successfully. There’s no need to be an expert quilter or a professional seamstress to produce beautiful, durable hand-made kitchen dish towels. We’ll guide you through each step with clear, concise instructions, ensuring a smooth and enjoyable crafting experience from start to finish. This project is specifically designed to be beginner-friendly, focusing on simple techniques that yield impressive results.
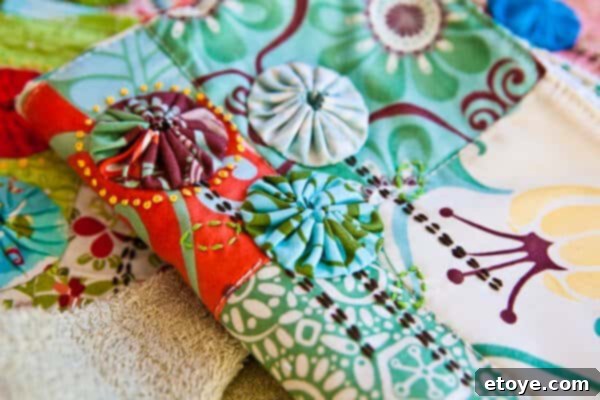
The fundamental concept for these delightful towels draws inspiration from the acclaimed “Seams to Me” book by Anna Maria Horner. However, we’ve carefully adapted and simplified the original pattern, streamlining many of the steps to make it more accessible for crafters of all skill levels – and, frankly, to allow younger helpers to participate without a steep learning curve. Our version focuses on practicality and ease, proving that stunning results can be achieved without overly complex techniques.
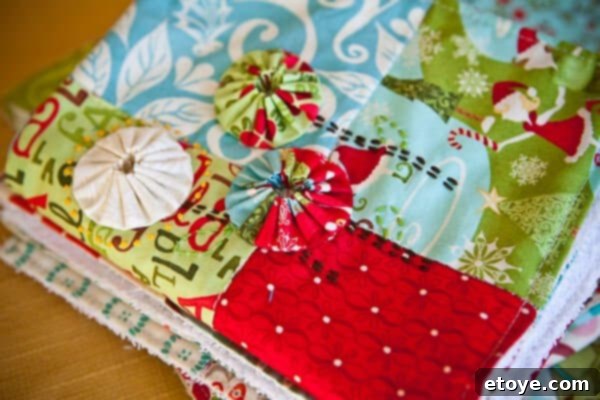
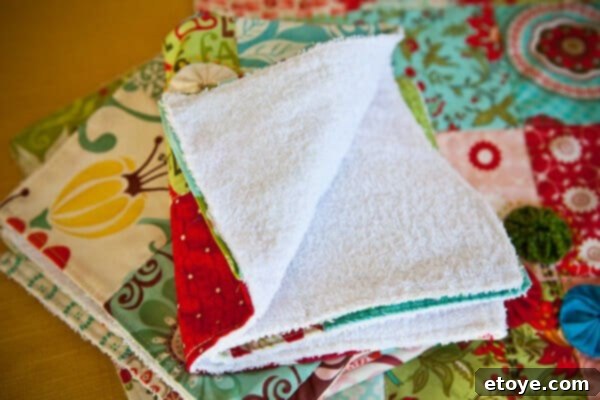
One of the standout features of these kitchen towels is their highly absorbent terry cloth backing. This practical addition significantly enhances their utility, addressing a common frustration with many dish towels that simply aren’t effective enough to dry hands or dishes properly. Terry cloth is remarkably affordable, typically costing just a few dollars per yard at most fabric stores, making it a cost-effective choice for creating high-quality, functional towels that truly perform. This thoughtful design ensures your handmade towels are not just beautiful but also incredibly efficient.
Crafting Your Own Stylish and Absorbent Kitchen Towels: A Step-by-Step Guide
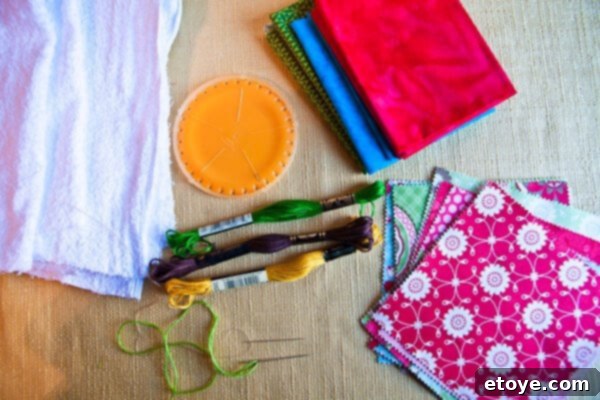
Embark on this rewarding DIY project by gathering your essential supplies. The beauty of these towels lies in their customizable nature, allowing you to choose fabrics and embellishments that perfectly match your kitchen décor or the personality of your intended recipient. Here’s a comprehensive list of what you’ll need to create your personalized kitchen towels:
- Terry Cloth Fabric: This forms the absorbent back of your towel. You can find it by the yard at your local fabric store. One yard is typically sufficient to create about six towels, offering great value and the opportunity to make a set. Choose a color that complements your chosen quilt quarters.
- Quilt Quarters (Charm Packs or Fat Quarters): These are bundles of fabric pieces, often pre-cut into squares (like “Charm Packs,” which are usually 5×5 inches) or larger rectangles (“Fat Quarters,” typically 18×22 inches). They are ideal for this project because they are color or design coordinated, eliminating the guesswork of mixing patterns. If you have fabric scraps, those can also be repurposed for a truly unique look.
- Embroidery Floss: Select green, brown, and yellow floss to create the delightful stems, leaves, and French knots that embellish your yo-yos. Feel free to explore other colors to match your fabric choices.
- Fat Needle with a Large Eye: Essential for easily threading the thicker embroidery floss.
- Regular Sewing Needle: For general hand-sewing tasks, such as attaching the yo-yos.
- Embroidery Hoop (Optional): While not strictly necessary, an embroidery hoop can be very helpful for keeping your fabric taut and stable when working on detailed embroidery stitches, making the process smoother and more precise.
- Plastic Yo-Yo Maker (Optional): This convenient tool simplifies the process of creating uniform fabric yo-yos. However, you can absolutely make beautiful yo-yos without this gadget, using a simple hand-sewing technique.
- Basic Sewing Supplies: Don’t forget your sewing machine (or hand-sewing needle), coordinating thread, fabric scissors, an iron, and plenty of pins.
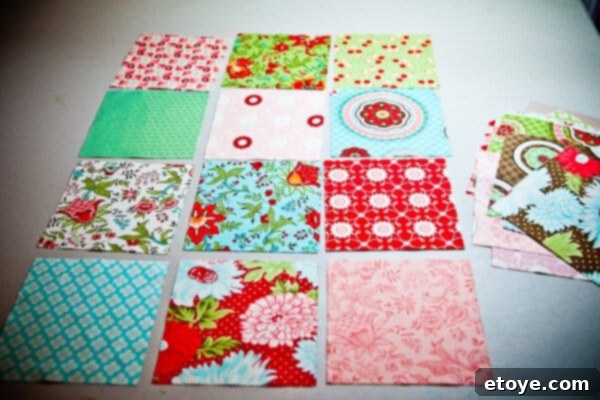
The creative journey begins with laying out your fabric squares. Each kitchen towel will feature a decorative panel made from 3 squares wide and 4 squares long. Before you commit to sewing, take a moment to arrange your chosen Charm Pack squares on a flat surface. Experiment with different configurations until you achieve a pattern that pleases your eye. The beauty of coordinated charm packs is that almost any arrangement will result in an aesthetically pleasing design, making this step both simple and enjoyable.
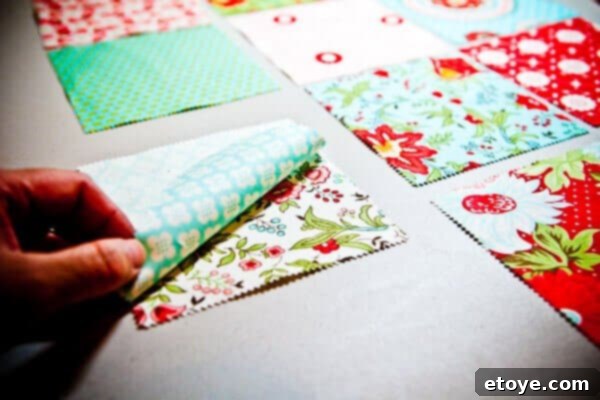
Now, let’s begin assembling the fabric top. Take your first two squares and place them right sides together, ensuring their edges are perfectly aligned. This is a fundamental step in quilting, where “right sides together” means the patterned or ‘good’ sides of the fabric are facing each other, ready to be sewn.
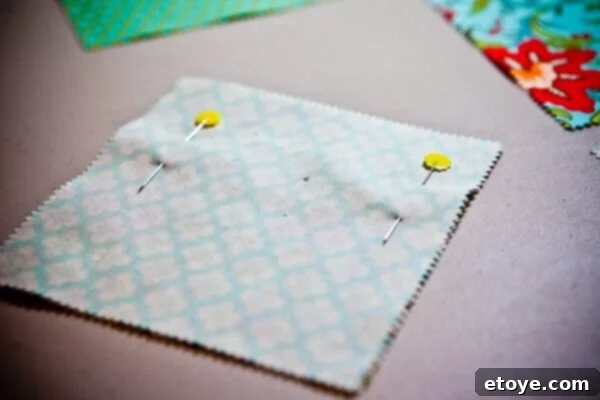
Secure the aligned edges with sewing pins. Proper pinning is crucial for preventing the fabric from shifting as you sew, helping you maintain a straight seam. Place pins perpendicular to the seam line, approximately every inch or two, especially at the beginning and end of your seam. This ensures stability and accuracy.
With your squares securely pinned, carefully sew them together along one side. Use a consistent seam allowance, typically 1/4 inch, which is standard for quilting projects. Maintain a steady pace and guide the fabric smoothly through your sewing machine to ensure a neat, straight stitch. Repeat this process until you have three separate strips, each composed of four squares sewn end-to-end.
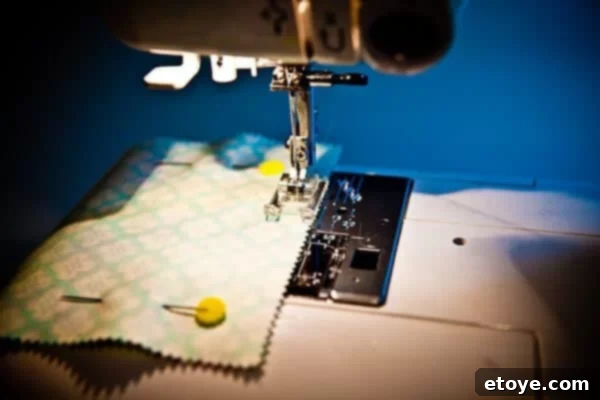
Once you’ve sewn your three strips of four squares each, pause before joining the strips. It’s time for a critical step in achieving a professional finish: pressing the seams. This seemingly small detail makes a significant difference in the final look and durability of your towel.
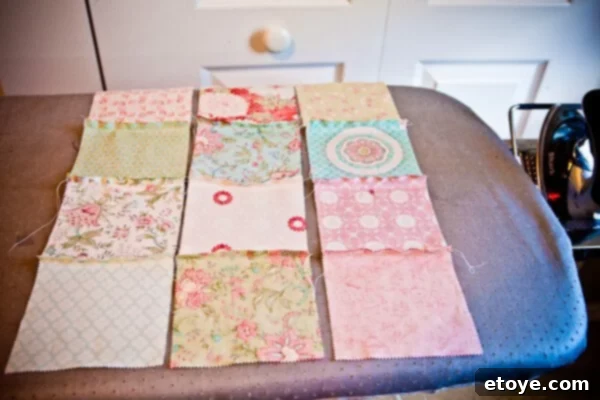
My mother-in-law, a seasoned quilter, shared a valuable tip: press your seams in alternating directions. Instead of opening up each seam and pressing it flat, press the seam allowance to one side. For the next seam, press it to the opposite side. This technique, often called “nesting seams,” helps reduce bulk where seams meet and creates a stronger, flatter connection when you join your strips, resulting in a much more durable and professional-looking finished product.
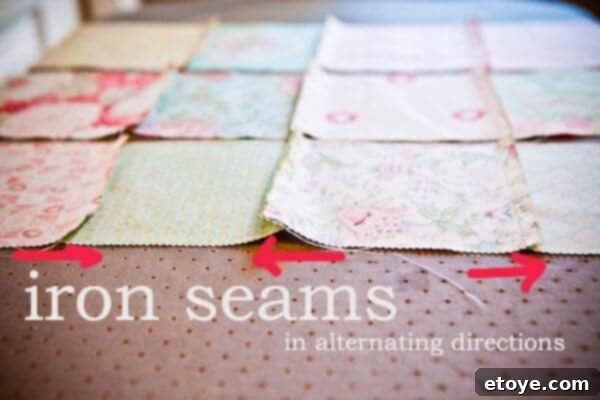
Now, it’s time to join your rows. Place Row 1 over Row 2, right sides together. Carefully align the seams you just pressed, ensuring they interlock or “nest” neatly. Pin these intersecting seams first to hold them flat, then pin the rest of the length. This meticulous pinning prevents the seams from shifting and creating bulk. Sew the two rows together with your consistent seam allowance.
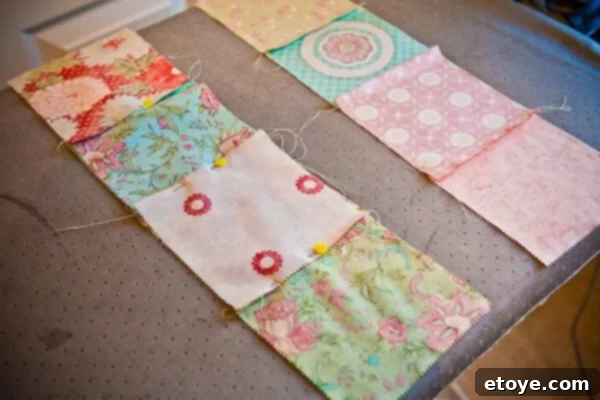
Congratulations, you now have two rows beautifully sewn together! The pattern is beginning to take shape. Take a moment to admire your progress, then prepare to attach the third and final row following the exact same careful pinning and sewing process, ensuring your seams nest perfectly.
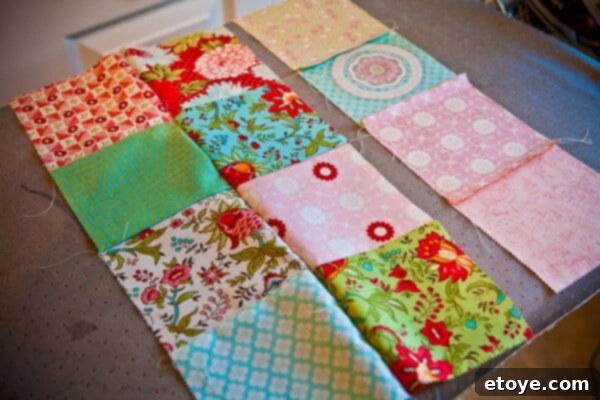
Once the third row is attached, your fabric panel is almost complete. You’ll see the full pattern emerge, a testament to your careful work. This panel will be the decorative front of your kitchen towel, ready for the next steps.
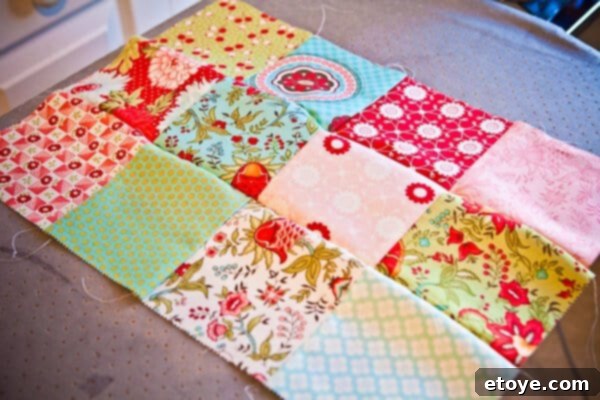
And there you have it – a perfectly assembled quilt top, serving as the vibrant face of your future kitchen towel. The uniform squares and carefully sewn seams create a cohesive and appealing design, ready for the final touches.
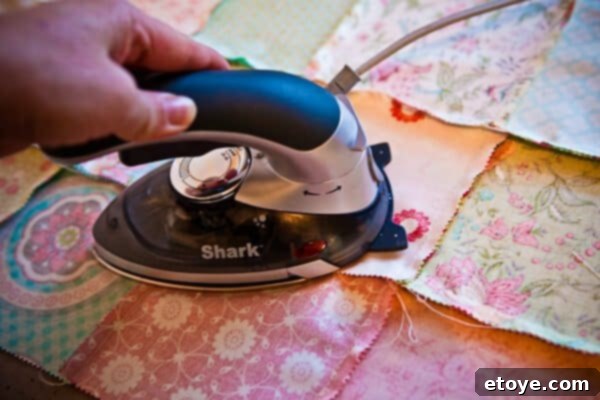
To ensure a crisp and professional finish, iron all the seams again. This time, focus on ensuring they lie completely flat, both on the back (where the seam allowances are visible) and the front of the fabric. A well-pressed piece is easier to work with and looks much more refined.
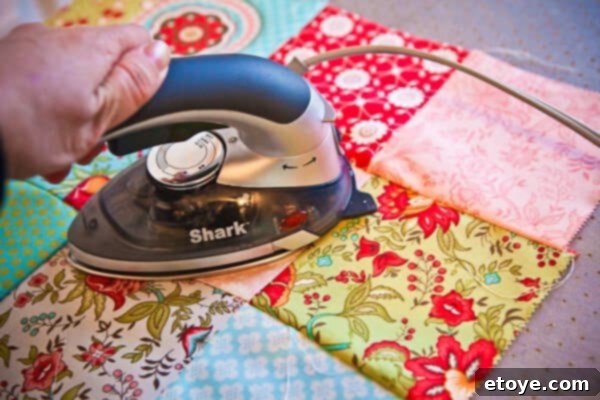
Don’t forget to turn your fabric panel over and give the right side a thorough press as well. This final pressing step helps to set the stitches, flatten any remaining puckers, and gives your fabric top a clean, polished appearance, ready for the next exciting phase: embellishment!
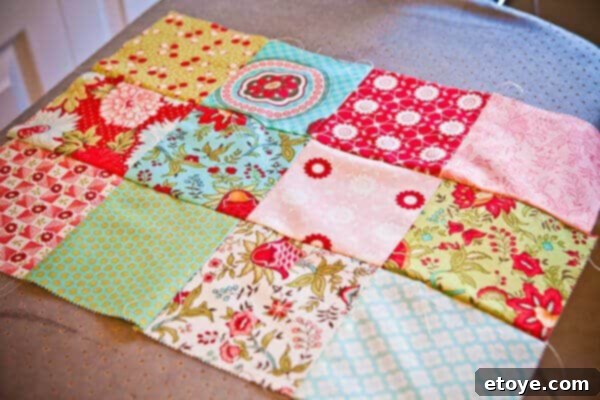
Now that your fabric top is neatly pressed and assembled, it’s time to unleash your creativity with embellishments. This is where you can truly personalize your kitchen towel, adding unique touches with fabric yo-yos and delicate embroidery. These decorative elements will transform your functional towel into a charming piece of art.
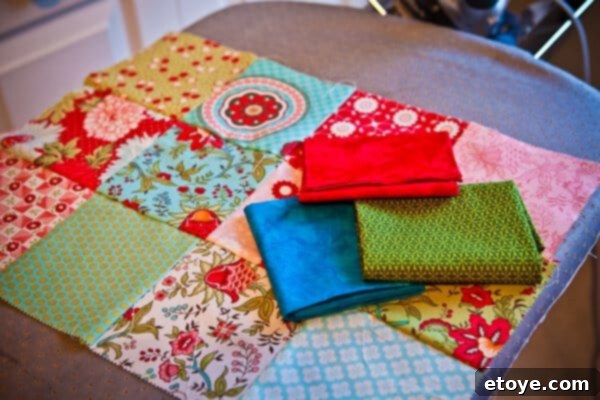
For my towel, I’ve selected three coordinating colors for my fabric yo-yos, which will serve as the “flower” heads in our design. If you’re new to making these delightful little fabric circles, you can find a detailed tutorial on how to make fabric yo-yos here. They are a simple yet effective way to add texture and a whimsical touch to any project.
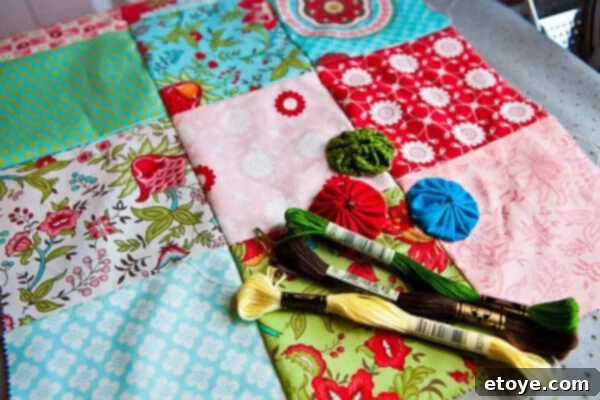
Carefully arrange your fabric yo-yos on your quilt top until you are happy with their placement. These will be the focal points, acting as charming flowers. Next, visualize where you’ll embroider a brown stem, green leaves, and a scattering of pretty yellow French knots around one of the yo-yos to complete the floral design. Use a temporary fabric marker or chalk to lightly sketch your stem and leaf lines if desired.
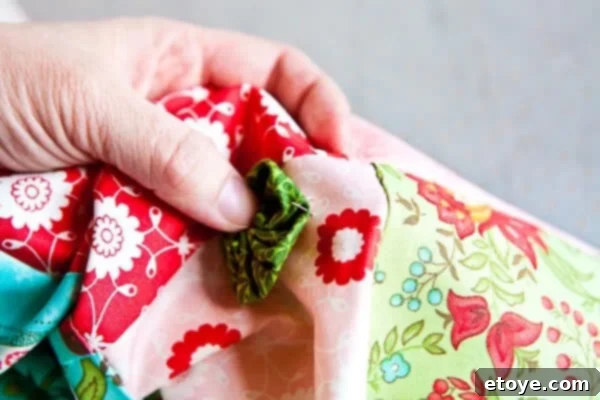
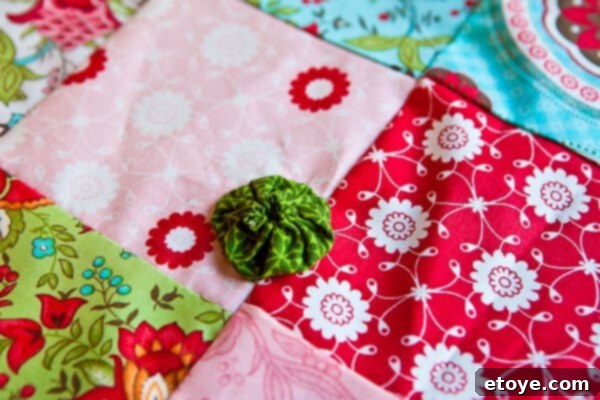
Using a regular sewing needle and matching thread, hand-sew each yo-yo securely onto the fabric. Employ small, neat stitches, going all the way around the circumference of each yo-yo. Remember, these towels are designed for practical use and will need to withstand repeated cycles in the washer and dryer, so sturdy attachment is key. Ensure your stitches are firm but virtually invisible for a polished finish.
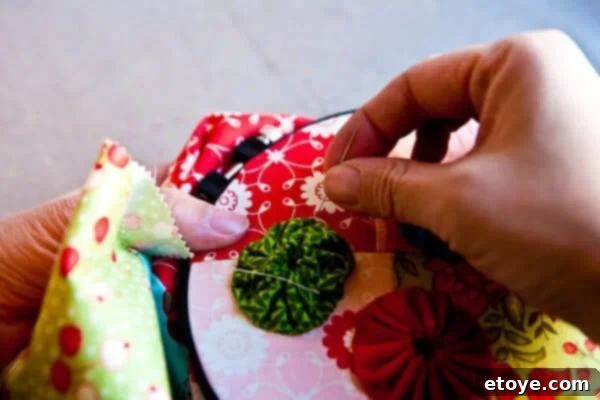
To create the delightful yellow French knots, an embroidery hoop can be beneficial for keeping the fabric taut, though it’s not strictly essential. Thread your large-eyed needle with the yellow embroidery floss. Bring the needle up through the fabric from the back to the front at the desired starting point for your knot.
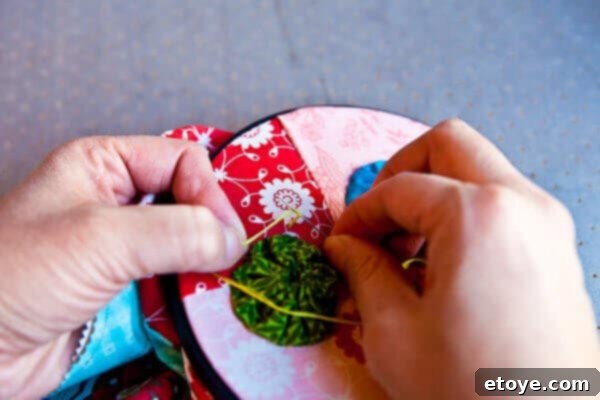
Hold the needle very close to where the floss emerges from the fabric. With your other hand, wrap the embroidery floss around the needle two or three times. The number of wraps determines the size of your knot – two wraps for a smaller knot, three for a slightly larger one. Ensure these wraps are as close to the fabric surface as possible. Crucially, keep the floss taut with your non-dominant hand; do not release your grip!
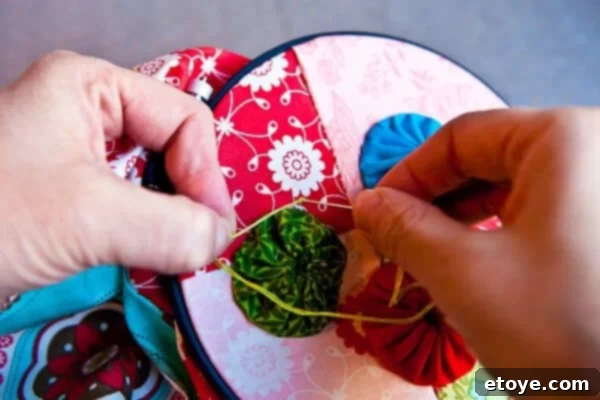
Now, carefully insert the needle back into the fabric, very close to – but critically, not into – the original hole where the floss first emerged. This distinction is vital for forming a distinct knot. Continue to hold the floss taut with your non-dominant hand as you prepare to pull the needle through.
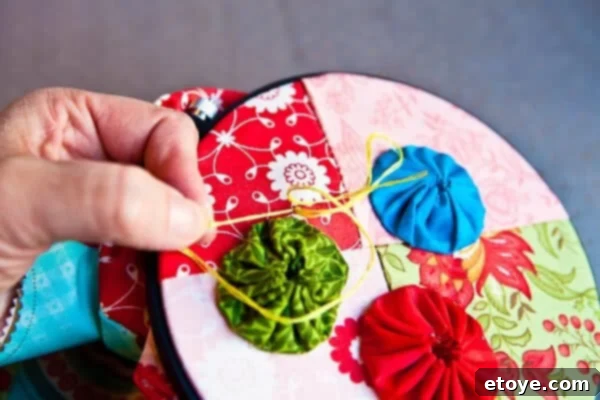
As you slowly pull the needle and thread completely through the fabric to the back, maintain that firm, taut grip on the floss with your other hand. This tension is what allows the wrapped floss to form a neat, tight knot on the fabric surface. If you release the tension too early, the knot may loosen or unravel.
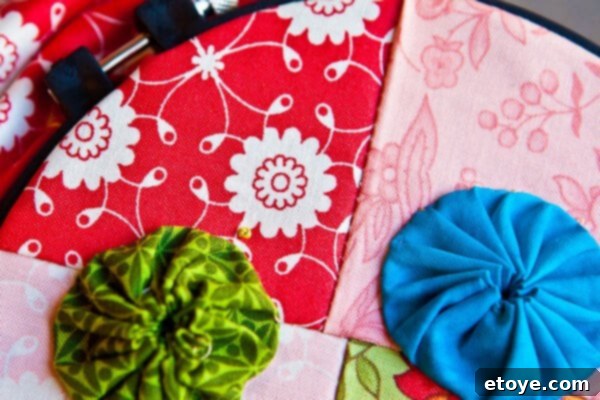
And there you have it – a perfectly formed French knot! This small, textured stitch adds a beautiful decorative touch, often used to simulate flower centers or tiny berries. With practice, you’ll master this elegant embroidery stitch, enhancing the visual appeal of your projects.
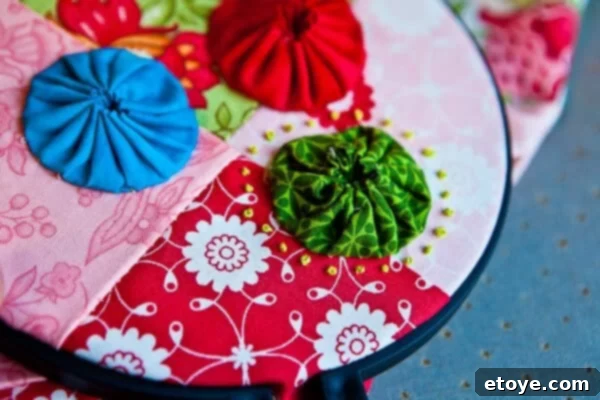
Continue making French knots, carefully placing them all the way around the yo-yo “flower” you’re embellishing. The repetition will help you perfect your technique, resulting in a charming cluster of textured dots that adds depth and visual interest to your design. Remember to keep your tension consistent for uniform knots.
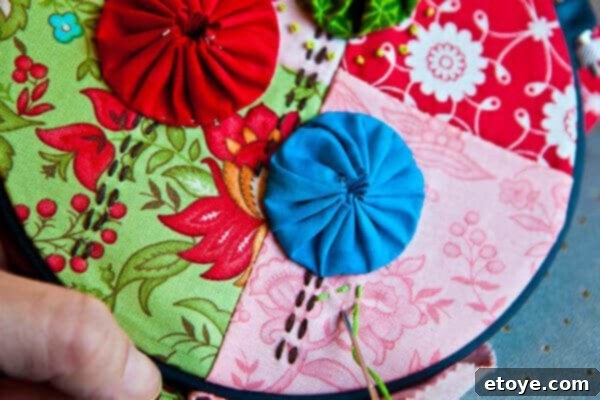
With your yo-yos and French knots in place, it’s time to add the finishing touches to your floral design by embroidering the stems and leaves. Using green and brown embroidery floss, create simple straight stitches or backstitches to form elegant stems and delicate leaves beneath your yo-yo flowers. These details bring the entire embellishment together, giving it a natural and organic feel.
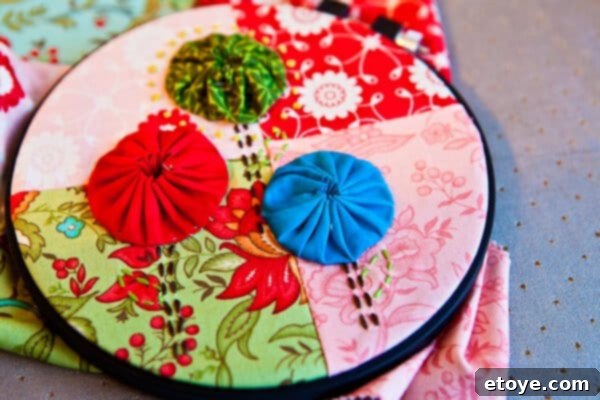
Your beautifully embellished fabric top is now complete! The combination of vibrant quilt squares, charming yo-yos, and intricate embroidery creates a truly unique and personalized design. This decorative panel is ready to be joined with the absorbent terry cloth backing, transforming it into a functional and aesthetically pleasing kitchen towel.
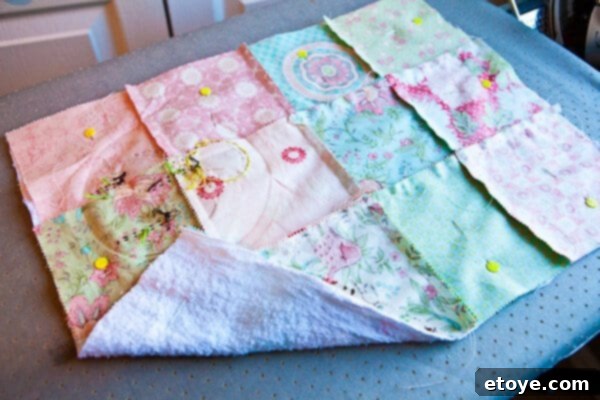
Now, let’s assemble the towel. Place your embellished fabric top and the terry cloth piece right sides together, carefully aligning all the edges. Pin them securely around the perimeter. Pay extra attention to corners and ensure both layers lie flat to prevent any puckering or shifting during sewing. This meticulous pinning is key to a smooth, finished edge.
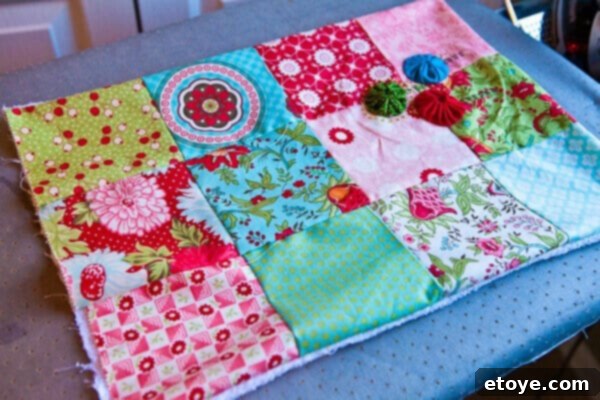
Sew along two long sides and one short side of the towel, leaving one short side completely open. Use a 1/4-inch to 1/2-inch seam allowance. Once sewn, carefully trim the corners (without cutting into your stitches) to reduce bulk. Then, turn the towel right side out through the open end. The fabric top and terry cloth will now be on the outside, resembling a neat pillowcase! This simple construction method is versatile; indeed, this could easily be adapted to make adorable decorative pillows.
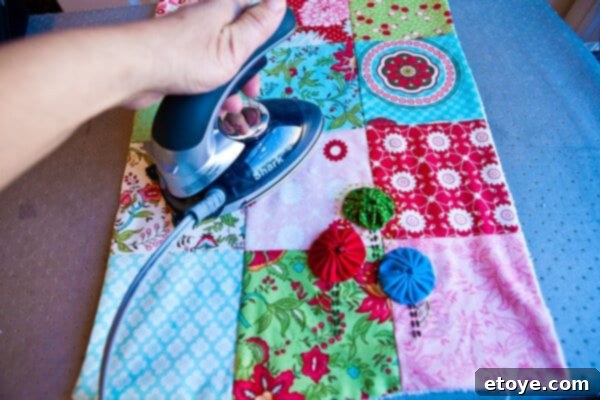
Once your towel is turned right side out, gently push out the corners to create crisp points. Then, take it to your ironing board and press all the sewn edges flat. This pressing step is crucial for achieving a neat, professional finish, removing any wrinkles, and helping the fabric and terry cloth layers settle smoothly together.
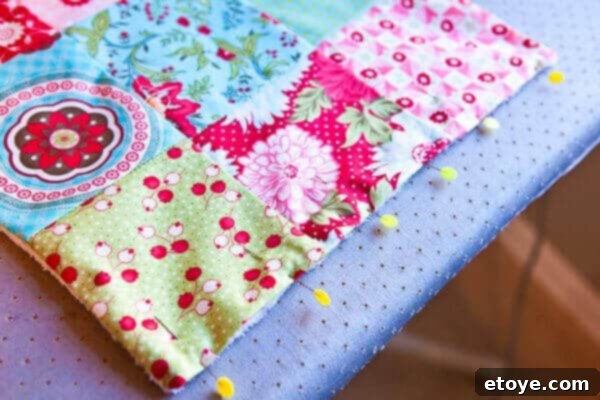
Address the remaining open edge. Fold the raw edges inward by approximately 1/4 inch and press firmly. This creates a clean, finished edge that matches the other three sides. Pin this folded edge securely, preparing it for the final closing stitch. A crisp fold here will contribute significantly to the overall professional appearance of your handmade towel.
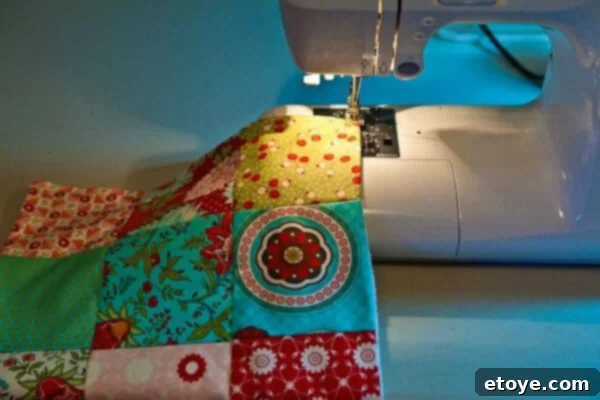
Now, carefully sew along that folded edge, very close to the fold – ideally, at an 1/8-inch seam allowance. Strive to keep this stitch as even and straight as possible, as it will be visible. After closing the open edge, continue sewing all the way around the entire perimeter of the towel with the same 1/8-inch seam allowance. This continuous topstitch not only provides a beautiful decorative border but also significantly strengthens the towel’s edges, preventing the fabric from shifting, fraying, or “tweaking” after repeated use and washings, ensuring long-lasting durability.
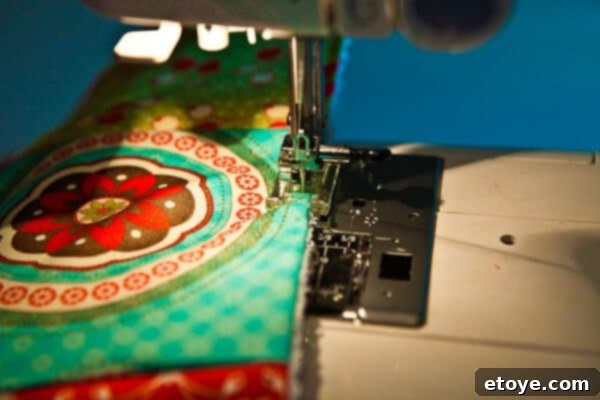
The final step in ensuring the longevity and structural integrity of your towel is to reinforce the seams on the fabric top. Sew directly over each horizontal seam line that joins your quilt squares. This extra line of stitching helps to stabilize the fabric panel, preventing the individual squares from pulling apart or shifting over time, especially with regular use and frequent washing.
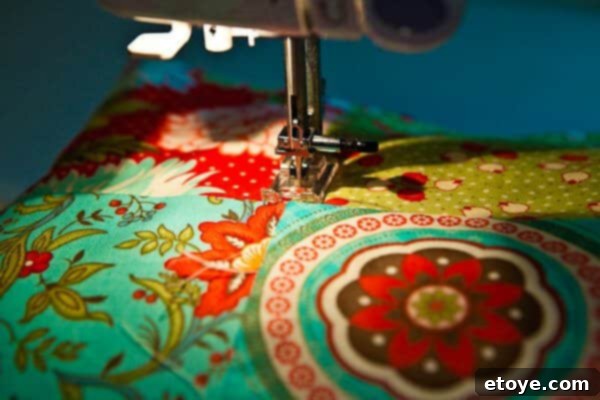
Execute this reinforcing stitch along all horizontal seams, starting from one edge of the towel and continuing to the other. Maintain a straight line, carefully guiding your fabric to follow the existing seam. This not only adds strength but also contributes to the neat, finished look of the quilted front.
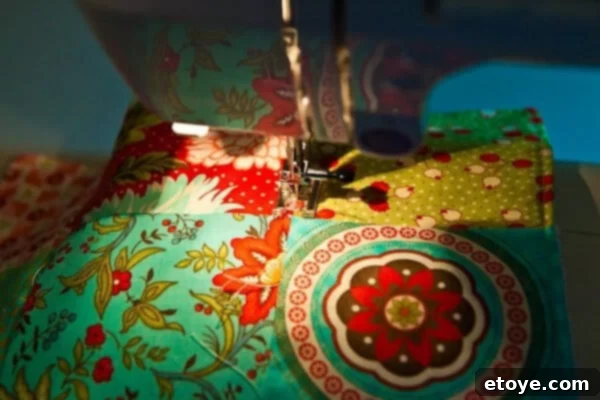
You can even sew over the vertical seams if you desire extra reinforcement, ensuring the entire quilt top is securely stitched. However, be mindful of any embellished areas, such as your yo-yos and embroidery.
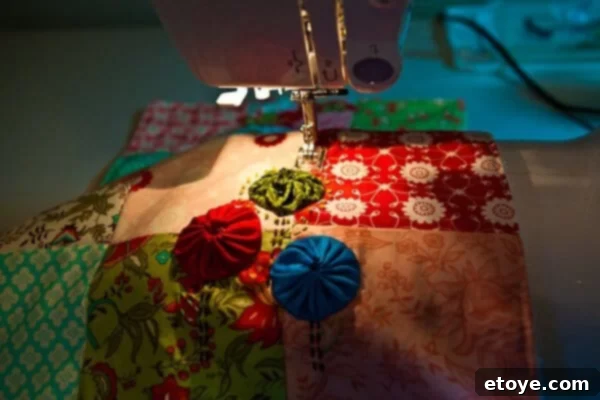
When you encounter a yo-yo or embroidered section, simply stop your needle, lift your presser foot, and skip over the embellished area. Restart your stitching on the other side of the embellishment. This ensures you reinforce the underlying fabric without sewing directly through or damaging your delicate handiwork, maintaining the integrity of both the structure and the decoration.
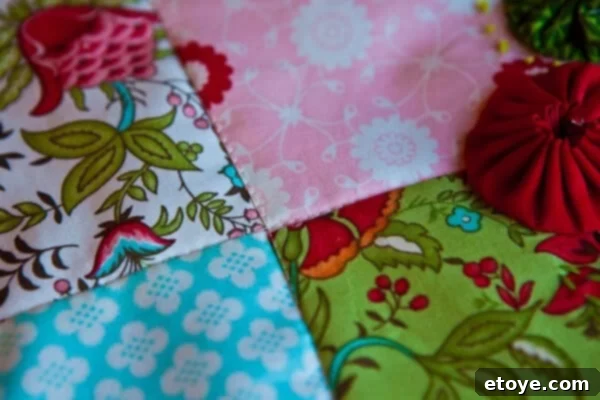
The result is a beautifully constructed and robust handmade kitchen towel. The reinforcing stitches provide additional durability, guaranteeing that your towel will stand up to the rigors of daily use and frequent laundering while maintaining its shape and charm. You’ve now completed a truly functional and decorative piece!
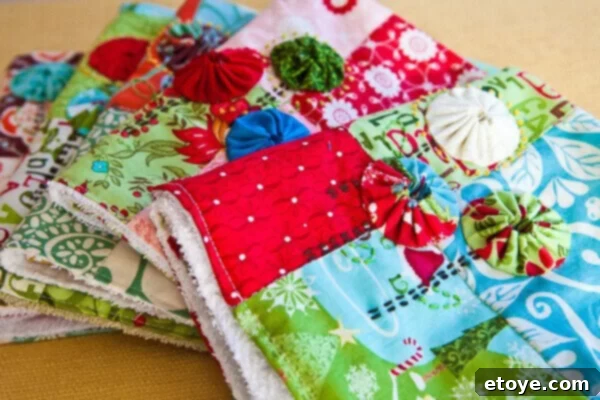
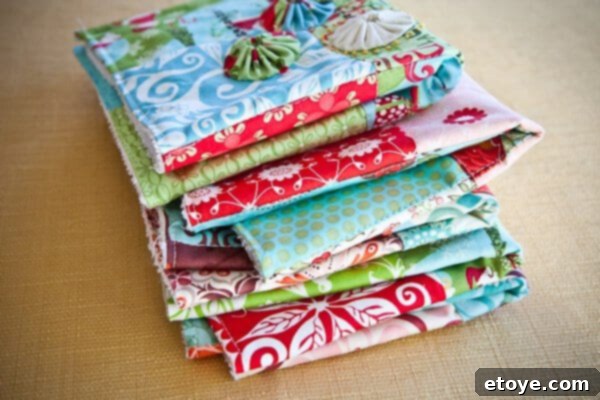
These handmade kitchen towels are not just practical; they are a delightful expression of creativity. We enjoyed crafting several of them using festive Christmas charm packs, making them perfect holiday gifts. Imagine the joy of presenting a set of these custom-designed towels, knowing the care and personal touch that went into each one. They are also wonderful additions to your own kitchen, adding a splash of personality and handcrafted charm.
***
If you’ve enjoyed making these towels and are looking for more fun projects using yo-yos, why not try creating beautiful Christmas Tree Ornaments? These charming embellishments are incredibly versatile and can be incorporated into a wide variety of crafts, adding a whimsical touch to any seasonal decoration or gift.
