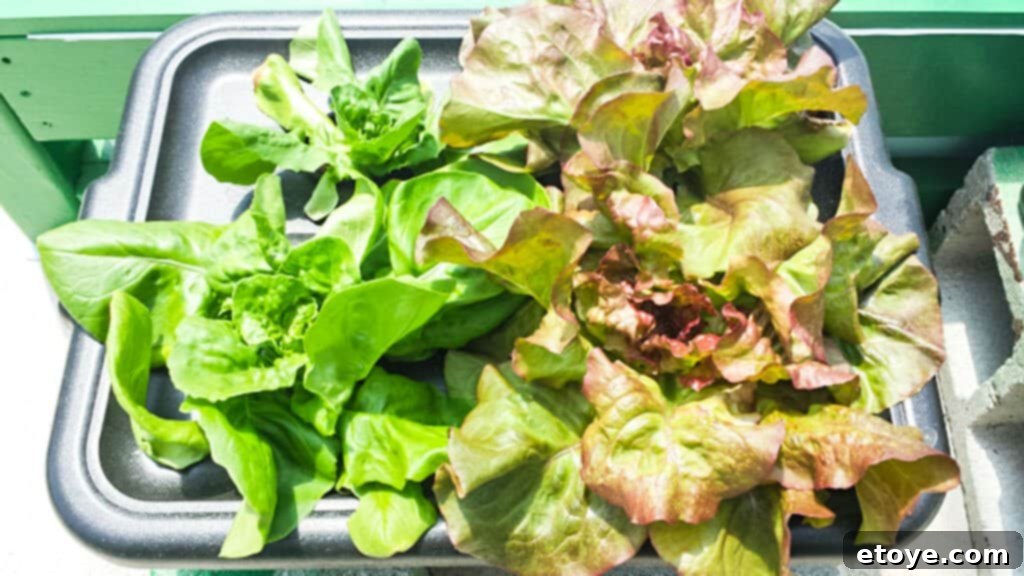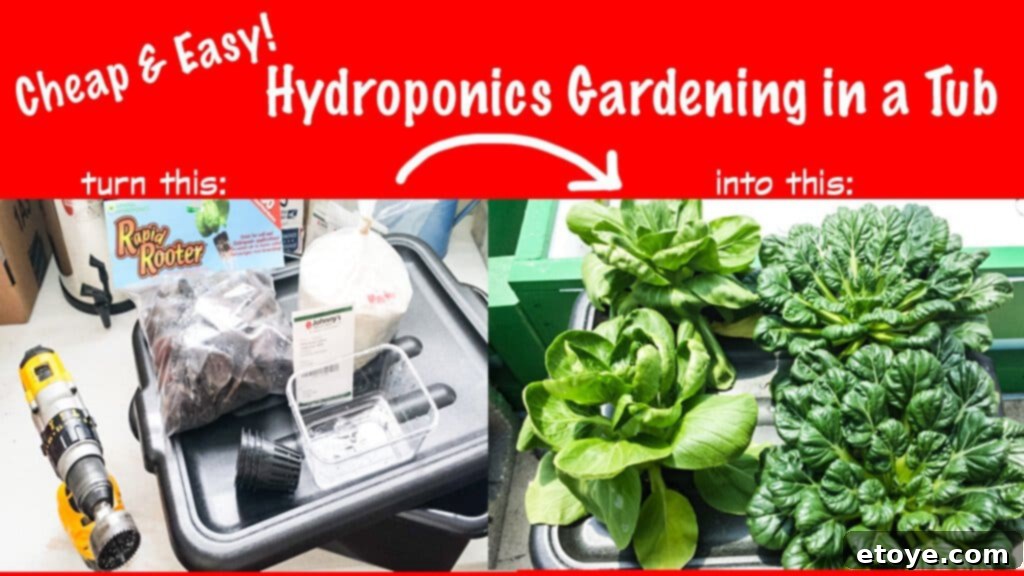
Are you fascinated by the idea of growing your own fresh produce but intimidated by complex gardening methods? Think hydroponic gardening is too difficult, expensive, or requires elaborate equipment? Think again! This comprehensive guide will show you how to set up a thriving hydroponic garden using nothing more than a simple plastic tub and a few readily available, affordable supplies. Get ready to discover the magic of “Tub Hydroponics” – a revolutionary, “set it and forget it” approach that makes growing leafy greens accessible to everyone, regardless of experience.
Forget the intimidating setups involving pumps, circulating water, and constant monitoring. Our method, often referred to as the Kratky method, is a passive hydroponic system that simplifies the entire process. We’re about to transform a collection of basic items into a flourishing mini-farm, yielding beautiful, healthy leafy vegetables right in your home or garden.
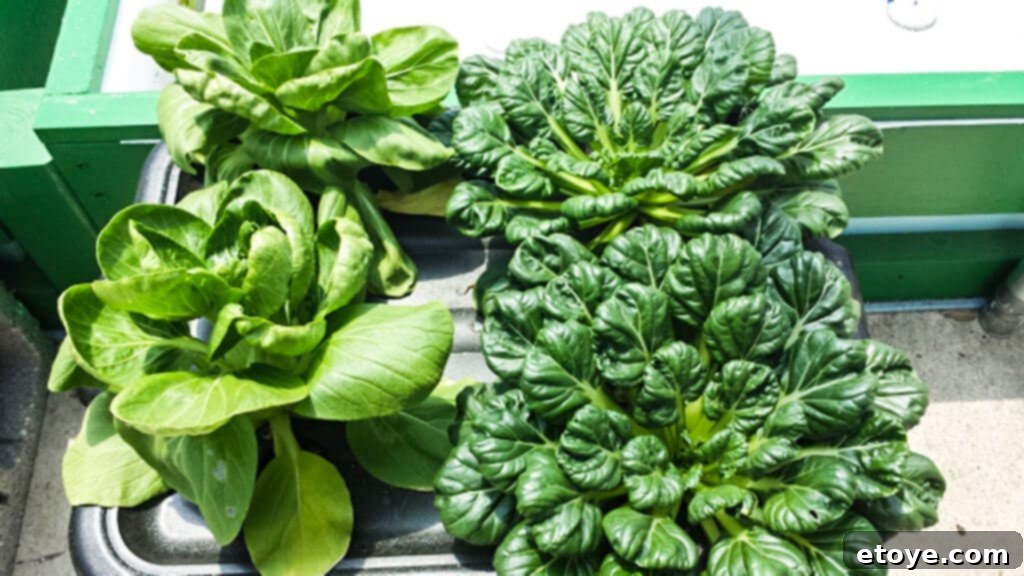
Into these fabulous looking leafy vegetables:
Beyond Aquaponics: Discovering the Simplicity of Tub Hydroponics
While I personally have a deep appreciation for the integrated ecosystem of aquaponics – where fish, bacteria, and plants create a beautiful, self-sustaining cycle – its inherent complexity can be a barrier for beginners. Aquaponics involves intricate balance, rigorous monitoring, and significant initial setup. It’s a vast subject, and for our first hands-on growing guide, I wanted to find something far simpler, something that removes the “excuses” for not starting your own garden.
By removing the fish and bacteria from the equation, we’re left with hydroponics. Traditionally, hydroponic systems still involve a substantial discussion around reservoirs, water pumps for circulation, air pumps for oxygenation, and precise nutrient solution management. Add to that considerations for lighting, potential salt buildup, constant pH adjustments, and regular nutrient solution additions and replacements, and it’s easy to feel overwhelmed. This level of detail can quickly boggle the mind, causing many aspiring growers to retreat before they even begin. Just like trying to convince my kids to clean their room, too much complexity leads to shutdown!
There had to be an easier way, a truly “set it and forget it” method. My research led me to the ingenious Kratky method, developed by B.A. Kratky from the University of Hawaii. This non-circulating hydroponic technique is the foundation of our Tub Hydroponics system, simplifying plant cultivation to its bare essentials: plants, water, and nutrients.
The Kratky Method Explained: Nature’s Own Hydroponics
The brilliance of the Kratky method lies in its elegant simplicity. Imagine a container filled with nutrient-rich water, sealed with a lid. A young plant seedling is placed in a net pot, which then sits in a hole in the lid. Crucially, the bottom of the net pot is submerged in the nutrient solution. As the plant begins to absorb water and nutrients, it sends out roots to access more of this vital sustenance. Over time, the water level in the container naturally drops, creating an air gap between the remaining nutrient solution and the base of the net pot.
This air gap is where the magic happens. The plant, needing oxygen for its roots, develops specialized “oxygen roots” that grow horizontally within this moist, oxygen-rich environment. These roots are distinct from the primary roots that remain submerged, allowing the plant to absorb both water/nutrients and oxygen simultaneously. The continuous, passive drop in water level ensures a perfect balance, preventing the plant from drowning while always providing access to the nutrient solution. There’s no need for pumps, electricity, or active monitoring of water levels beyond the initial setup. This ingenious design allows you to fill the reservoir once and let the plant grow from seedling to harvest, truly embodying the “set it and forget it” philosophy.
This means we can achieve simple, easy, and incredibly productive hydroponic gardening right in a tub – what we proudly call Tub Hydroponics!
Getting Started: Your Tub Hydroponics Journey
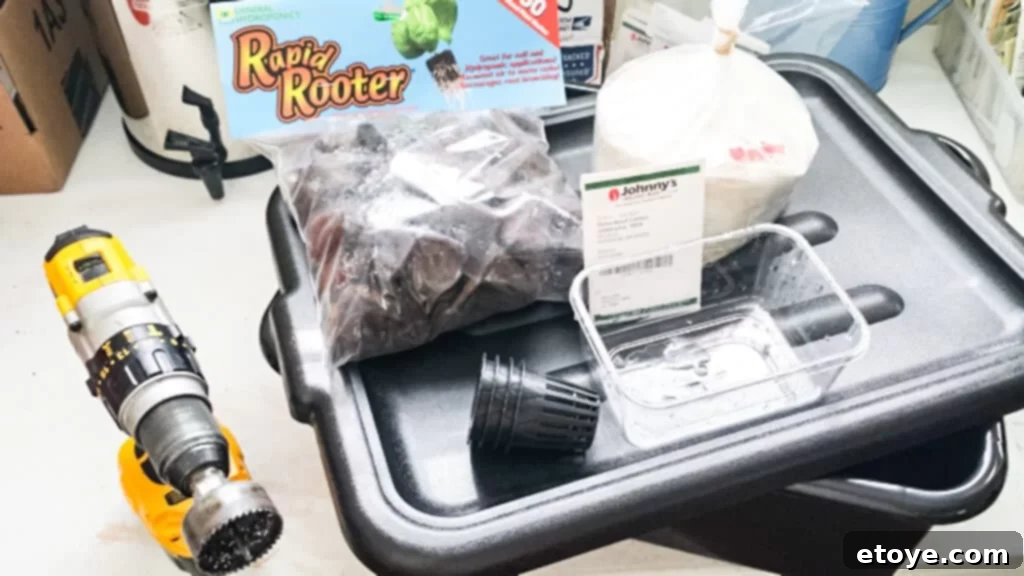
Let’s gather the essential materials you’ll need to embark on your Tub Hydroponics adventure:
- 1 – 7-gallon opaque plastic tub with a sturdy lid
- 4 – 2-inch net pots
- Rapid Rooter grow plugs (or similar seed starting media)
- High-quality leafy green seeds (e.g., lettuce, bok choy)
- Balanced hydroponic fertilizer specifically for leafy greens
- A small plastic tray (for seed starting)
- A 2-inch hole saw (with a drill)
- Water (preferably rainwater or filtered tap water)
- A utility knife (for trimming plastic burrs)
- pH testing kit and pH adjusters (up/down solutions or lemon juice)
Choosing the Right Tub: Essential Considerations
Not all tubs are created equal for hydroponic use. It’s crucial to select the right container to ensure the success and longevity of your system. For instance, I once purchased a tub from a local home improvement store that seemed perfect – a nice locking lid, good size, and affordable. However, upon closer inspection, I realized that the locking handles were secured by holes drilled through the tub’s sides. When filled to the appropriate level, these holes would have been below the water line, causing leaks and making the tub unusable for our purposes.
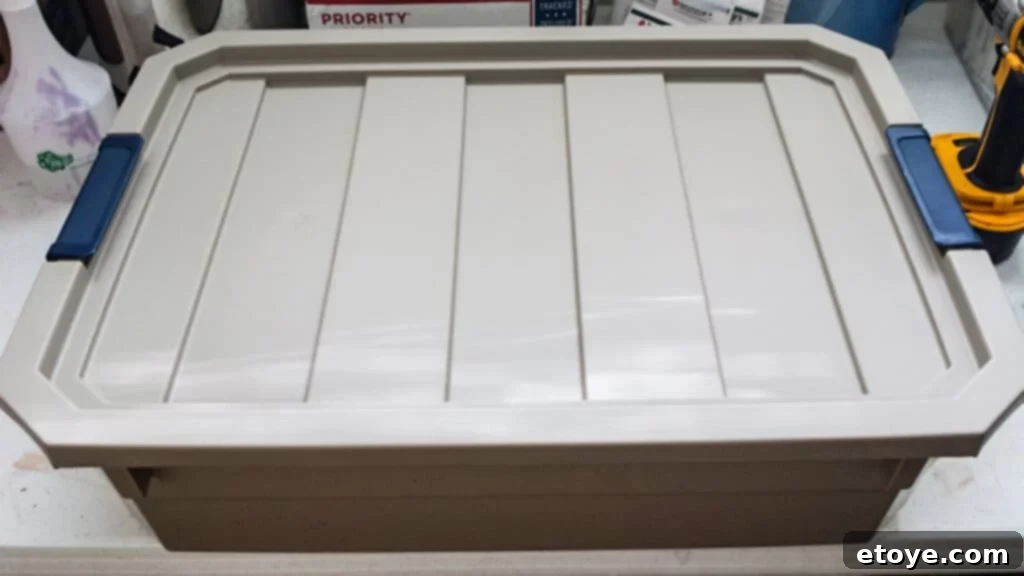
When I compared the net cup to the internal water level, it was clear that the net cup’s base would not consistently be in the water if filled past the holes, compromising the system.
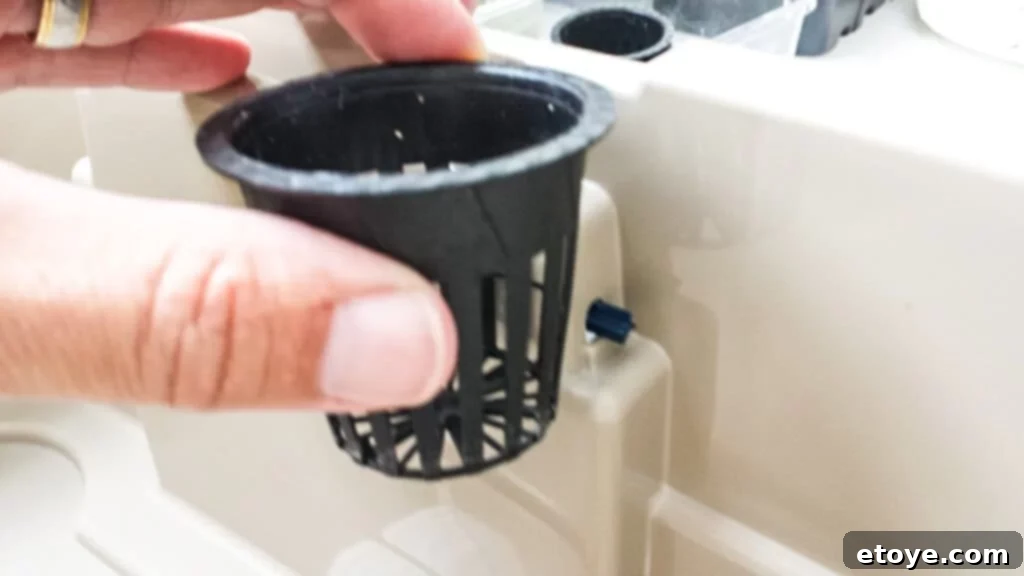
Therefore, I highly recommend using simple restaurant-style bus tubs with solid lids. These are ideal for several reasons: they are typically food-grade, designed for heavy-duty use, and their walls are thick enough to prevent bulging when filled with water. Look for tubs that are approximately 7 inches tall, as this depth provides sufficient nutrient solution for a full growth cycle without being excessively deep. Avoid clear or translucent tubs at all costs, as they allow light to penetrate the reservoir, leading to rapid algae growth. Algae compete with your plants for nutrients, can clog roots, and introduce undesirable pathogens – definitely bad news for your hydroponic system.
Let’s get on with building your Tub Hydroponics system!
Step 1: Preparing Your Tubs and Lids
Begin by taking your 2-inch hole saw and carefully drilling four evenly spaced holes in your tub lid. Proper spacing allows each plant ample room to grow without crowding.
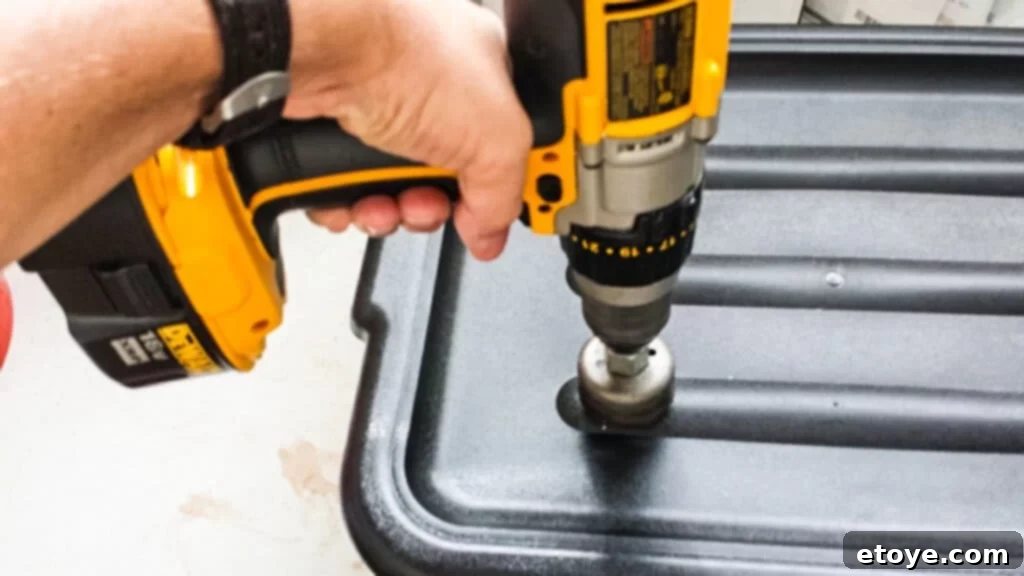
Many lids have subtle ribs or patterns; use these as a guide to ensure consistent spacing and alignment for a neat, functional setup.
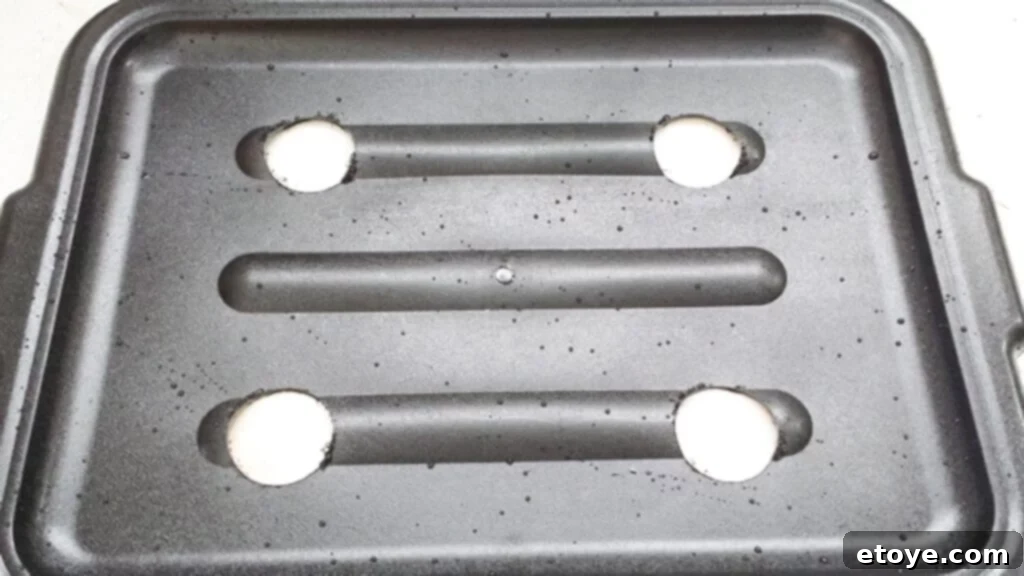
After drilling, you may find small plastic burrs around the edges of the holes. Use a utility knife to carefully trim these away, ensuring a smooth edge that won’t impede net pot placement or scratch your hands.
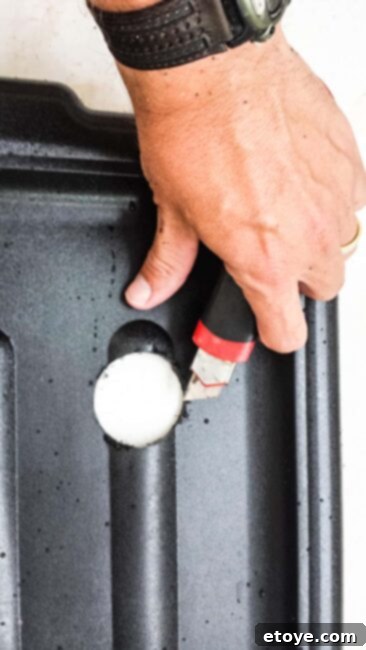
Once finished, set your lid and tub aside. And perhaps discreetly return that hole saw before its absence is noticed!
Step 2: Planting Your Seeds and Nurturing Seedlings
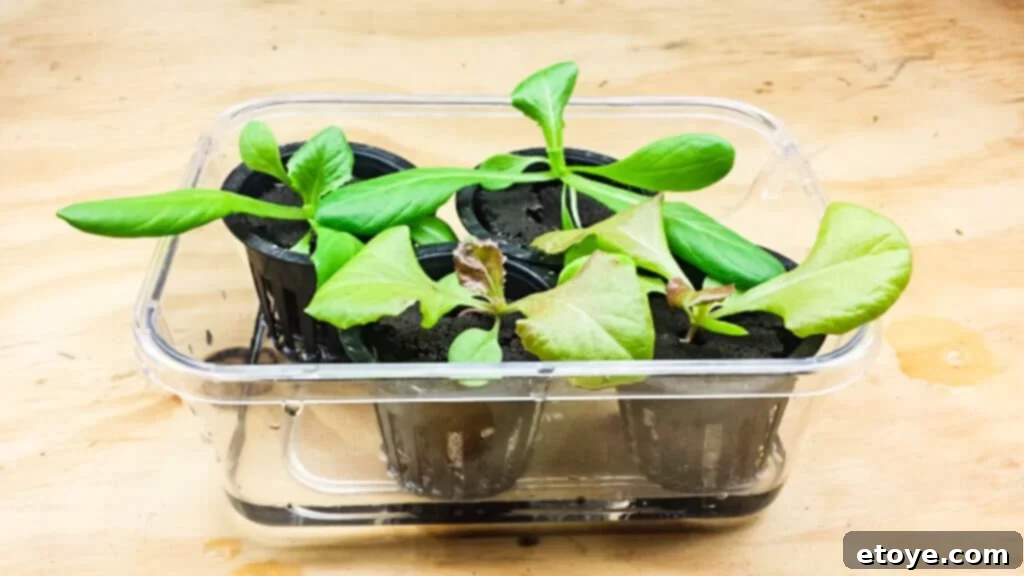
This crucial step lays the groundwork for healthy plants. Take four moist Rapid Rooter plugs and gently place them into your four net cups. If the plugs feel dry, soak them in water for a minute or two until thoroughly moist.
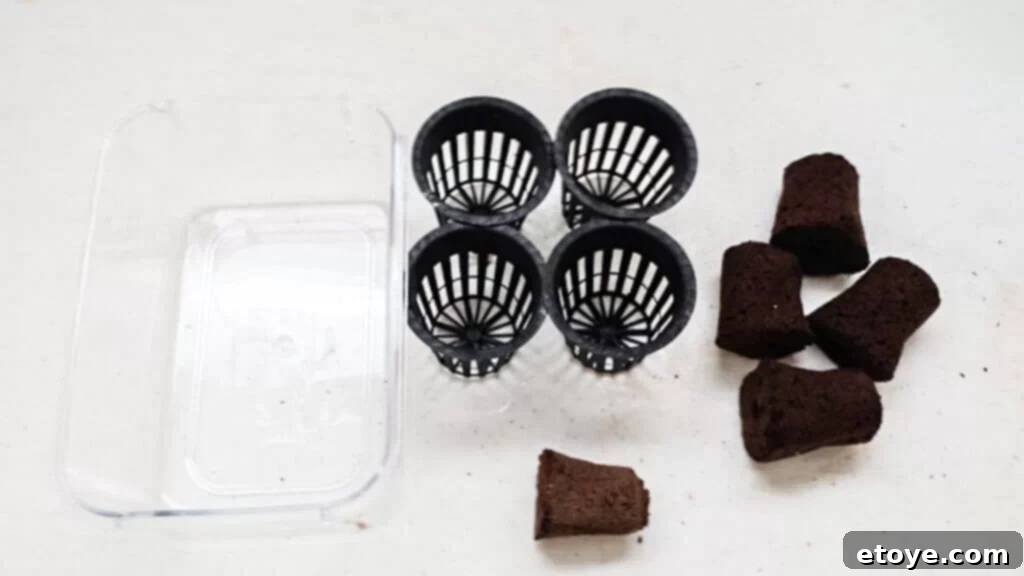
To secure the plugs, take a fifth plug (an old, dry one works perfectly) and break it into four small pieces. Gently slide one piece into each net cup alongside the full plug. This wedge will help hold the main plug steady and centered.
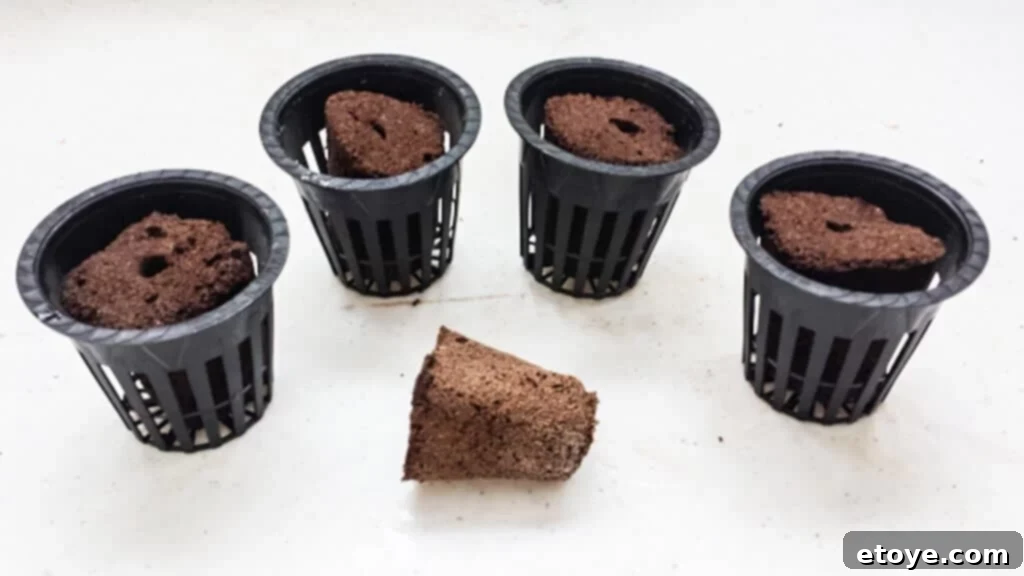
Now, carefully place two leafy green seeds into the pre-made hole of each Rapid Rooter plug. If the hole isn’t sufficiently open, use the tip of a pencil or a toothpick to gently widen it.
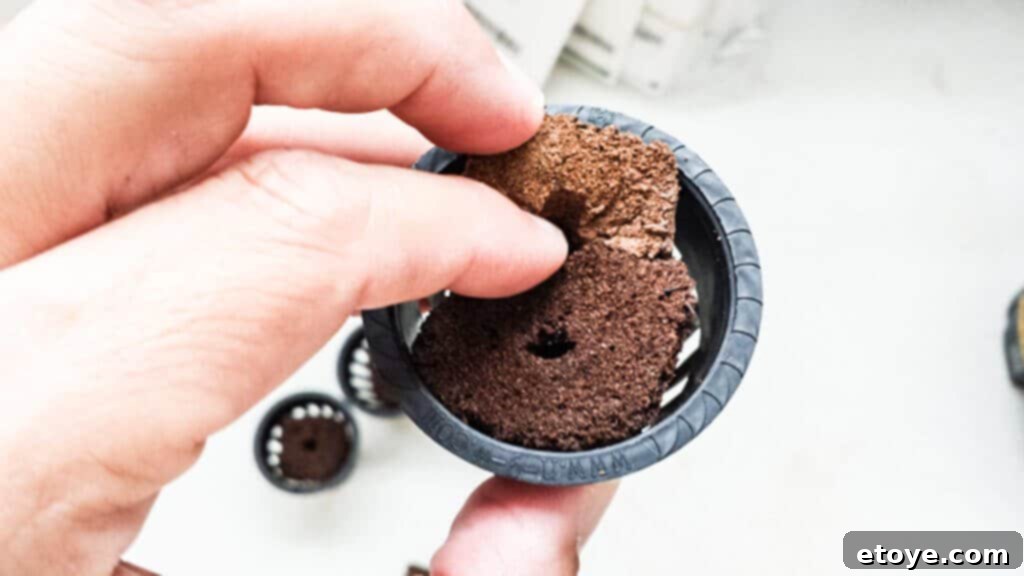
Place your four net cups in a shallow plastic tray and add about a quarter-inch of water to the tray. This provides essential moisture for germination via capillary action.
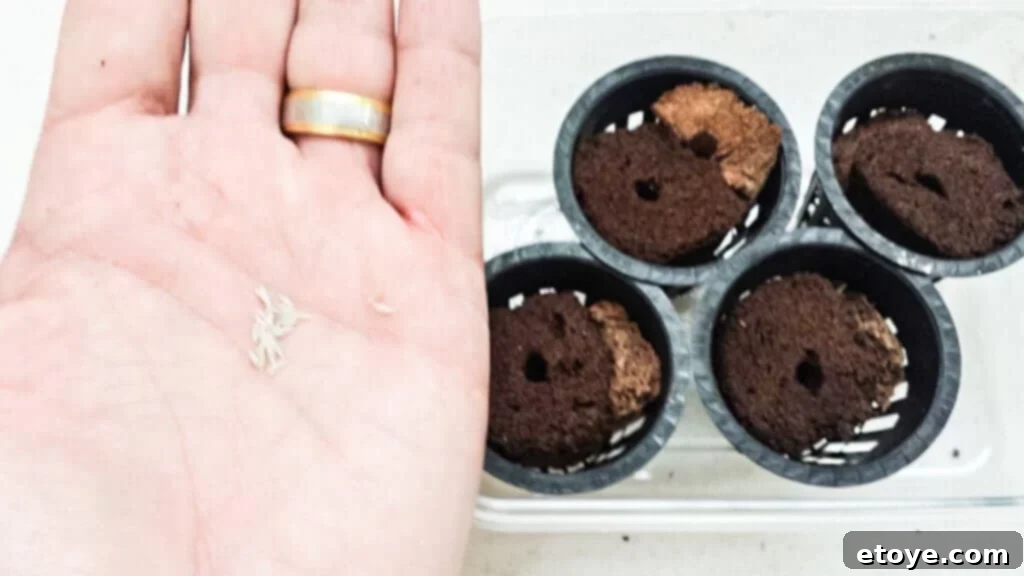
Cover the tray with a thick dishcloth or towel to create a dark environment, which is crucial for most seeds to sprout. Place it in a warm, dark spot for two to three days.
Once the seeds have sprouted and tiny seedlings emerge, move your tray into a well-lit area, maintaining the quarter-inch water level. Light is essential for photosynthesis and healthy initial growth.
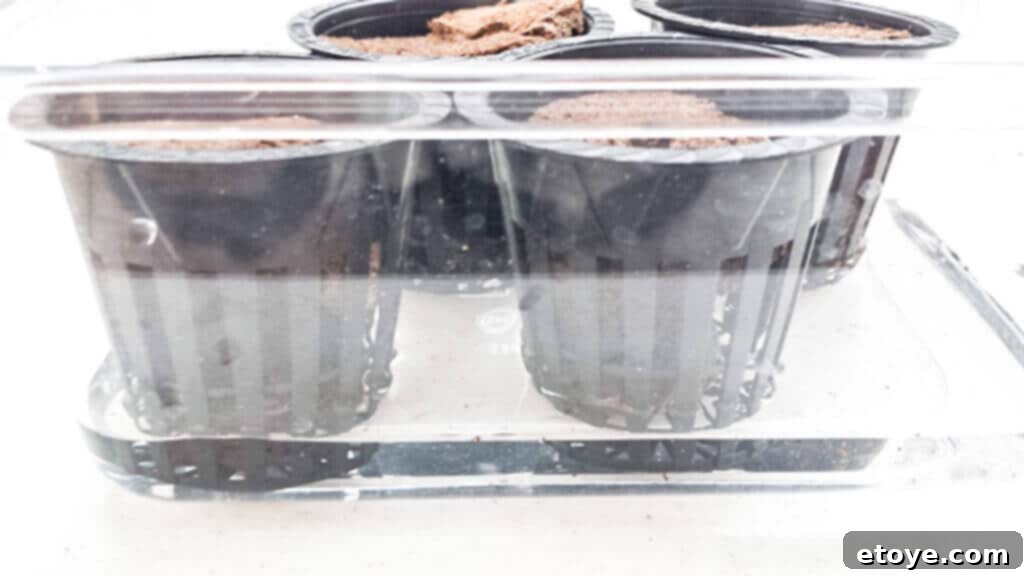
Around the seventh or eighth day, it’s time to “thin” your seedlings. Carefully remove the weaker of the two seedlings by pinching or cutting it off at the base. This ensures that each net pot has only a single, strong plant, allowing it to grow robustly without competition.
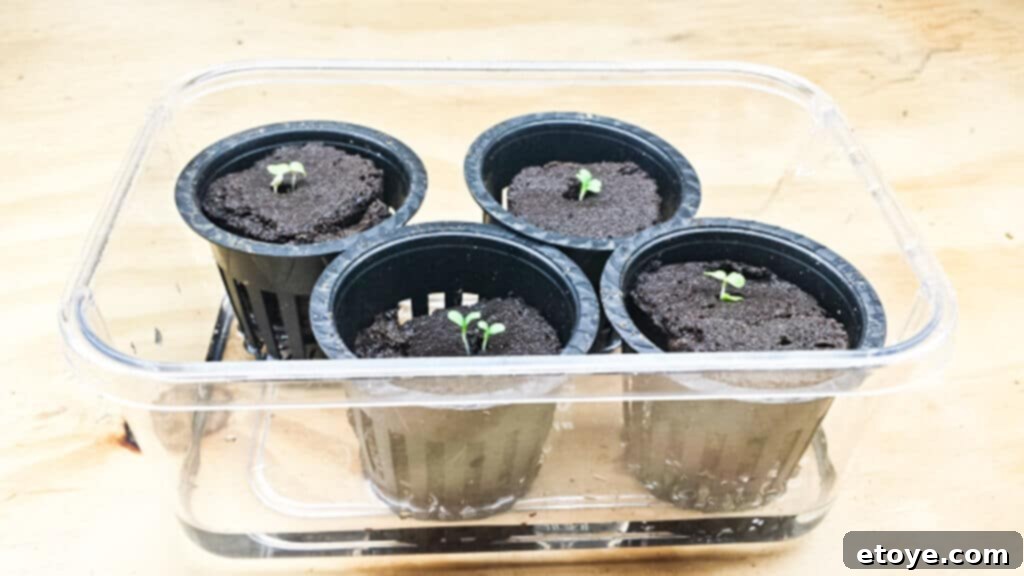
By the end of two weeks, your baby plants should have developed into healthy, vibrant young seedlings, ready for transfer to the main hydroponic system.
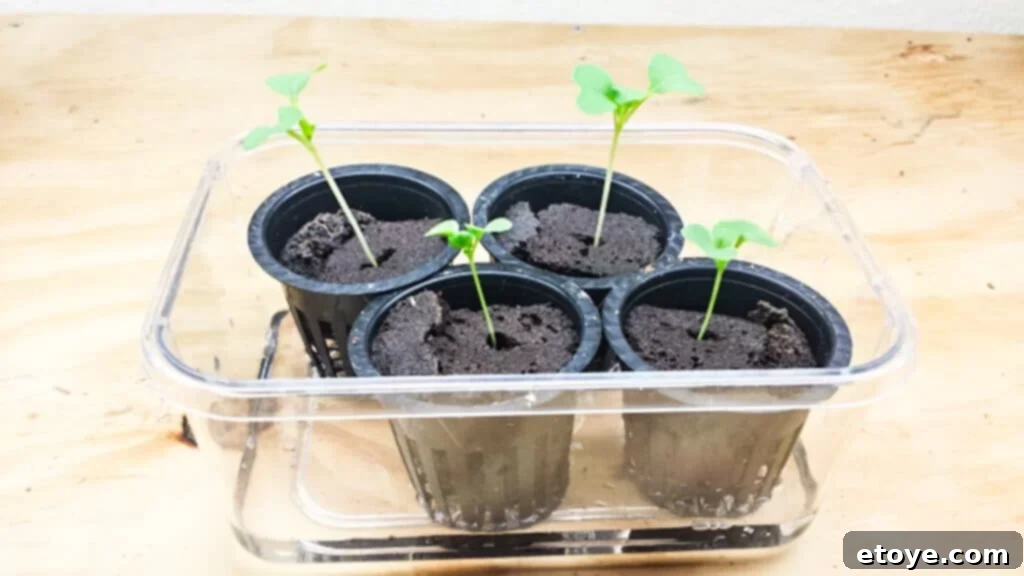
Step 3: Filling Your Tub with Water
To determine the correct initial water level, place an empty net cup into one of the holes in your lid. Position the lid onto the tub and begin filling the tub with water. Stop when approximately a quarter of an inch of water is visible at the very bottom of the net cup. This ensures the seedling has immediate access to water while leaving room for the crucial air gap to develop later.
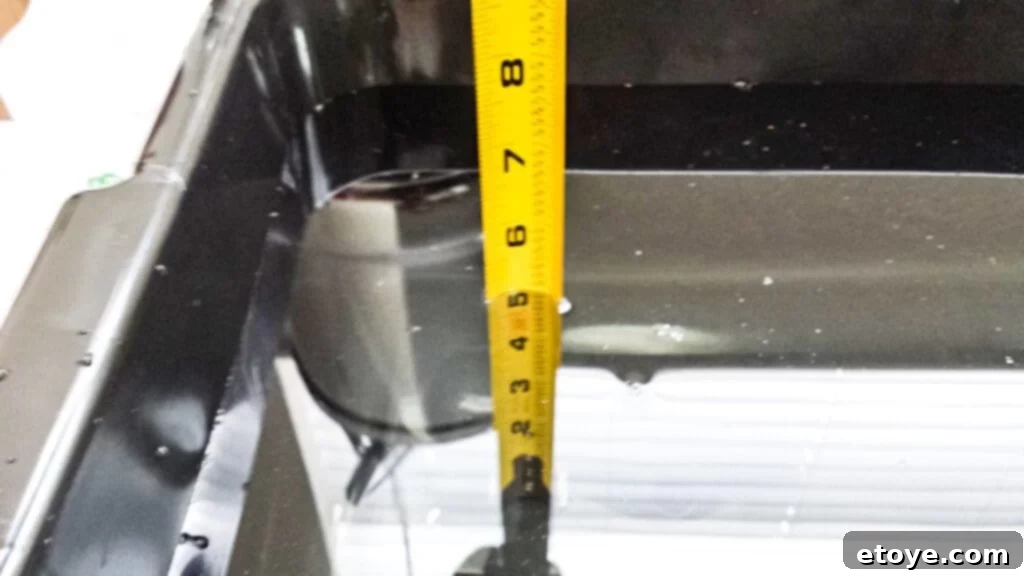
If you’re using a tub other than a standard 7-gallon size, you’ll need to calculate its water volume. A typical 7-gallon tub, when filled to the appropriate level for the Kratky method, will hold approximately 5 gallons of water. To determine the volume, remove the lid and measure the approximate length, width, and depth of the water.
Determining Water Volume: A Simple Calculation
Don’t let the math scare you – it’s quite straightforward!
First, multiply all three measurements together to find the cubic inches. For example, if your measurements are 18 inches long, 14 inches wide, and 5 inches deep:
18″ (length) x 14″ (width) x 5″ (depth) = 1260 cubic inches
Next, convert cubic inches to cubic feet by dividing by 1728 (since there are 1728 cubic inches in one cubic foot):
1260 cubic inches / 1728 = 0.729 cubic feet
Finally, knowing that one cubic foot holds 7.48 gallons of water, multiply your cubic feet by 7.48 to get the total gallons:
0.729 cubic feet x 7.48 = 5.4 gallons
This calculation ensures you know precisely how much nutrient solution to prepare for your system.
Step 4: Adding Nutrients to Your Water
Now, it’s time to infuse your water with the essential nutrients your plants will need to thrive. I recommend a specialized hydroponic blend, such as a Tomato Master Blend, combined with Calcium Nitrate and Magnesium Sulfate (commonly known as Epsom Salt). These three components provide a complete and balanced nutrient profile for robust leafy green growth.
The recommended ratios for a balanced solution are:
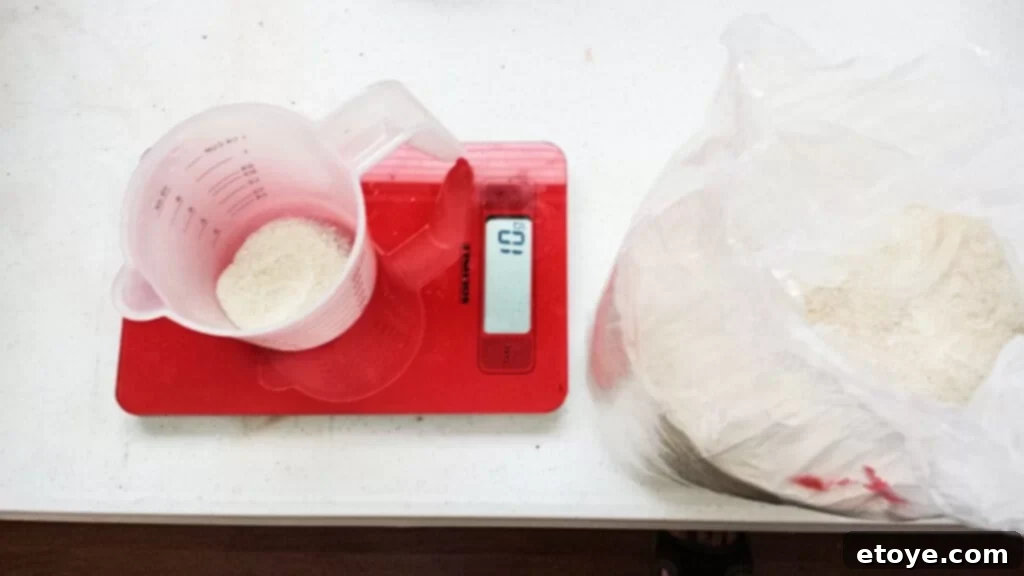
- 2 grams of Master Blend per gallon of water
- 2 grams of Calcium Nitrate per gallon of water
- 1 gram of Magnesium Sulfate per gallon of water
For a visual guide and further explanation of these ratios, I highly recommend checking out MHPgardener’s informative video, where he demonstrates the effectiveness of this specific mixture.
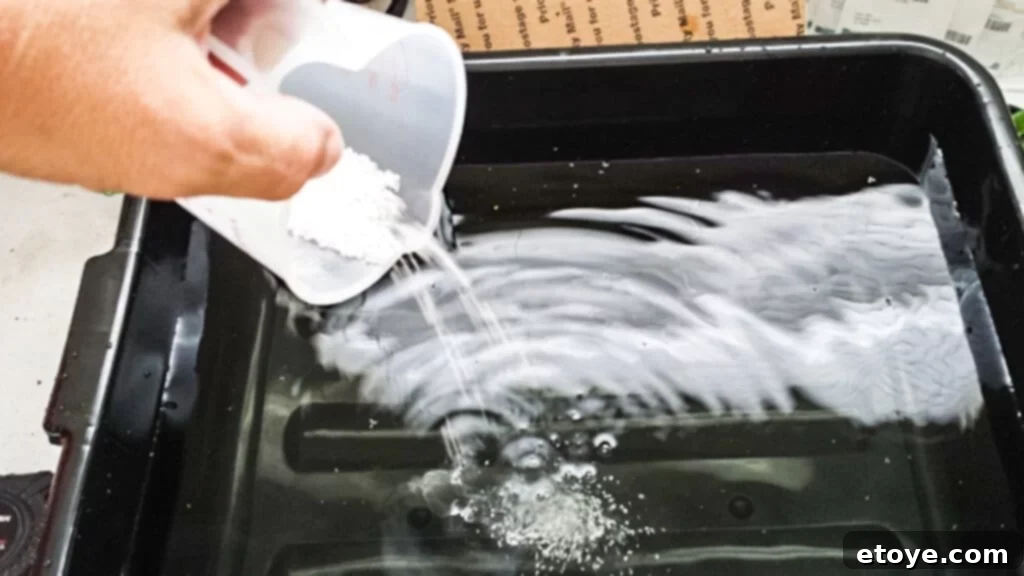
Carefully pour the measured nutrients into your tub. Use your hand to thoroughly mix the solution, ensuring the powders dissolve as much as possible. It may take some time for everything to fully dissolve, and it’s perfectly normal if a small amount of sediment settles at the bottom of the tub.
Step 5: Checking and Adjusting Water pH
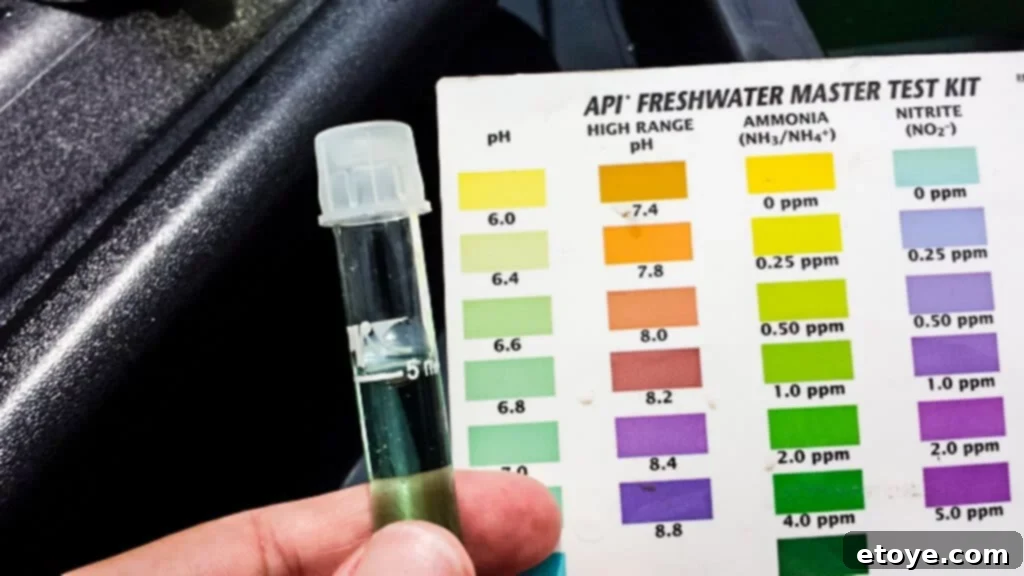
Maintaining the correct pH level is paramount for hydroponic success. The pH (potential hydrogen) measures the acidity or alkalinity of your nutrient solution, directly impacting how well your plants can absorb essential nutrients. The ideal pH range for most leafy greens in a hydroponic system is between 6.4 and 6.7.
Use a reliable pH testing kit to check your water and nutrient solution. If you’re using rainwater, you might find that adding the nutrients naturally brings the pH into the ideal range. However, if your tap water is on the higher (more alkaline) side, you might need to adjust it. A few drops of lemon juice can effectively lower the pH; add, mix, and retest until you reach the desired range. Alternatively, specialized hydroponic pH lowering solutions are readily available. The good news is that once you’ve determined the necessary adjustments for your specific water source, you typically won’t need to retest for future setups; simply add the same amounts of pH adjusters.
Step 6: Inserting Your Seedlings
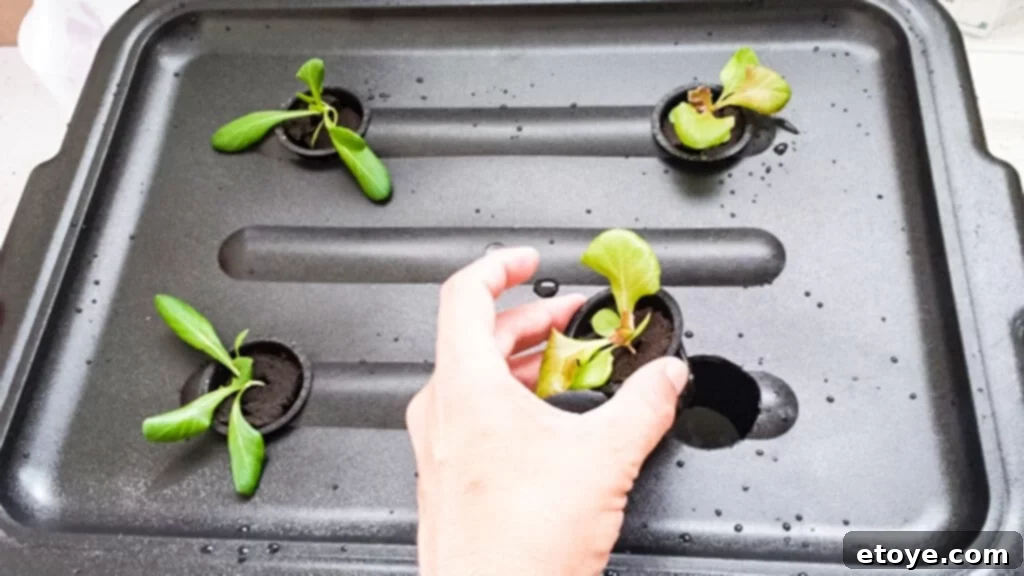
With your nutrient solution prepared and pH balanced, it’s time to introduce your young plants to their new home. Carefully place the lid back onto the tub. Then, gently drop your net cups, each containing a healthy seedling, into the holes you drilled in Step 1. Ensure the net cups are seated securely, with the roots of the seedlings just reaching the nutrient solution below.
Step 7: The Art of Waiting (and Watching!)
Place your newly assembled Tub Hydroponics system in a location that receives ample light. Natural sunlight is ideal, providing the full spectrum plants need. If natural light is limited, full-spectrum fluorescent tube lights (around 6500K) can be an excellent alternative. And then, the most challenging part for eager gardeners: wait. This is a “set it and forget it” system, meaning you should resist the urge to constantly check, add water, or otherwise disturb the setup. Let the passive system work its magic as the plants grow.
Here’s a glimpse of the typical growth progression:
First Day: Your young plants settle into their new environment, ready to begin their growth journey.
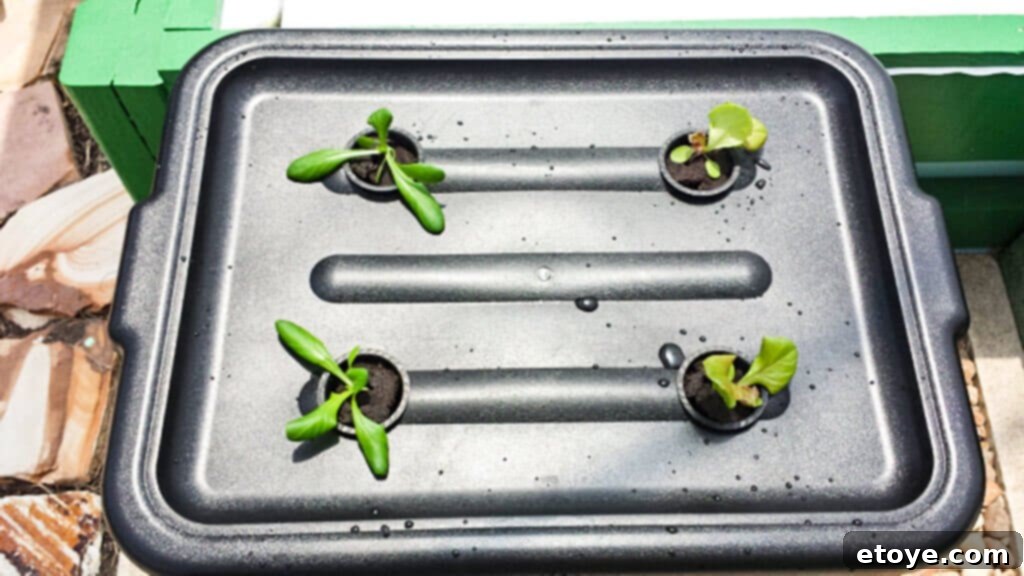
Beginning of Week 2: You should observe substantial growth, with leaves expanding and plants looking more robust.
Beginning of Week 3: Growth accelerates, and your plants will be going strong, filling out their designated spaces.
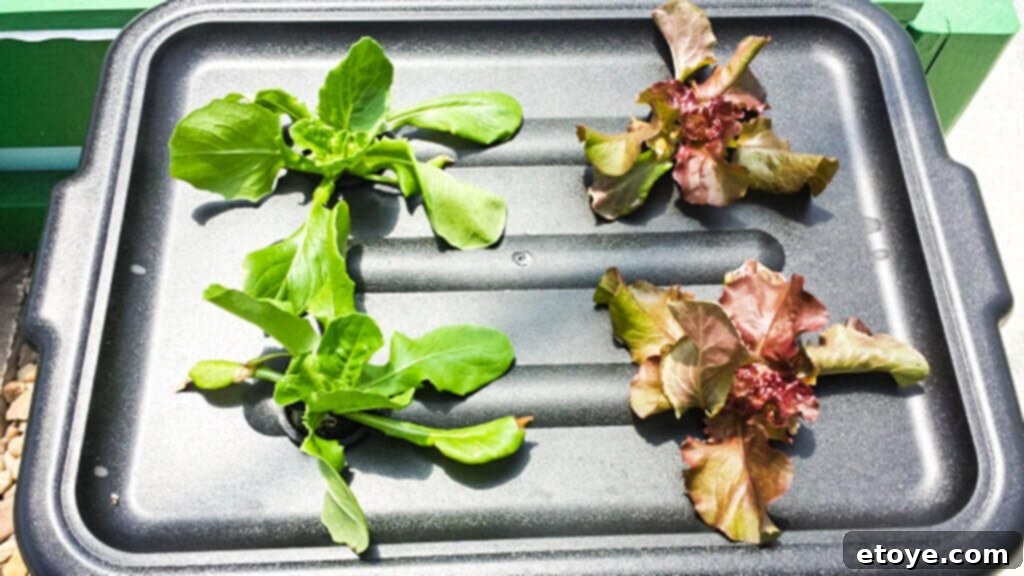
Beginning of Week 4: Your plants are nearly ready for harvest, with lush foliage and vibrant color.
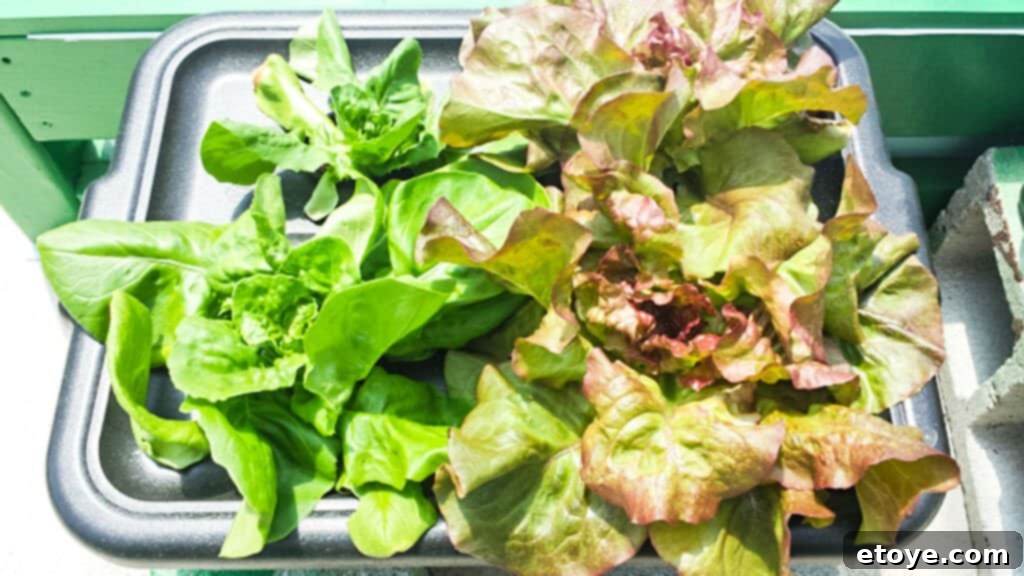
Beginning of Week 5: Varieties like Bok Choy and Tat Choy are typically mature and ready for harvest. Notice the significant leaf development!
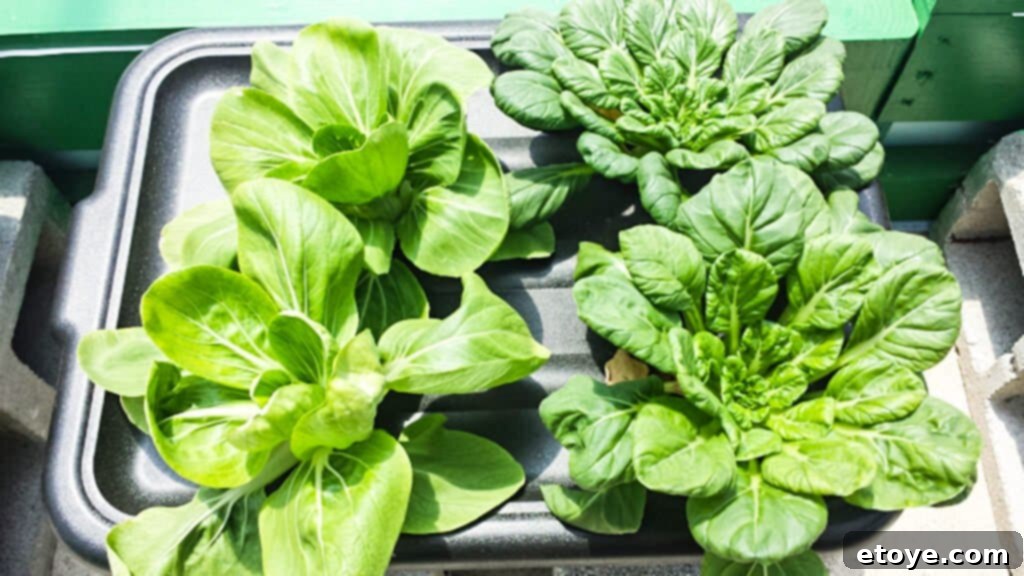
At 5 weeks, also observe the roots. You’ll see how much the nutrient solution level has dropped, confirming the plants’ absorption. The roots should appear healthy, white, and robust – a clear indicator of a thriving plant.
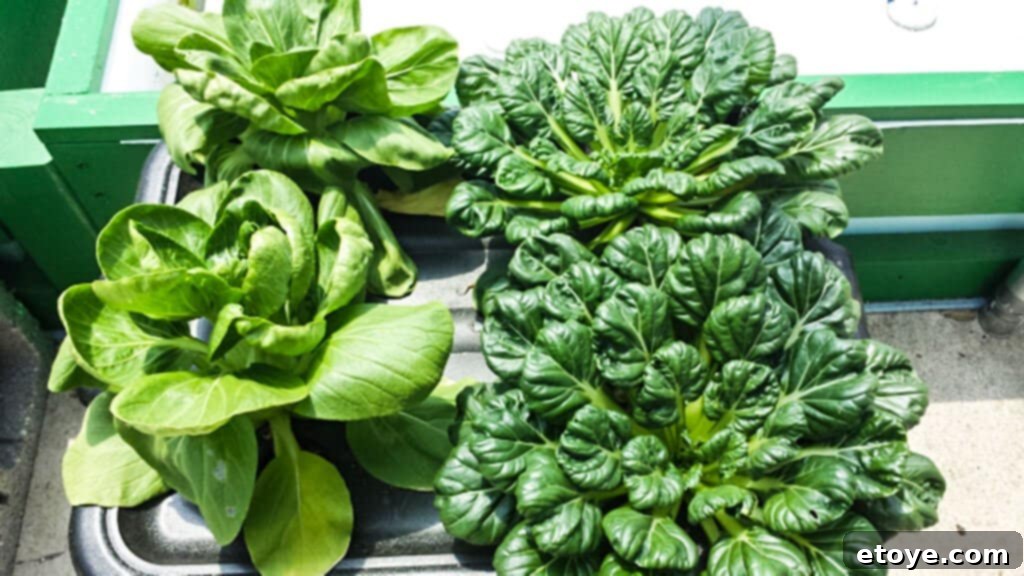
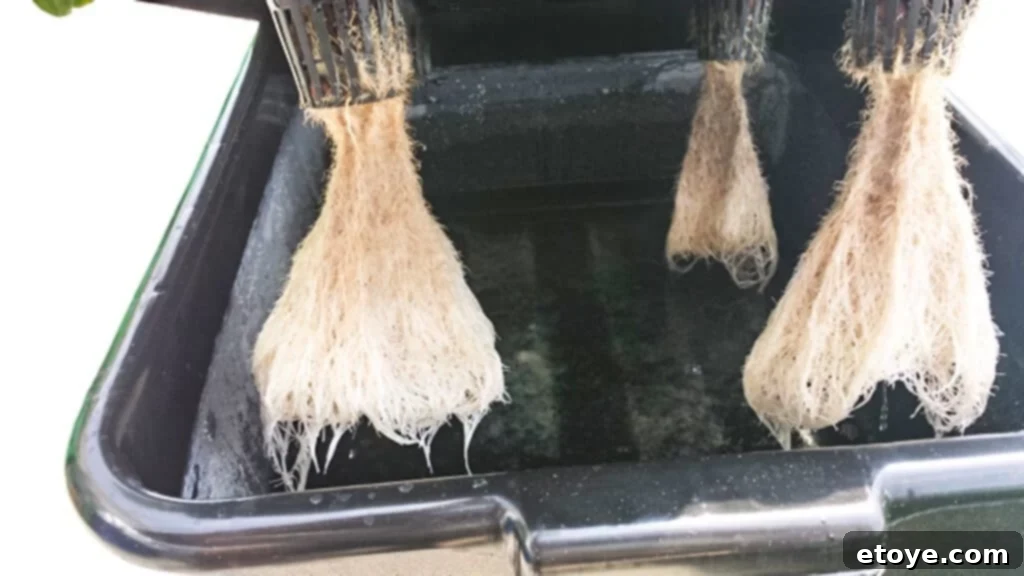
If your growing area provides light predominantly from one side, you might consider rotating your tub every few days to encourage even, symmetrical growth. However, this is often unnecessary if light is consistent from above.
Step 8: Harvest and Enjoy Your Fresh Greens!
The best part of any gardening endeavor is the harvest! Enjoy the crisp, fresh, and nutritious leafy greens you’ve grown with your own hands-off Tub Hydroponics system. Simply snip off the outer leaves as needed for a continuous harvest, or remove the entire plant when it reaches maturity.
Beyond the Tub: Milk Jug Hydroponics for Single Plants
The versatility of the Kratky method extends even further! You can apply the same principles to grow a single lettuce plant using a recycled milk jug. This miniature setup is perfect for small spaces, individual servings, or experimenting with different varieties.
For milk jug hydroponics, I recommend sticking to compact lettuce varieties, as larger leafy greens like Bok Choy and Tat Choy are heavy water consumers and would quickly deplete a smaller reservoir.
The main adaptation here is eliminating the net cup. Instead, you can simply thread a toothpick through the very top of a Rapid Rooter plug. This toothpick will rest across the opening of the milk jug, suspending the plug. Fill the jug with nutrient solution to about an inch below the top, ensuring the plug is initially submerged by approximately a quarter-inch. Cap the jug, shake gently to mix the nutrients, then remove the cap and insert your seeded plug. Let it sit for four to five weeks, and watch your single lettuce plant flourish with minimal effort!
Your Essential Tub Hydroponics Shopping List
To help you get started, here’s a curated list of recommended supplies, chosen for their quality and suitability for the Kratky Tub Hydroponics method:
Bus Tub
This heavy-duty bus tub is an excellent choice for your hydroponic reservoir. Opting for a white or lighter color can be beneficial in hot, sunny climates as it reflects heat, preventing the nutrient solution from overheating. Conversely, black tubs might be preferred in cooler environments or indoors where some heat absorption is desirable. The thick, sturdy walls of this tub prevent bulging even when fully loaded with water, ensuring stability and longevity for your system.
Tub Lid
A companion lid for your bus tub is essential for maintaining a closed system. While you could mix and match colors, a consistent aesthetic is often preferred. This particular lid is robust and designed to support the weight of stacked bus tubs, which means it will easily bear the weight of your growing plants without sagging or deforming. A solid lid also prevents light from entering the reservoir, crucial for preventing algae growth.
Net Cups
These 2-inch net cups are perfectly sized to hold your grow plugs and provide ample space for roots to extend down into the nutrient solution. Ensure you choose net cups with an open, net-like bottom to facilitate root growth and avoid solid-bottomed designs that can restrict development. It’s also important to select cups with a small lip around the top rim to prevent them from slipping completely through the drilled holes in your lid. If an online purchase isn’t convenient, local hydroponics stores are often a great resource for net cups.
Rapid Rooter Plugs
Rapid Rooter plugs simplify the seed-starting process immensely, providing a sterile, moisture-retentive medium for quick germination and healthy seedling development. While highly recommended for their ease of use, they are not strictly mandatory. You can start your seeds using any preferred method, as long as the chosen media allows for capillary action to wick water to the plant roots. Rockwool cubes are another excellent option, though they typically require a brief pre-soak in a low pH solution. If you choose to start seeds in soil, remember to thoroughly wash off all soil from the roots before transferring them to your hydroponic system.
Leafy Green Seeds
The beauty of Tub Hydroponics is its adaptability to various leafy greens. While we’ve linked to Red Cross Butterhead Lettuce, feel free to experiment with a wide array of options. Adriana and Red Cross are two consistently popular and high-performing varieties. Consider the local climate and seasonal temperatures for optimal growth; some varieties are more heat-tolerant, thriving in warmer conditions, while others prefer cooler environments. Planning ahead for the 4-6 week growing cycle will help you select the best seeds for your desired harvest.
Hydroponic Fertilizer
A high-quality hydroponic fertilizer is the lifeblood of your system, providing all the macro and micronutrients your plants need. The linked fertilizer is similar in its N-P-K ratio and mixing instructions to the Master Blend Tomato Mix, which is highly effective for leafy greens. This formula is fortified with a good range of trace minerals crucial for healthy plant development. When combined with Calcium Nitrate and Magnesium Sulfate, this nutrient blend consistently yields incredible growth and vibrant, healthy produce.
pH Adjusting Kit
While Tub Hydroponics is forgiving, ensuring your nutrient solution’s pH is within the optimal 6.4 – 6.7 range significantly boosts nutrient uptake and plant health. This simple kit provides both testing solution and pH-raising/lowering solutions for easy adjustments. You can also use a water testing kit from a pet store, just remember to test the pH *after* you’ve added your plant nutrients, as they can influence the initial pH reading. Consistent pH means healthier, more vigorous plants.
