Have you ever found yourself gazing into your refrigerator, questioning the freshness of that bag of green beans you bought a “few days ago,” only to realize it might have been weeks? It’s a common kitchen dilemma, one that often leads to perfectly good produce ending up in the compost bin instead of on your dinner plate. The vibrant, crisp snap beans you carefully selected can transform into a sad, limp shadow of their former selves almost overnight if not properly cared for. This common culinary conundrum plagues many home cooks, leading to unnecessary food waste and a slight feeling of frustration.
But fear not! You’re not alone in this struggle. Understanding how to properly store and extend the life of your fresh green beans is a simple yet effective way to save money, reduce waste, and ensure you always have access to this versatile and nutritious vegetable. From garden-fresh harvests to grocery store finds, knowing the best practices for green bean storage can elevate your cooking and keep your produce at peak freshness. In this comprehensive guide, we’ll dive deep into the world of green bean longevity, sharing expert tips and tricks to keep your green beans looking and tasting their best, ensuring they make it to your plate rather than the trash can.
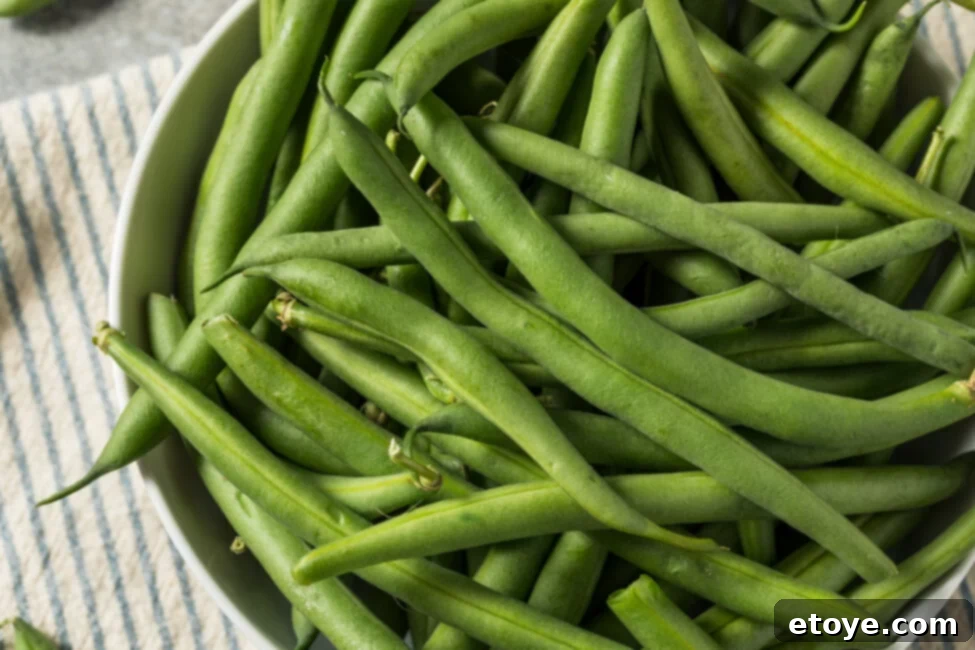
How Long Do Green Beans Really Last in the Refrigerator?
For most home cooks, the pressing question is always, “How long can I actually keep these green beans fresh?” The short answer, under ideal conditions, is typically about one week. However, this is a general guideline, and the actual shelf life can vary significantly based on several crucial factors. Simply tossing them into the crisper drawer and hoping for the best isn’t always enough to guarantee their longevity. To truly maximize the freshness of your green beans, you need to understand the nuances of their storage requirements and the elements that influence their staying power.
A green bean’s journey from farm to fridge is often a long one, and every step of that journey impacts its ultimate shelf life. Factors such as their origin, how they were handled before you bought them, and most importantly, how you store them once they’re in your home, all play a vital role. By paying attention to these details, you can significantly extend the crispness and flavor of your green beans, ensuring they remain a delightful ingredient rather than a regrettable casualty of poor storage. Let’s delve into the specifics that can make or break your green beans’ fridge life.
Key Factors That Influence the Shelf Life of Fresh Green Beans
The longevity of your green beans, often also called snap beans or string beans, is not a fixed number but rather a dynamic outcome influenced by a few critical elements. Understanding these factors is the first step toward becoming a green bean storage master.
Where Do Your Green Beans Come From?
The origin story of your green beans plays a surprisingly significant role in how long they’ll stay fresh. There’s a notable difference between produce picked fresh from a local farm and those that have traveled a long distance to reach your grocery store shelf.
- Farmer’s Market vs. Grocery Store: Green beans sourced directly from a local farmer’s market are often superior in freshness. They’ve typically been harvested very recently, sometimes just hours before you purchase them. This minimal time from farm to table means they retain more of their natural moisture and vitality, making them inherently more resilient and longer-lasting. They are often in peak season, meaning they were picked at their optimal ripeness and quality.
- Peak Season: Opting for green beans during their peak season (typically summer and early fall) ensures you’re getting the freshest possible produce, regardless of where you buy them. Beans harvested in season are naturally more robust and flavorful.
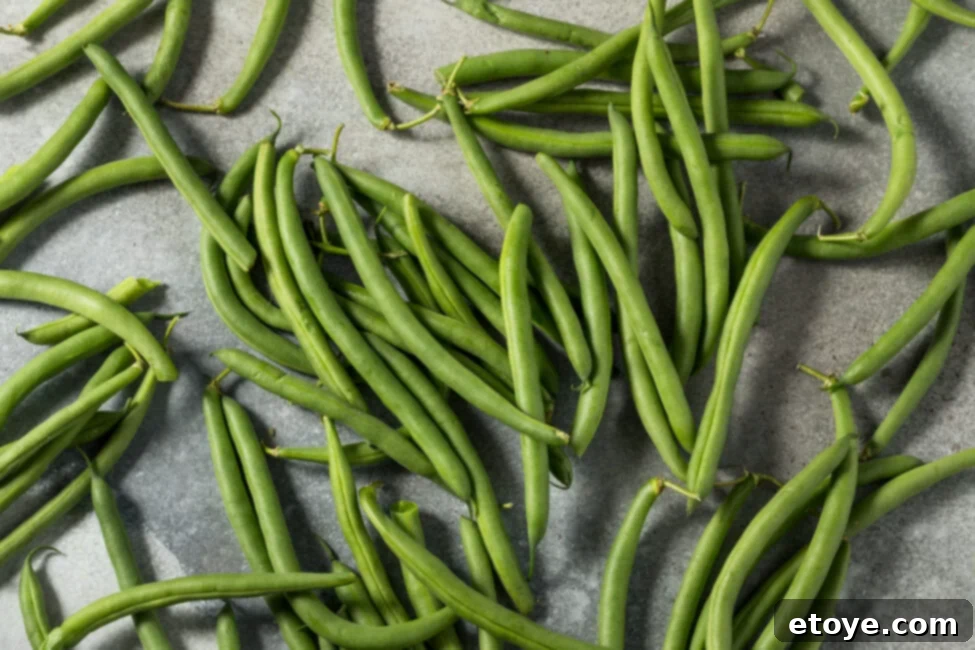
- Selection at Purchase: Regardless of the source, always choose green beans that appear vibrant green, feel firm to the touch, and snap easily when bent. Avoid any that show signs of wilting, browning, or soft spots. Look for whole, untrimmed beans if possible, as trimming can open up pathways for moisture loss and spoilage.
How Have They Been Stored (and How Should They Be)?
Once your green beans are home, their fate rests in your hands. Improper storage is the quickest way to hasten their demise.
- Temperature is Key: Green beans, like most fresh vegetables, thrive in cool temperatures. Leaving them at room temperature for more than a couple of hours, especially in a warm kitchen, dramatically accelerates their spoilage. Warm environments promote the growth of harmful bacteria and cause rapid dehydration, leading to limpness and discoloration. Your refrigerator’s crisper drawer is specifically designed to provide the optimal cool and somewhat humid environment they need.
- The “Breathing” Dilemma: Contrary to popular belief that all fresh produce benefits from airtight containers, green beans actually prefer a bit of air circulation. Storing them in a completely sealed container can trap too much moisture, creating an ideal environment for mold and bacterial growth. Instead, opt for an open plastic bag, a mesh produce bag, or even just loosely wrapped in a damp paper towel within an open container.
- Optimal Crisper Drawer Placement: The crisper drawer in your refrigerator is your best friend for storing fresh produce. It helps maintain a consistent temperature and humidity level, which is crucial for green beans. Place them in the “high humidity” setting if your fridge has one, or simply in the crisper drawer to keep them happy.
- Unwashed and Untrimmed (Initially): A critical rule for fresh green bean storage is to keep them unwashed until you’re ready to use them. Washing introduces moisture that can promote bacterial growth and spoilage. Similarly, avoid trimming them until just before cooking. The ends act as a natural seal, helping to retain moisture.
- Remove Spoiled Beans: Before storing your freshly purchased green beans, take a moment to inspect them. Remove any beans that show signs of browning, softness, or mold. One bad bean can quickly spoil the whole batch, so isolating the culprits is essential for preserving the rest.
- Prevent Flavor Absorption: Green beans can sometimes absorb strong odors from other foods in your fridge. Store them away from pungent items like onions, garlic, or strong cheeses to maintain their natural, delicate flavor.
Unmistakable Signs That Your Green Beans Have Gone Bad
Even with the best storage practices, green beans won’t last forever. Recognizing the signs of spoilage is crucial for food safety and ensuring you’re consuming only the freshest ingredients. Fortunately, your senses are your best tools for detecting when green beans have passed their prime.
1. The Visual Cues (Sight)
Your eyes are often the first line of defense against spoiled food. Look for these distinct visual indicators:
- Loss of Vibrant Green Color: Fresh green beans boast a bright, lively green hue. As they begin to spoil, their color will dull, fade, or even start to yellow.
- Brown Spots or Discoloration: The appearance of dark brown, black, or grey spots on the beans is a clear sign of deterioration, often indicating mold or rot. These spots can start small and spread rapidly.
- Wilting and Shriveling: A healthy green bean is firm and crisp. Spoiled beans will become soft, limp, and shriveled as they lose moisture and cellular integrity. They’ll bend without snapping, indicating a significant loss of freshness.
- Visible Mold: Any fuzzy, white, grey, or black growth on the surface of the beans is a definite sign of mold and means they should be discarded immediately.
2. The Tactile Test (Touch)
How the green beans feel in your hand can tell you a lot about their condition:
- Slimy or Mushy Texture: Fresh green beans are firm and dry to the touch. If they feel slimy, slippery, or mushy, it’s a strong indicator of bacterial growth and decomposition. This texture is a tell-tale sign that the beans are no longer safe or pleasant to eat.
- Lack of Snap: When you bend a fresh green bean, it should audibly snap. If it simply bends or feels rubbery, it has lost its crispness and is past its prime, even if other signs of spoilage aren’t yet visible.
3. The Olfactory Alert (Scent)
Your nose is a powerful tool for detecting spoilage, often before other signs become apparent:
- Off or Sour Odor: Fresh green beans have a mild, earthy, and sometimes slightly sweet aroma. If you detect any sour, musty, moldy, or generally unpleasant odor, it’s a clear signal that bacterial activity is underway, and the beans are no longer good. Trust your nose – if it smells “off,” it probably is.
Understanding the Risks
While eating slightly limp or discolored green beans might not always lead to severe food poisoning, consuming spoiled produce does increase your risk of foodborne illness. Bacteria like E. coli or Salmonella, which can thrive on decaying food, can cause symptoms ranging from mild digestive upset to more serious illness. It’s always best to err on the side of caution.
Remember the golden rule of food safety: “When in doubt, throw it out.” Don’t risk your health or ruin a meal by trying to salvage questionable green beans. Your stomach will thank you for making the safe choice.
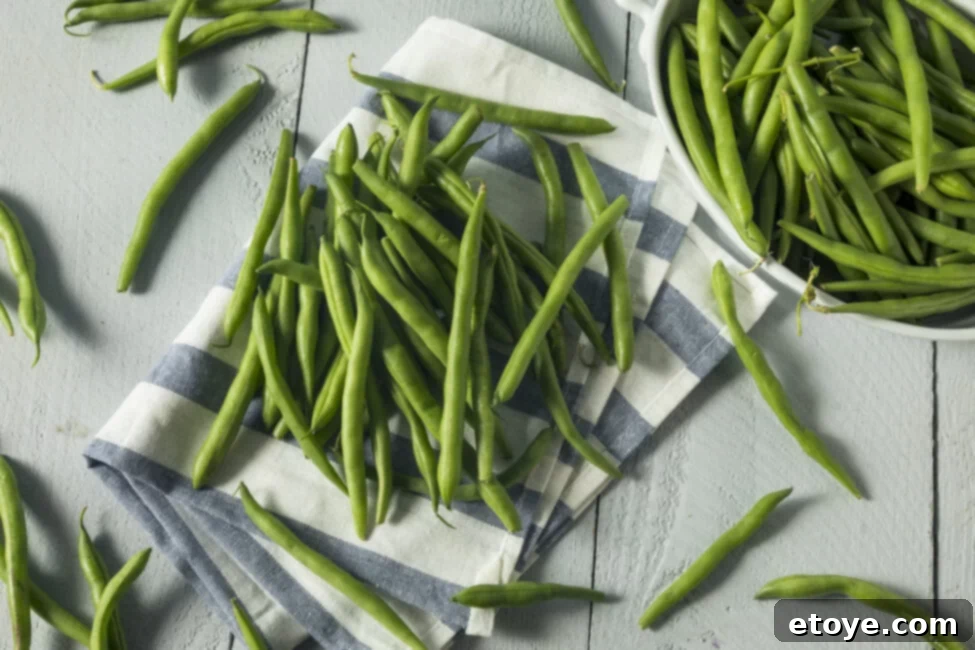
How to Maximize the Shelf Life of Your Green Beans: Beyond the Fridge
If you find yourself with an abundance of fresh green beans or want to stock up during peak season, freezing is an excellent method to preserve their quality for much longer than refrigeration alone. When done correctly, frozen green beans can retain their vibrant color, crisp texture, and nutritional value for months.
The Art of Freezing Green Beans: Blanching is Essential
Freezing green beans effectively requires a crucial pre-treatment step: blanching. Blanching is a process of briefly boiling vegetables and then rapidly cooling them in an ice bath. This process isn’t just for cooking; it’s vital for preservation:
- Why Blanch? Blanching stops enzyme actions that cause vegetables to lose flavor, color, and texture over time, even in the freezer. It also helps to clean the surface of bacteria and brightens their color. Without blanching, frozen green beans can become tough, dull-colored, and develop an off-flavor.
Step-by-Step Guide to Freezing Green Beans:
- Prepare the Beans: Wash your green beans thoroughly under cool running water. Snap or trim off the tough ends. You can leave them whole or cut them into smaller, uniform pieces (e.g., 1-inch pieces), depending on how you plan to use them later.
- Blanch: Bring a large pot of salted water to a rolling boil. Prepare an ice bath by filling a large bowl with ice water. Once the water is boiling, add the prepared green beans. Boil for approximately 2-3 minutes. Don’t overcook them; they should still be bright green and slightly firm.
- Shock in Ice Bath: Immediately transfer the blanched green beans from the boiling water to the ice bath using a slotted spoon or colander. This step quickly stops the cooking process and helps preserve their vibrant color and crisp texture. Let them cool in the ice bath for the same amount of time they were blanched.
- Thoroughly Dry: This is a critical step to prevent ice crystals and freezer burn. Drain the beans well and spread them out in a single layer on clean kitchen towels or paper towels. Gently pat them dry until absolutely no excess moisture remains.
- Pre-freeze (Flash Freeze): Arrange the completely dry green beans in a single layer on a baking sheet. Place the baking sheet in the freezer for 1-2 hours, or until the beans are solid. This prevents them from clumping together in the freezer bag, allowing you to easily take out only what you need.
- Pack and Store: Once flash-frozen, transfer the solid green beans into freezer-safe bags or containers. Squeeze out as much air as possible from the bags before sealing to prevent freezer burn.
- Label and Date: Always label your bags with the date of freezing. This helps you keep track of their shelf life. Properly stored, frozen blanched green beans can last for 10 to 12 months.
Using Your Frozen Green Beans:
When you’re ready to use your frozen green beans, you generally don’t need to thaw them first. They can be added directly to boiling water, stir-fries, or casseroles from the freezer. If a recipe calls for fresh green beans, simply adjust the cooking time slightly, as they will cook a bit faster than raw beans.
Creative Ways to Use Up Green Beans Before They Spoil
Sometimes, despite your best efforts, you might find yourself with a surplus of green beans that are nearing their fridge-life limit. Instead of letting them go to waste, get creative in the kitchen! Green beans are incredibly versatile and can be incorporated into a wide array of delicious dishes. Here are some inspiring ideas to use them up while they’re still fresh and flavorful:
- Vibrant Green Bean Salad: Elevate a simple side dish into a gourmet experience. Blanch your green beans for a few minutes until tender-crisp, then toss them with cherry tomatoes, crumbled feta cheese, thinly sliced red onion, and a lemon-herb vinaigrette. Add some toasted slivered almonds for crunch or a handful of fresh basil for an aromatic touch. This makes a refreshing lunch or a light dinner side.
- Quick and Easy Stir-Fry: Green beans are a perfect addition to any stir-fry. Sauté them on high heat with a medley of other vegetables like bell peppers, carrots, and snap peas. Add your favorite protein (chicken, tofu, beef), a flavorful stir-fry sauce (soy sauce, ginger, garlic, sesame oil), and serve over rice or noodles for a complete meal. The high heat helps them maintain a delightful crunch.
- Garlic Parmesan Roasted Green Beans: This is a simple yet incredibly satisfying way to prepare green beans. Toss trimmed green beans with olive oil, minced garlic, salt, and black pepper. Roast them in a hot oven (around 400°F / 200°C) for 15-20 minutes, or until tender-crisp and slightly charred. Finish with a generous sprinkle of grated Parmesan cheese for a savory, irresistible side dish.
- Green Bean Casserole (Not Just for Holidays!): While often associated with Thanksgiving, a homemade green bean casserole can be a comforting meal any time of year. Instead of canned ingredients, use fresh green beans, a creamy mushroom sauce (made from scratch or with a good quality canned soup), and top with crispy fried onions or panko breadcrumbs. It’s a hearty way to use a large batch.
- Healthy Hummus Twist: For an unexpected and vibrant appetizer, try blending blanched green beans into your favorite hummus recipe. Combine them with chickpeas, tahini, lemon juice, garlic, and a touch of olive oil. The result is a beautifully green, nutritious dip that’s perfect with pita bread or fresh vegetables.
- Added to Soups and Stews: Green beans hold up well in simmering liquids, making them an excellent addition to vegetable soups, hearty beef stews, or even a classic minestrone. Add them towards the end of the cooking process to prevent them from becoming too mushy.
- Pickled Green Beans (Dilly Beans): If you have a really large harvest, pickling is a fantastic long-term preservation method. “Dilly beans” are crunchy, tangy, and make a great snack or addition to charcuterie boards. They’ll last for months in the refrigerator.
By exploring these creative culinary avenues, you can enjoy your fresh green beans in new and exciting ways, ensuring none of your precious produce goes to waste.
Frequently Asked Questions About Green Bean Storage and Freshness
To further empower you in your quest for perfect green beans, here are answers to some of the most common questions:
How do I choose the best quality green beans at the farmer’s market or grocery store?
When selecting fresh green beans, prioritize visual appeal and tactile sensations. Look for beans with a vibrant, uniform green color, free from brown spots, blemishes, or yellowing. They should feel firm and crisp, not limp or rubbery. Test their freshness by gently bending one; a healthy bean will snap cleanly rather than just bend. For the best flavor and texture, shop during peak season (typically summer and early fall). Also, examine the ends – intact ends often indicate more recent harvest. Avoid any beans that appear shriveled or have a dull appearance.
Can I eat green beans that have been in the fridge for over a week?
While green beans ideally last up to a week in the fridge, their exact shelf life can vary. After seven days, it’s crucial to thoroughly inspect them. Look for any signs of spoilage such as brown spots, sliminess, a soft or rubbery texture, or an unpleasant odor. If they exhibit any of these indicators, it’s best to err on the side of caution and discard them. Even if they appear fine, their nutritional value and crispness might have diminished. When in doubt, it’s always safest to throw them out.
What’s the best way to prevent freezer burn when storing green beans for an extended period?
To effectively prevent freezer burn, you need to minimize your green beans’ exposure to air. The key steps include thorough blanching and drying, followed by proper packaging. After blanching and shocking in an ice bath, ensure the beans are completely dry by spreading them on towels. Flash freeze them in a single layer on a baking sheet before transferring to freezer bags. When packing into freezer-safe bags or containers, press out as much air as possible before sealing. Using a vacuum sealer, if available, offers the best protection against freezer burn, preserving quality for nearly a year.
Can I freeze green beans without blanching them first?
While you *can* freeze green beans without blanching, it is strongly advised against it. Unblanched green beans frozen directly will suffer significantly in terms of texture, flavor, and color. The enzymes that cause deterioration will remain active, leading to mushy, dull-colored, and less flavorful beans over time. Blanching is a quick and essential step that pauses these enzymatic processes, preserving the beans’ vibrant green hue, crisp texture, fresh taste, and essential nutrients, making them much more enjoyable when thawed and cooked.
What if I grow my own green beans?
Congratulations, green-thumb guru! For those lucky enough to harvest their own green beans, the same storage principles apply, but with an added advantage: peak freshness. Harvest your beans when they are young and tender for the best flavor and texture. After picking, gently wash them (if necessary to remove soil, but dry thoroughly afterward), remove any damaged pieces, and store them unwashed in a well-ventilated bag or container in the crisper drawer of your refrigerator. Because they haven’t traveled far, your homegrown beans might retain their freshness slightly longer than store-bought ones, but aiming to use them within a week is still ideal.
Should I trim the ends of green beans before storing them?
It’s generally best to store green beans with their ends intact until just before you’re ready to cook them. The ends act as a natural protective barrier, helping the beans retain moisture and freshness. Trimming them opens up the bean to air exposure, which can accelerate dehydration and spoilage. If you must trim them for space or convenience, ensure they are stored in a slightly more humid environment, perhaps wrapped loosely in a damp paper towel within an open bag.
Get Beanin’ and Boost Your Kitchen Confidence!
Armed with these comprehensive tips and tricks, you are now well-equipped to conquer the common challenge of keeping your green beans fresh, crisp, and flavorful for as long as possible. No longer will you have to suffer the culinary disappointment of finding limp, discolored beans in your fridge. By understanding the factors that influence their shelf life, recognizing the signs of spoilage, and employing smart storage and preservation techniques, you can significantly reduce food waste and always have this versatile vegetable ready for your next meal.
From careful selection at the market to optimal refrigeration and the art of blanching for freezing, every step contributes to maximizing the longevity of your green beans. So go ahead, stock up during peak season, experiment with new recipes, and enjoy the satisfaction of cooking with perfectly fresh produce. Embrace these strategies, and you’ll not only save money but also elevate your home cooking with consistently high-quality ingredients.
Do you have any secret green bean storage hacks of your own? Perhaps a unique recipe that uses up a big batch of beans deliciously? We’d love to hear from you! Share your wisdom, tips, tricks, or favorite green bean casserole memories in the comments section below. Let’s build a community of green bean enthusiasts!
Want More Essential Kitchen Tips & Tricks?
- How to Defrost Chicken in the Microwave Safely
- How Long Does Lunch Meat Last in the Fridge?
- Should Eggs Be Refrigerated?
- How Long Does Ground Sausage Last In The Fridge?
